
Y’all! My love of last week’s free pattern, the Billow Beanie, knows no bounds. I absolutely am obsessed with the texture in every stitch. This week I have a little bit of a modification, if you will!
It’s still the same great pattern…just perfect for a little baby!

The Baby Billow Pattern is worked from the top down (that means you’ll start at the crown and crochet down to the brim!). The hat features gorgeous Front Post Triple Crochet stitches offset to create that unique texture!
For the Baby Billow, I wanted to capitalize on this texture without having to make it any more complicated. The answer? Just change the gauge!
Now, remember, I have a step by step video tutorial available on my Youtube Channel HERE! Make sure you subscribe to my channel while you’re there too!

The Baby Billow is worked exactly as the Billow Beanie just using a smaller hook and a different yarn.
This Yarn is AMAZING
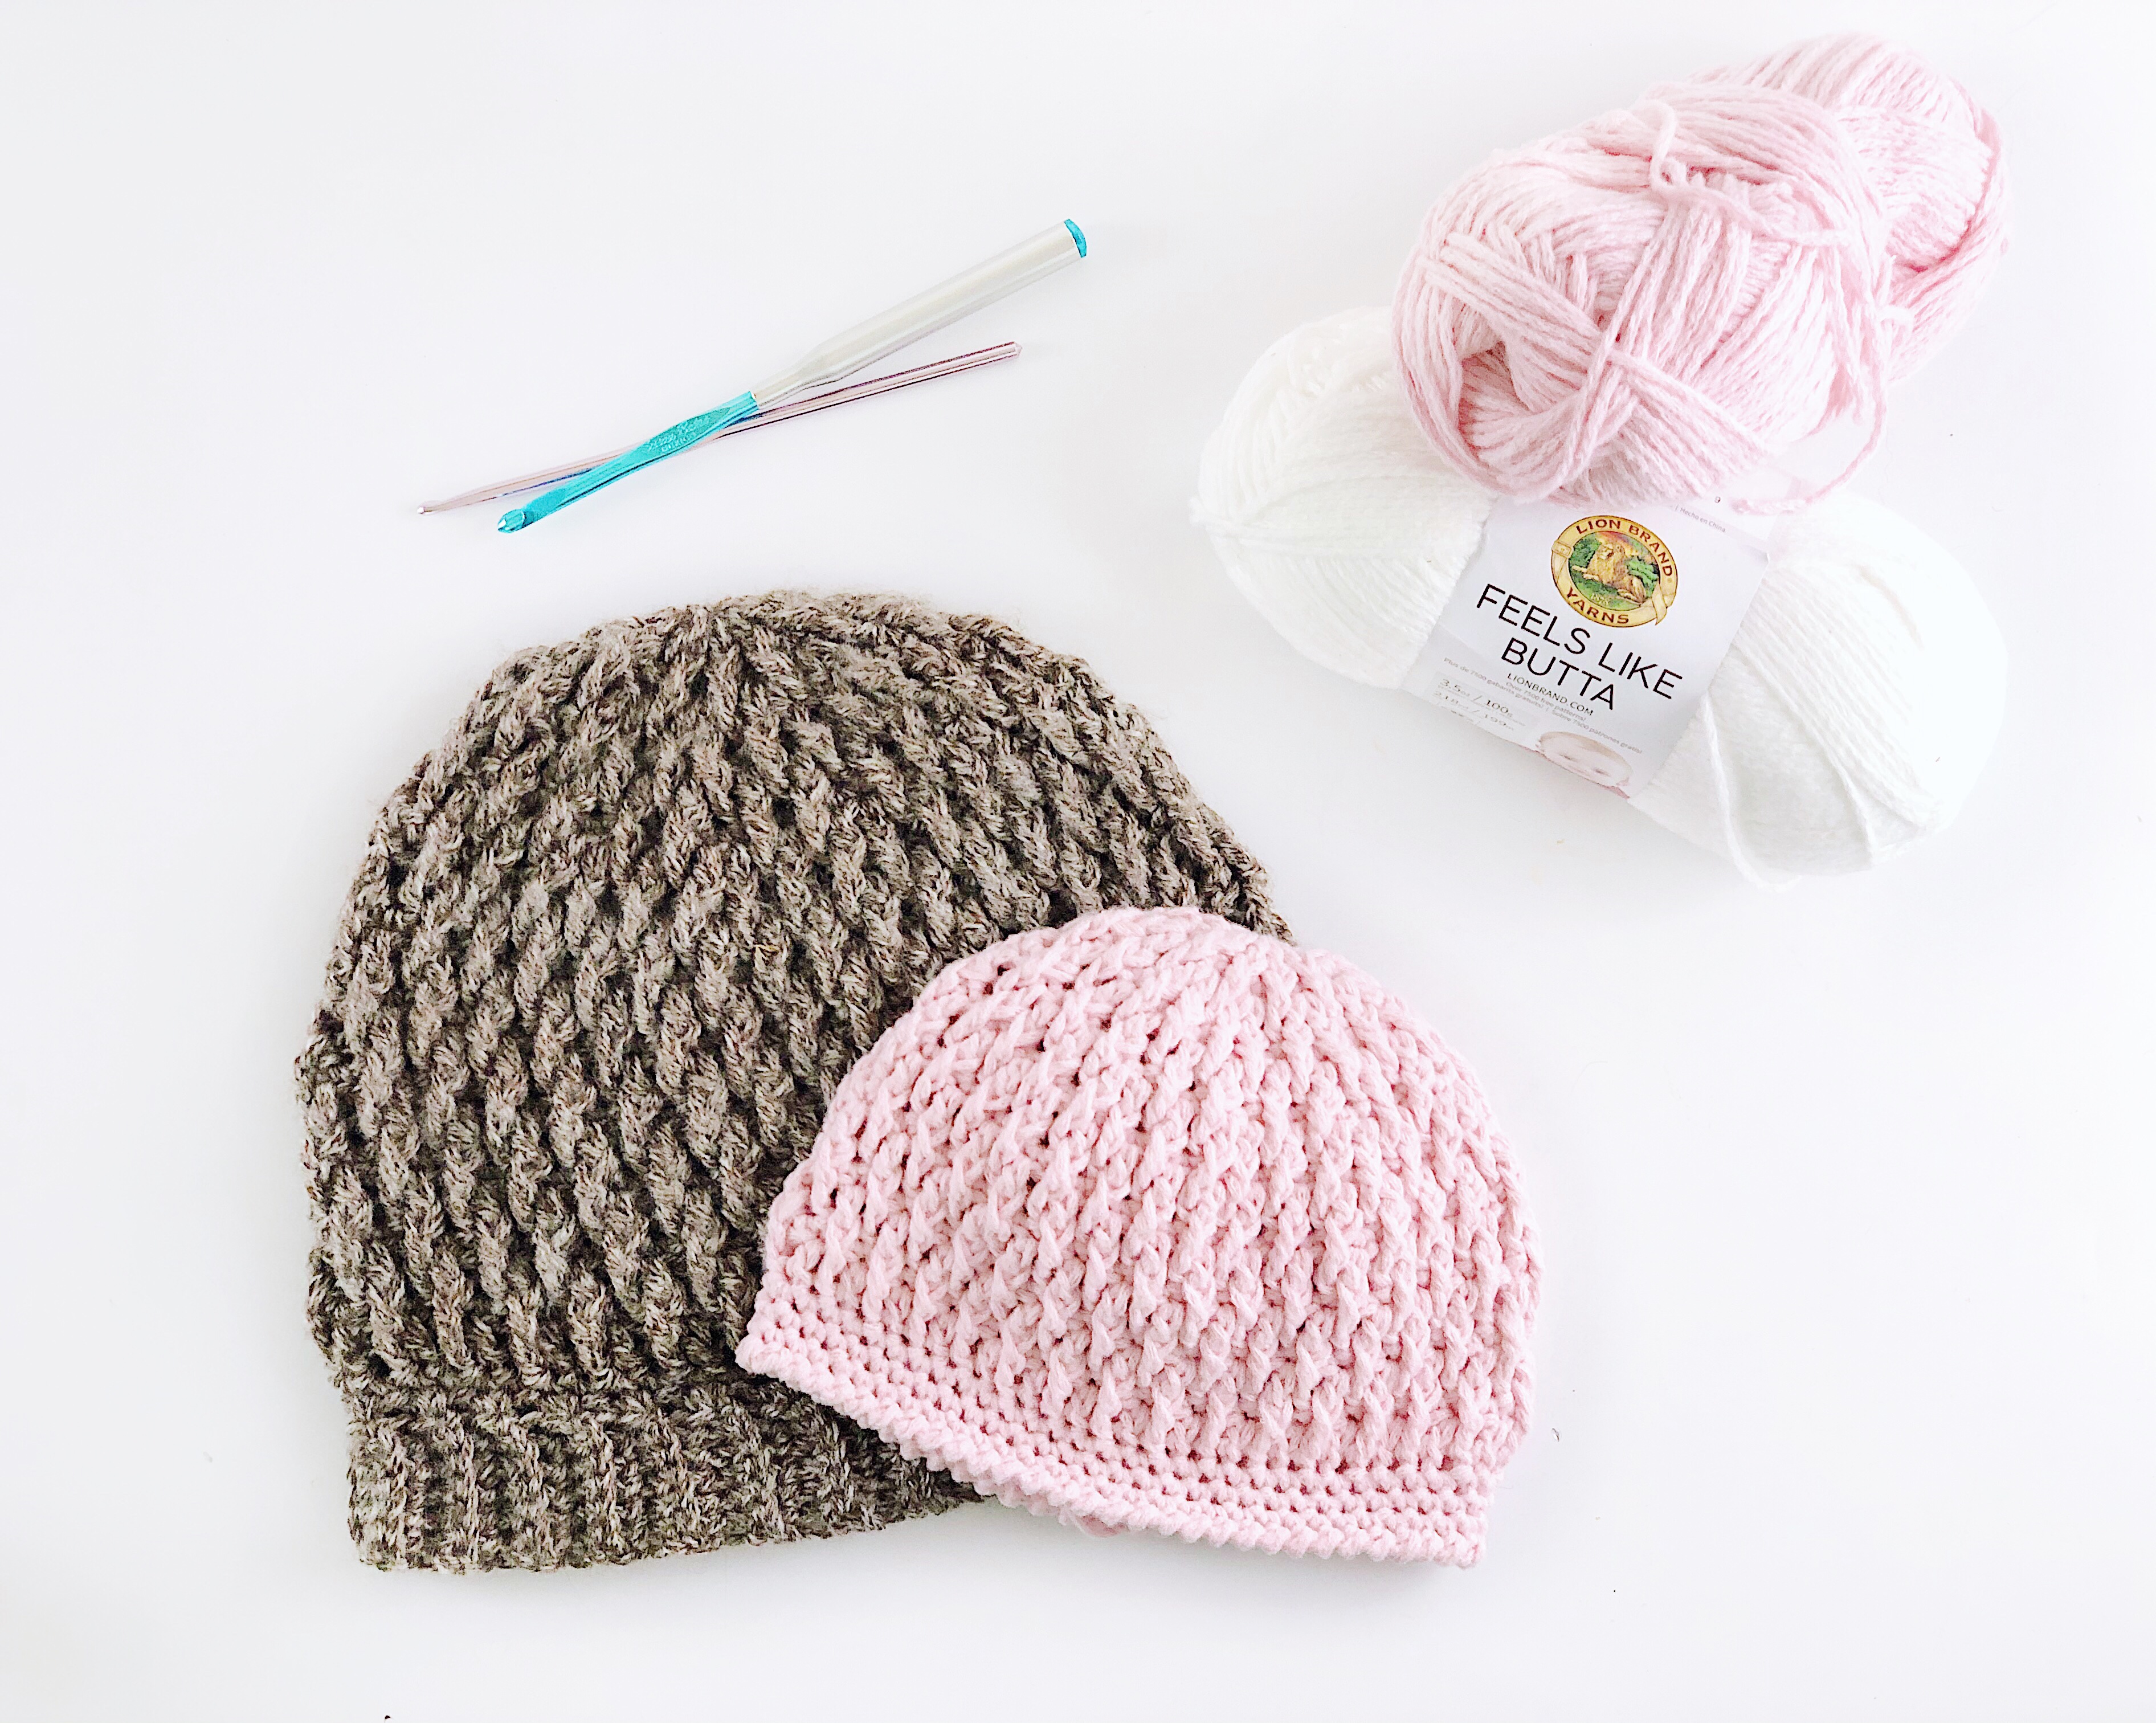
I chose to work with Lion Brand Feels Like Butta! and BOY was I surprised. This yarn is the kind of soft that you only feel in those fancy high end yarns that cost an arm and a leg. Y’all know me, I love JOANN and I love shopping with my coupons and I was so excited to grab a few skeins of this yarn on my last shopping trip.

It’s reasonabily priced, includes a decent amount of yardage, and overall I really love how it works up.
A note to the wise, however, using this yarn at a really tight gauge kinda takes all the softness away. So, that means, if you have to go down a few hook sizes to make this hat using this yarn, it’s not going to be luscious and soft. Crochet is just a bunch of knots after all. When you stack tight knots close together, it doesn’t matter how soft the yarn is, it’s not going to feel like it, you know?
Gauge is KEY
This hat was sized down simply by taking advantage of a thinner yarn and smaller crochet hook. It’s important to note that the gauge recommended for this pattern is just a suggestion based on what yarn and hook I used. It’s important to note that I didn’t make any changes to the original pattern. I just changed the yarn and hook combo.

I really encourage each of you to test out your gauge when making this hat. Work the first few rounds and see what that get’s you! Then go from there.
Your best success will be by using the same yarn/hook combo I recommend here.

BILLOW BEANIE PATTERN
Pick up the Printable PDF Pattern HERE!
Materials:
US size F/5 3.75mm Crochet Hook
1 skein Lion Brand Yarn Feels Like Buttah Yarn (100% Polyester;
Scissors
Tape Measure
Tapestry Needle
Finished Sizes:
One Size – 16″ Finished Circumference
Finished Measurements
Finished Circumference: 16 inches
Finished Height: 5.75 inches
Gauge:
Rnds 1-4 = 2.5″, unblocked
ABBREVIATIONS
Ch = Chain
Dc = Double Crochet
Sc = Single Crochet
Fptr = Front Post Treble Crochet
PATTERN NOTES:
- Hat is worked in joined rounds from the crown to the brim.
- Stitch counts accompany each round. Take time to count stitches to ensure accuracy.
- Ch-3 counts as a st throughout.
BABY Billow Beanie Pattern
CROWN
Make a Magic Loop
Rnd 1: Ch 3 (counts as first dc here and throughout), 9dc in ring, join to 3rd ch of beg ch 3, do not turn. (10 dc)
Rnd 2: Ch 1, 2sc in each dc around, join to 1st sc, do not turn. (20 sc)
Rnd 3: Ch 3, dc in same st, *Fptr around post of next dc 1 row below, sk sc behind Fptr just made, 2dc in next sc; rep from * around, join to 3rd ch of beg ch 3, do not turn. (10 Fptr and 20 dc)
Rnd 4: Ch 1, *2sc in first st, sc in each of the next 2 sts; rep from * around, join to 1st sc, do not turn. (40 sc)
Rnd 5: Ch 3, *Fptr around post of next dc 1 row below, sk sc behind Fptr just made, dc in next sc; rep from * around, join to 3rd ch of beg ch 3, do not turn. (20 Fptr and 20 dc)
Rnd 6: Ch 1, *2sc in first st, sc in each of the next 3 sts; rep form * around, join to 1st sc, do not turn. (50 sc)
Rnd 7: Ch 3, *Fptr around post of next dc 1 row below, sk sc behind Fptr just made, dc in next sc, Fptr around post of next dc 1 row below, sk sc behind Fptr just made, dc in each of the next 2 sc; rep from * around 9 times, Fptr around post of next dc 1 row below, sk sc behind Fptr just made, dc in next sc, Fptr around post of next dc 1 row below, sk sc behind Fptr just made, dc in last sc, join to 3rd ch of beg ch 3, do not turn. (20 Fptr and 30 dc)
Rnd 8: Ch 1, *2sc in first st, sc in each of the next 4 sts; rep from * around, join to 1st sc, do not turn. (60 sc)
Rnd 9: Ch 3, *Fptr around beg ch-3 of row below, sk sc behind Fptr just made, *dc in next sc, Fptr around post of next dc 1 row below, sk sc behind Fptr just made; rep from * around, join to 3rd ch of beg ch 3, do not turn. (30 Fptr and 30 dc)

Rnd 10: Ch 1, sc in each sc around, join to 1st sc, do not turn.
Rep Rnds 9 and 10 until hat measures about 5″
Next Rnd: Ch 1, sc in each st around, join to 1st sc, do not turn.
Rep last Rnd twice more.
Last Rnd: Ch 1, reverse sc in each st around, join to 1st reverse sc. Fasten off.
Weave in all ends. Wash and lay flat to block.
And that’s it friends! The BABY Billow Beanie is here and he is READY for his close up! I would love to see your finished BABY Billow Beanie’s so, head to Instagram and make sure you tag #billowbeanie and #rohnstrong so I’ll see it! Then head to the Rohn Strong Makers Group and share your work!