
Category: Crochet
-
A Cozy New Crochet Blanket Pattern for Winter + Color Therapy Guide
There’s something magical about holiday-season stitching. The lights are softer, the days feel slower, and suddenly the idea of curling up with a warm project and a favorite movie becomes irresistible. Today, I’m thrilled to share a brand new crochet blanket pattern, The Holiday Ripple Throw! that’s full of texture, warmth, and simple, soothing stitches.…
-
The Hearth of My Work: An Invitation to the Maker’s Circle
Join The Maker’s Circle — Rohn Strong’s Substack community for mindful crochet and knit patterns, essays, and rituals where craft becomes medicine.
-
Forest Meditations Throw – Fall 2025 Crochet Along
🌲 Introducing the Forest Meditations Throw A 4-Week Crochet Along to Ground Your Hands & Heart Hey there, yarn friends! I’m thrilled to finally introduce the Forest Meditations Throw — a brand-new, texture-rich blanket I’ve designed for this season’s crochet along (CAL)! This calming project draws its inspiration from the stillness of the forest —…
-

Perfect Finishing Touches for Your Crochet Blanket
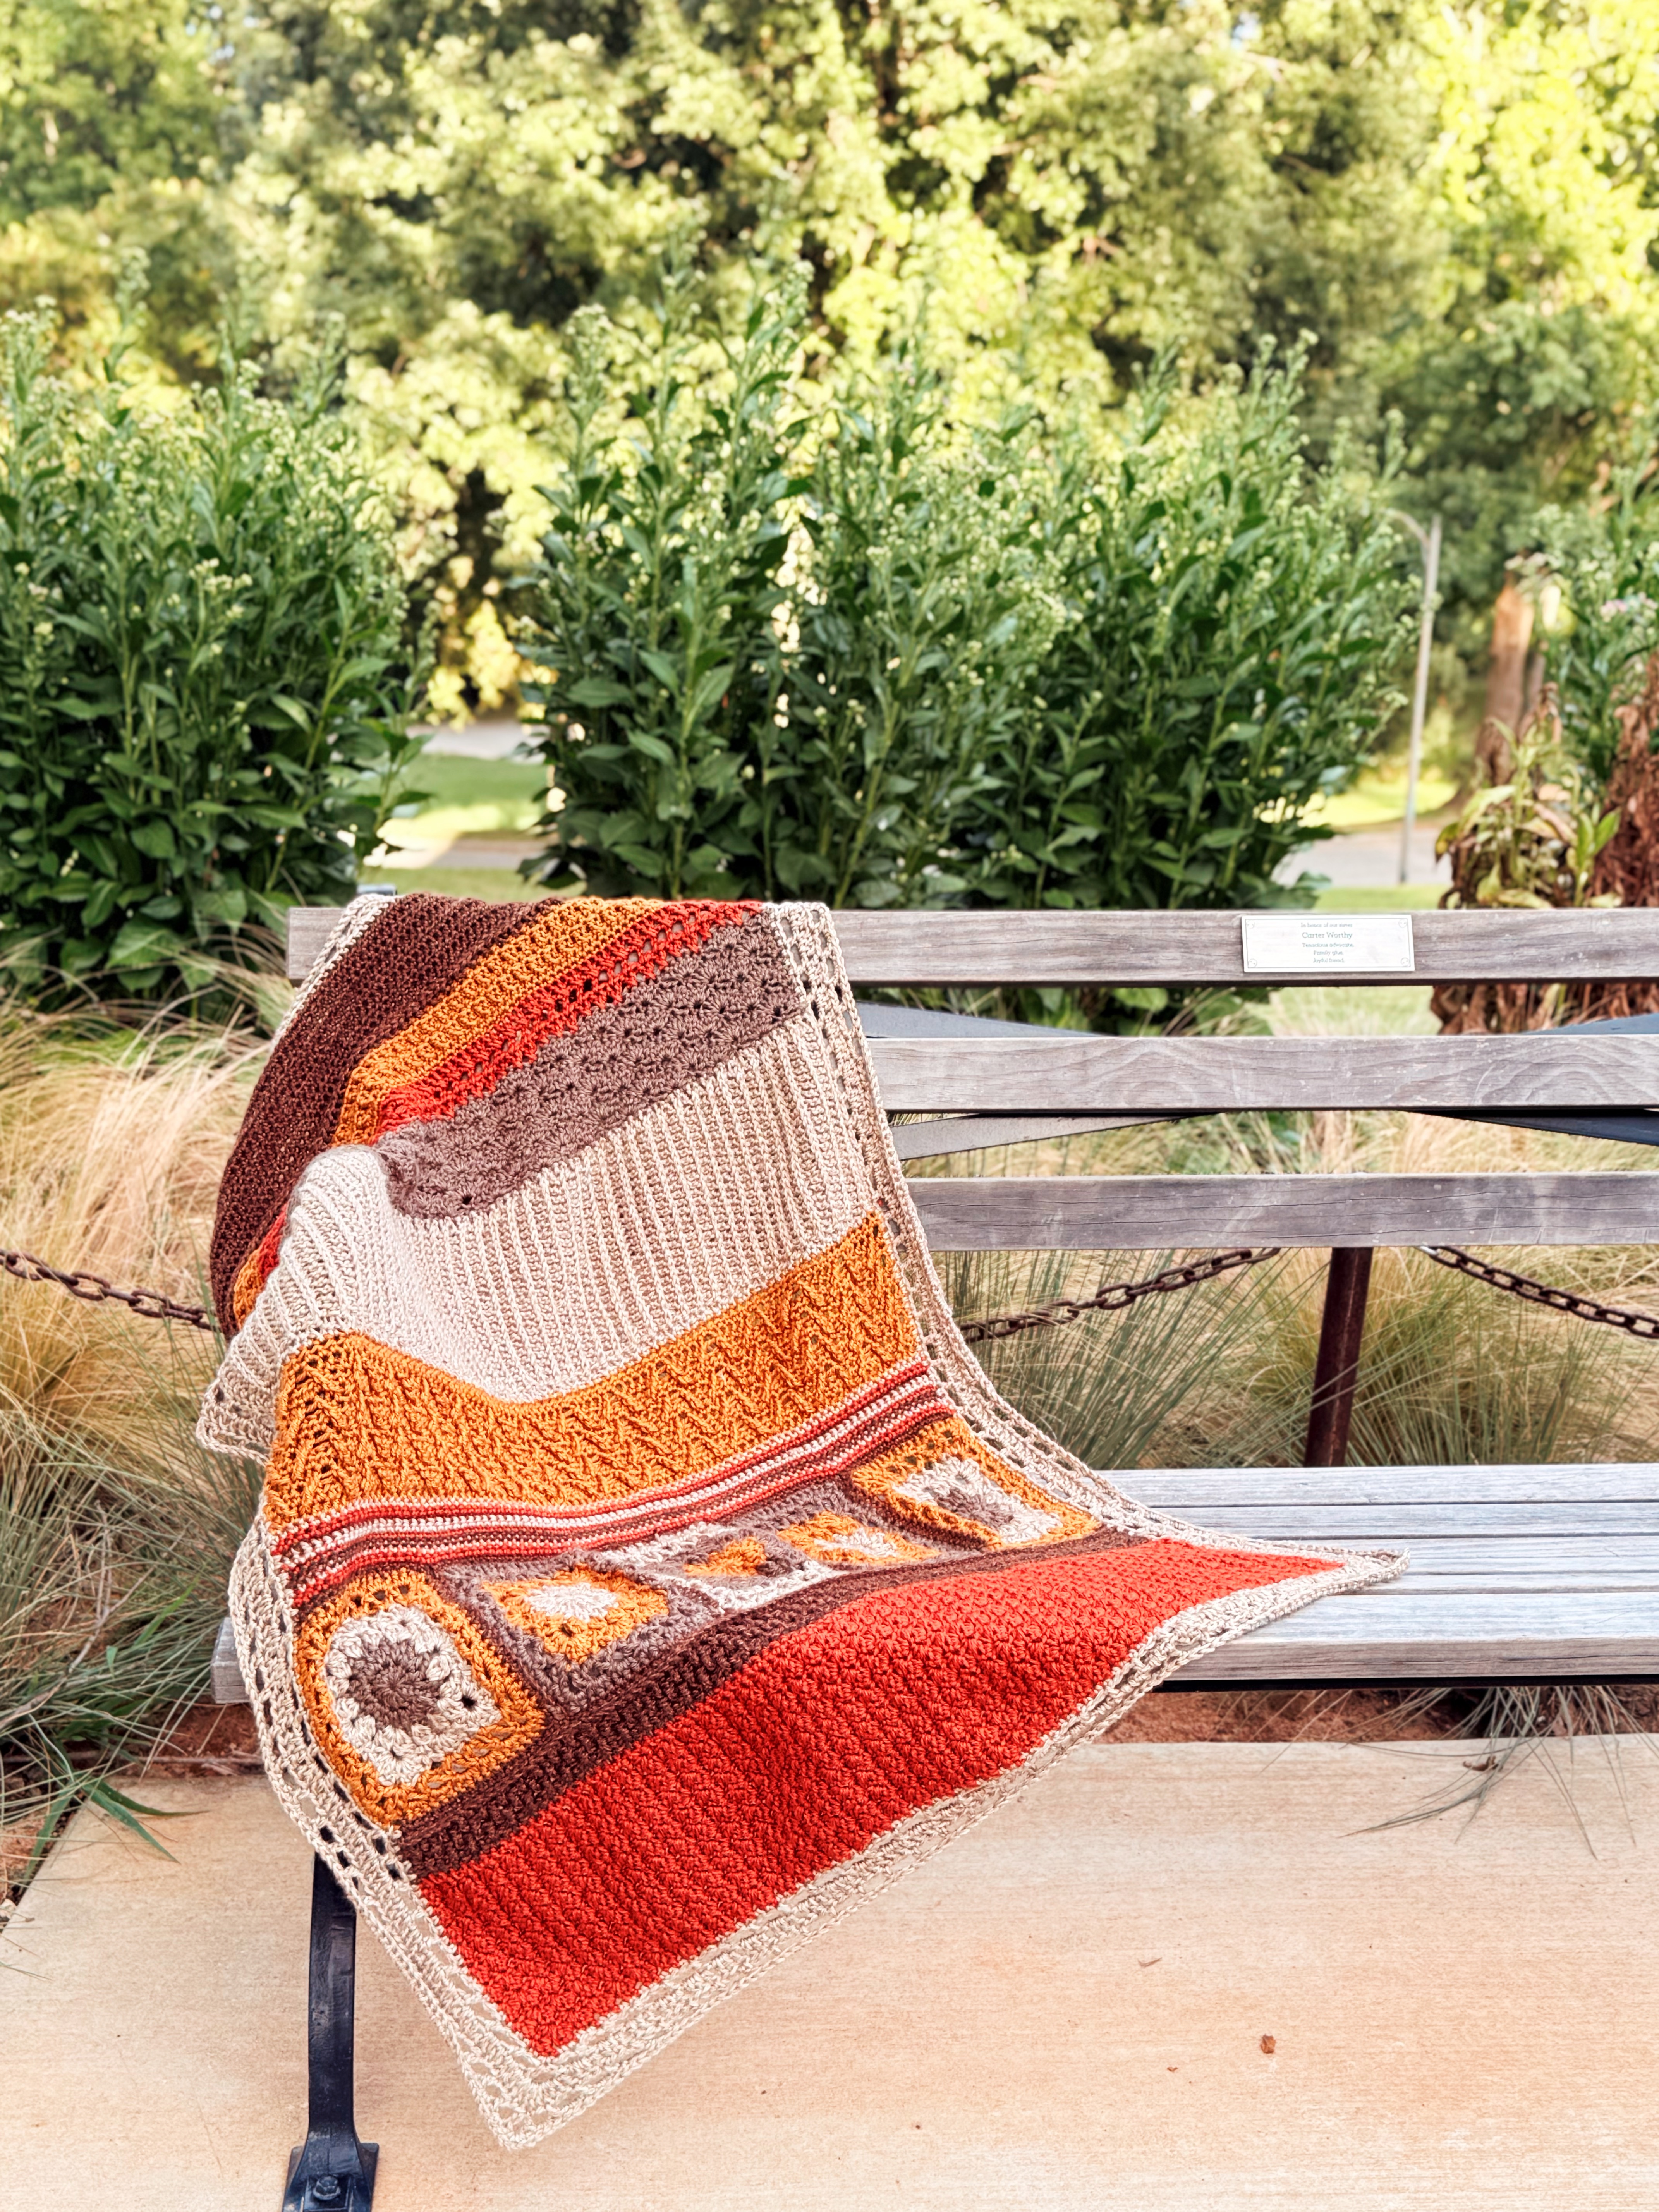
Hello, beautiful makers! Rohn Strong here, and if you’re reading this, chances are you’ve just conquered the heart of your Mountain Meditations Throw! You’ve navigated the intricate motifs. You even have participated in our recent Crochet Along. Now, you’re standing at the precipice of transforming those individual pieces into a magnificent, cohesive work of art.…
-
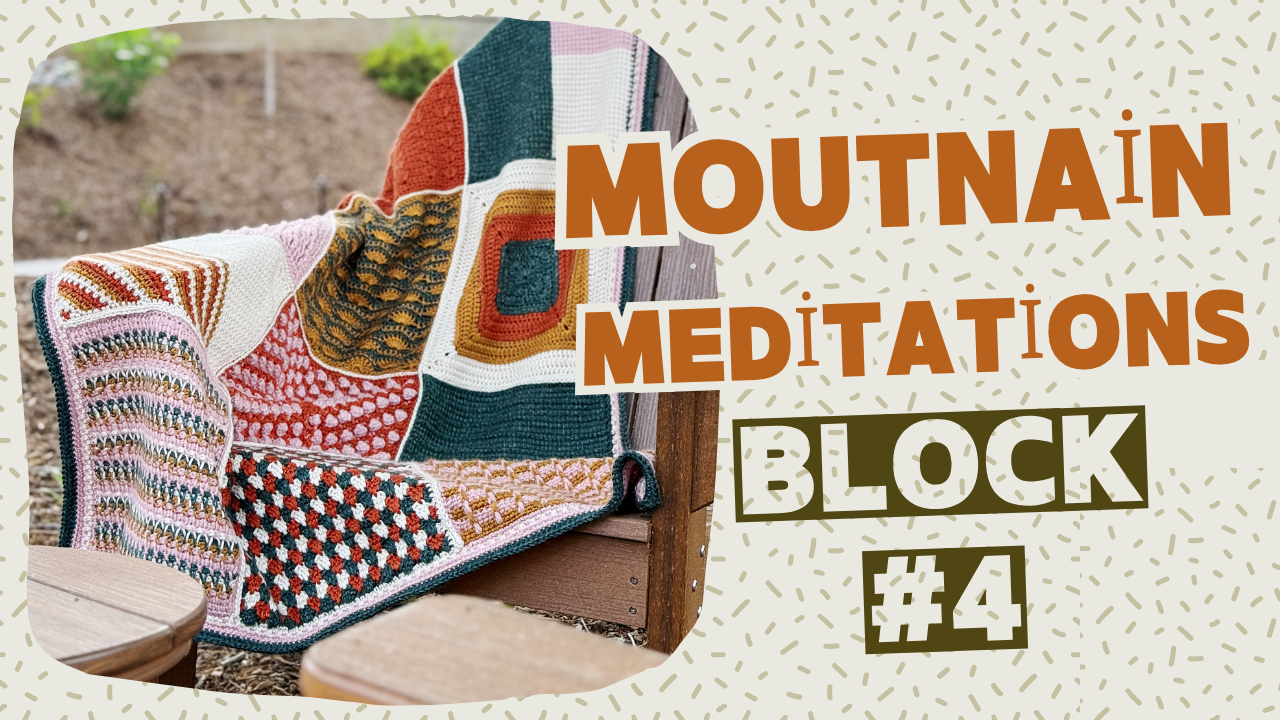
Block 4: Mountain Trail Meditation Crochet Tutorial
🧶 Mountain Meditations CAL: Block 4 – The Mountain Trail Hello again, friends! We’ve reached Block 4 of the Mountain Meditations Crochet-Along, and this one might just be my favorite so far. Meet the Mountain Trail Block—a textured, rhythmic square inspired by the winding paths and peaceful climbs of mountain hikes. This block uses Tunisian…