Creating soulful crochet designs that inspire, calm, and connect.
I’m Rohn Strong – artist, Lightworker, and storyteller through stitches. My work is rooted in the belief that creativity is sacred, and that every loop of yarn can carry intention, healing, and remembrance.
Through crochet, we can blend the practical with the mystical – creating pieces that nourish both the hands and the soul.
Rohn’s Newest Designs
Rooted in Spirit and shaped by hand, these fresh patterns are here to spark your creativity and ground your energy.
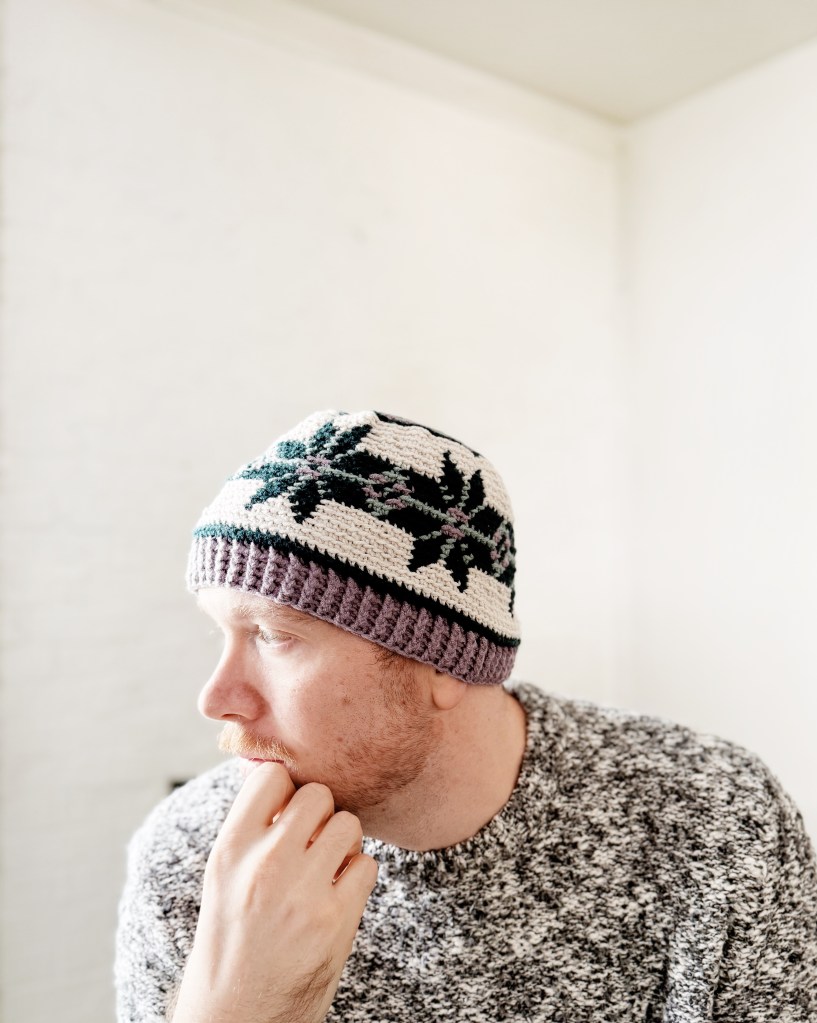
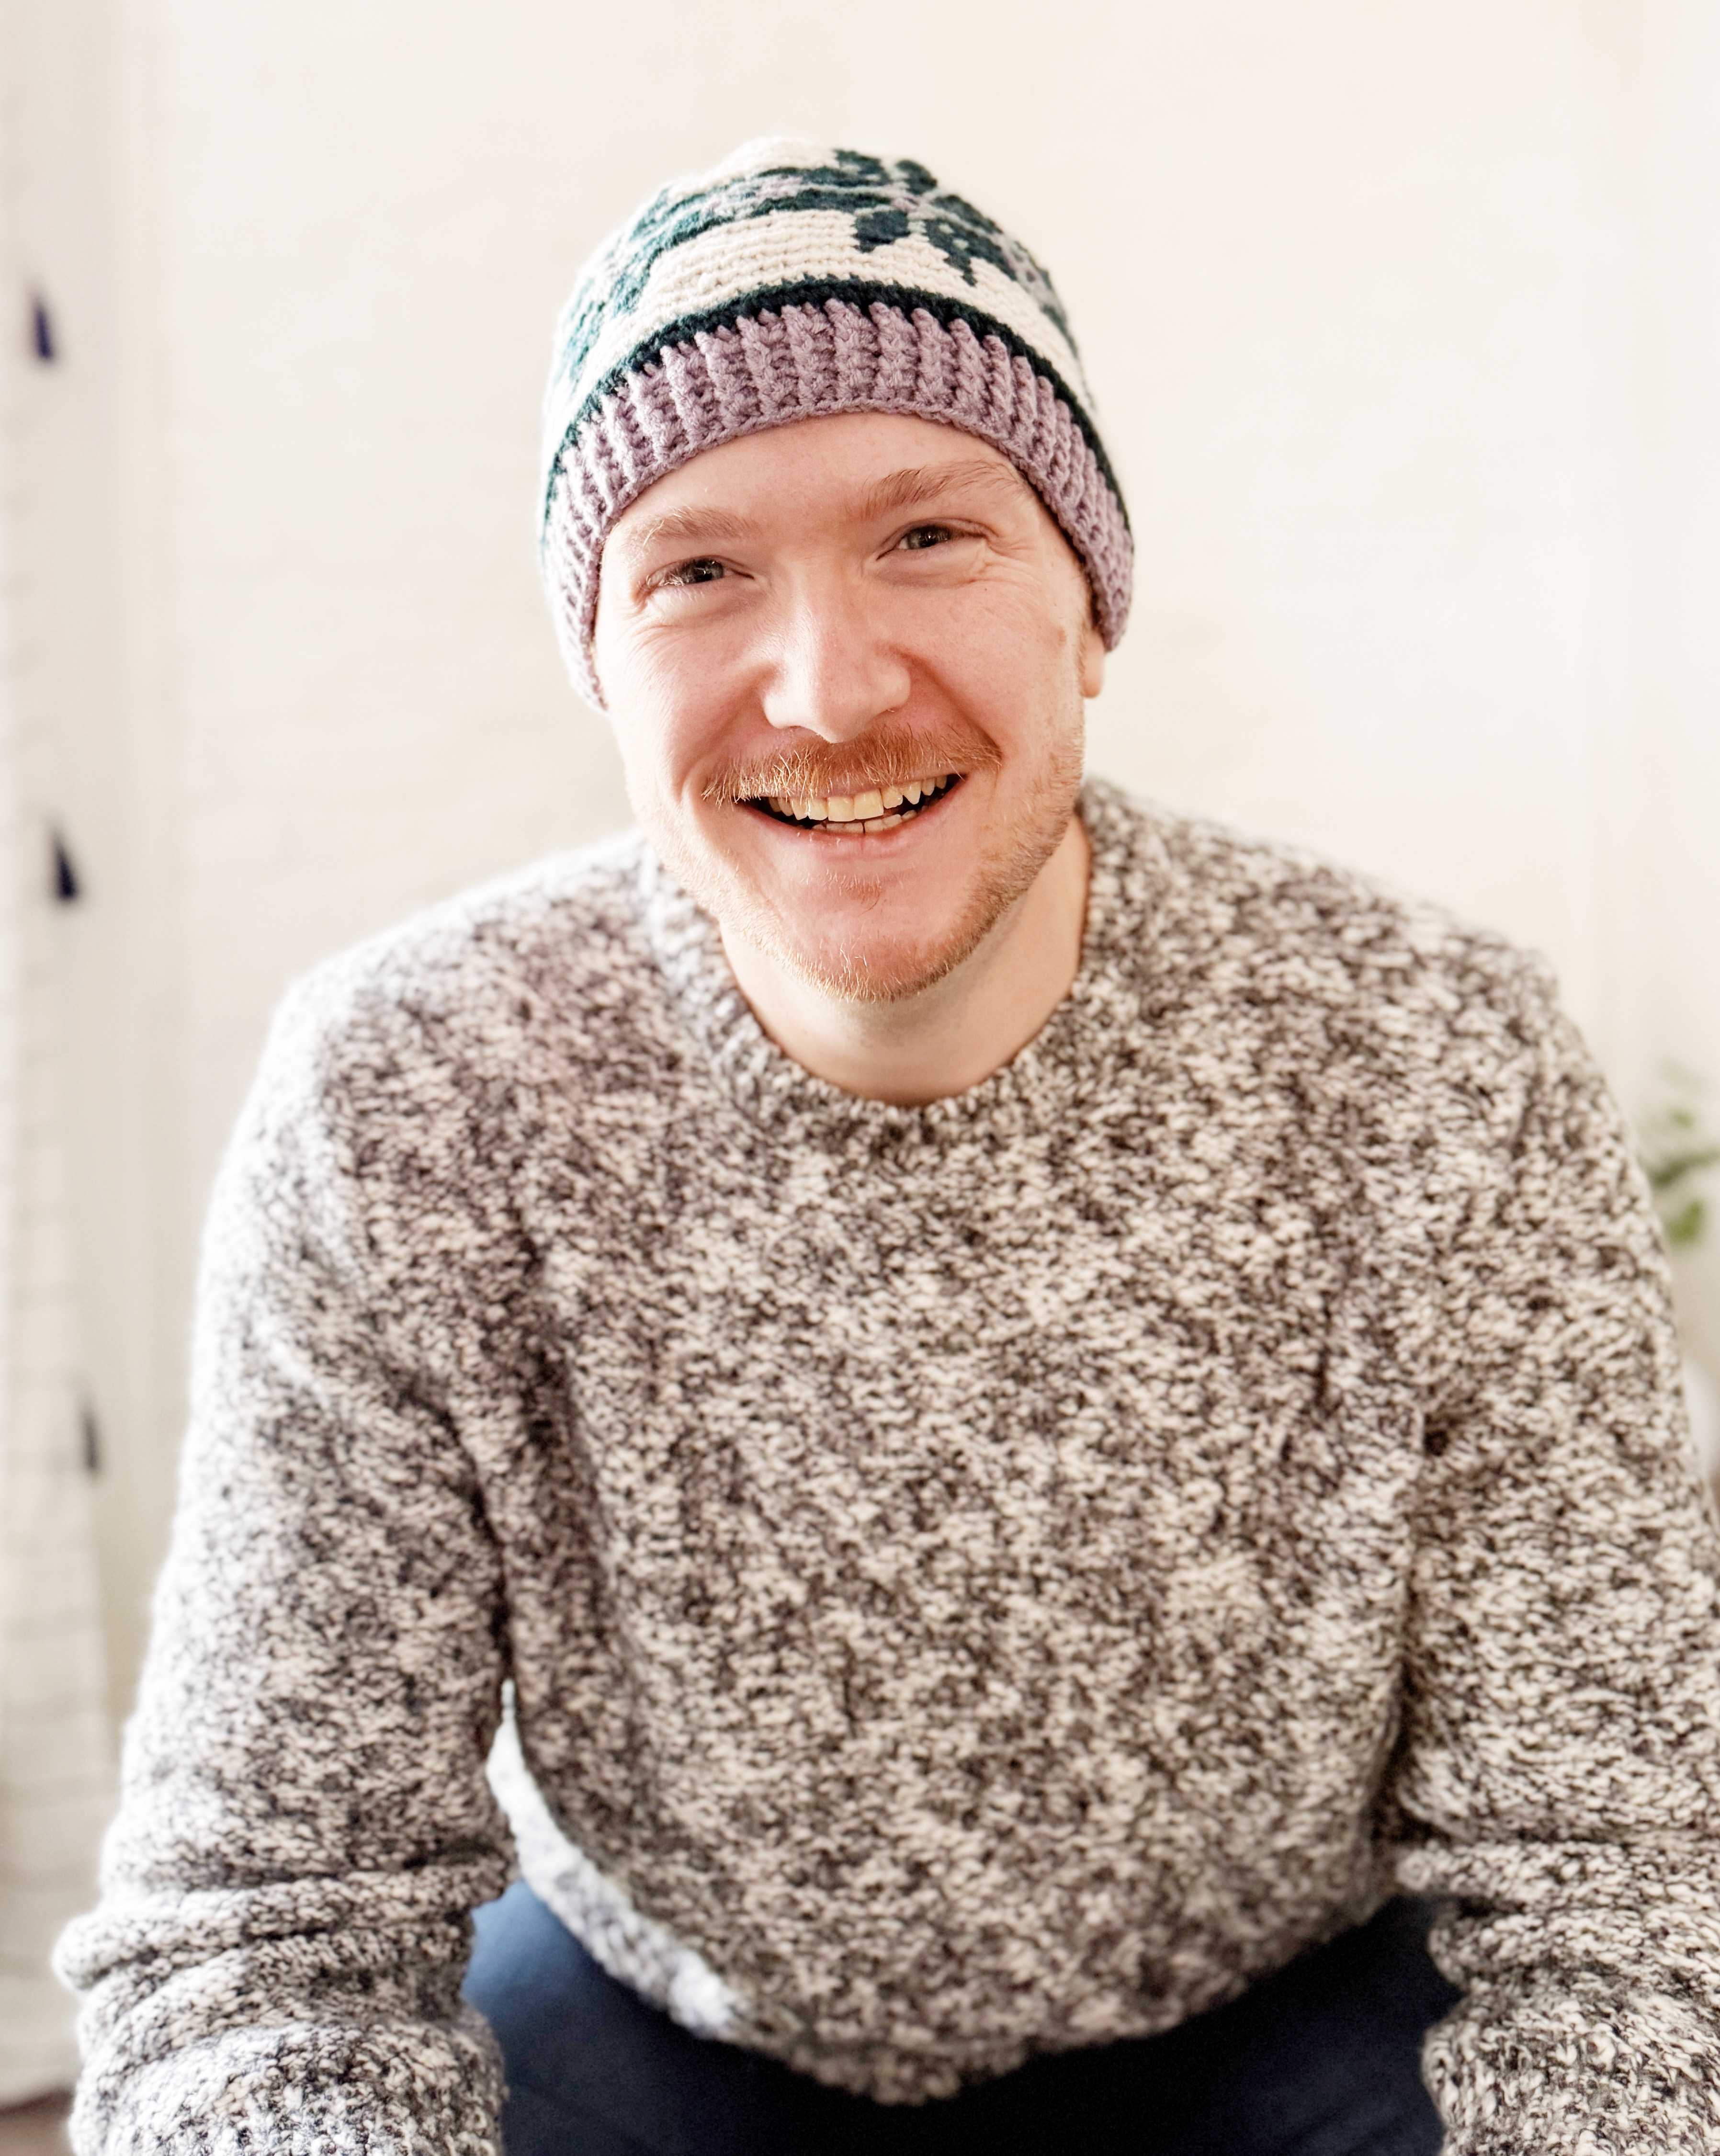
The Starseed Beanie
Embrace your celestial style with this mesmerizing crochet fair isle design that captures the magic of the cosmos. Intricate colorwork creates a stunning star-like pattern, perfect for adding a touch of otherworldly charm to your wardrobe.
Purchase the Kit and Pattern Here: www.lionbrand.com

Reflections
A place for creativity and mindfulness, where I share crochet, inspiration, and thoughts on healing and the rhythm of life.


Online courses
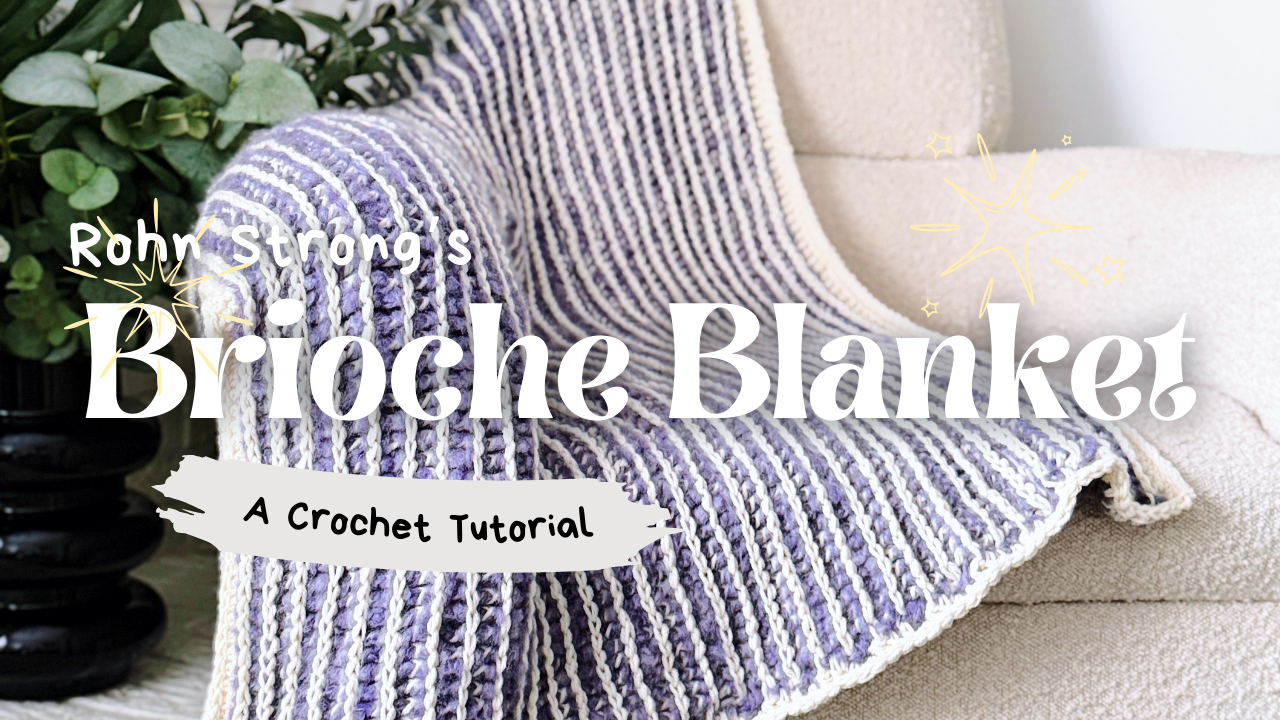
Crochet With Me

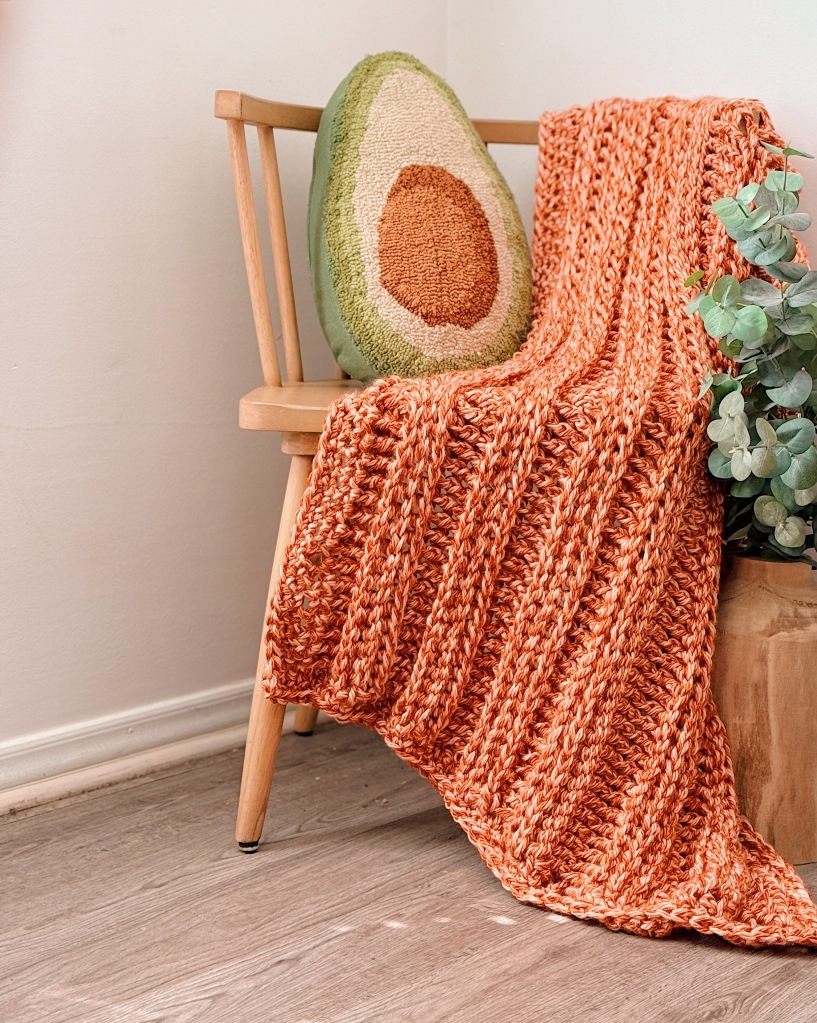
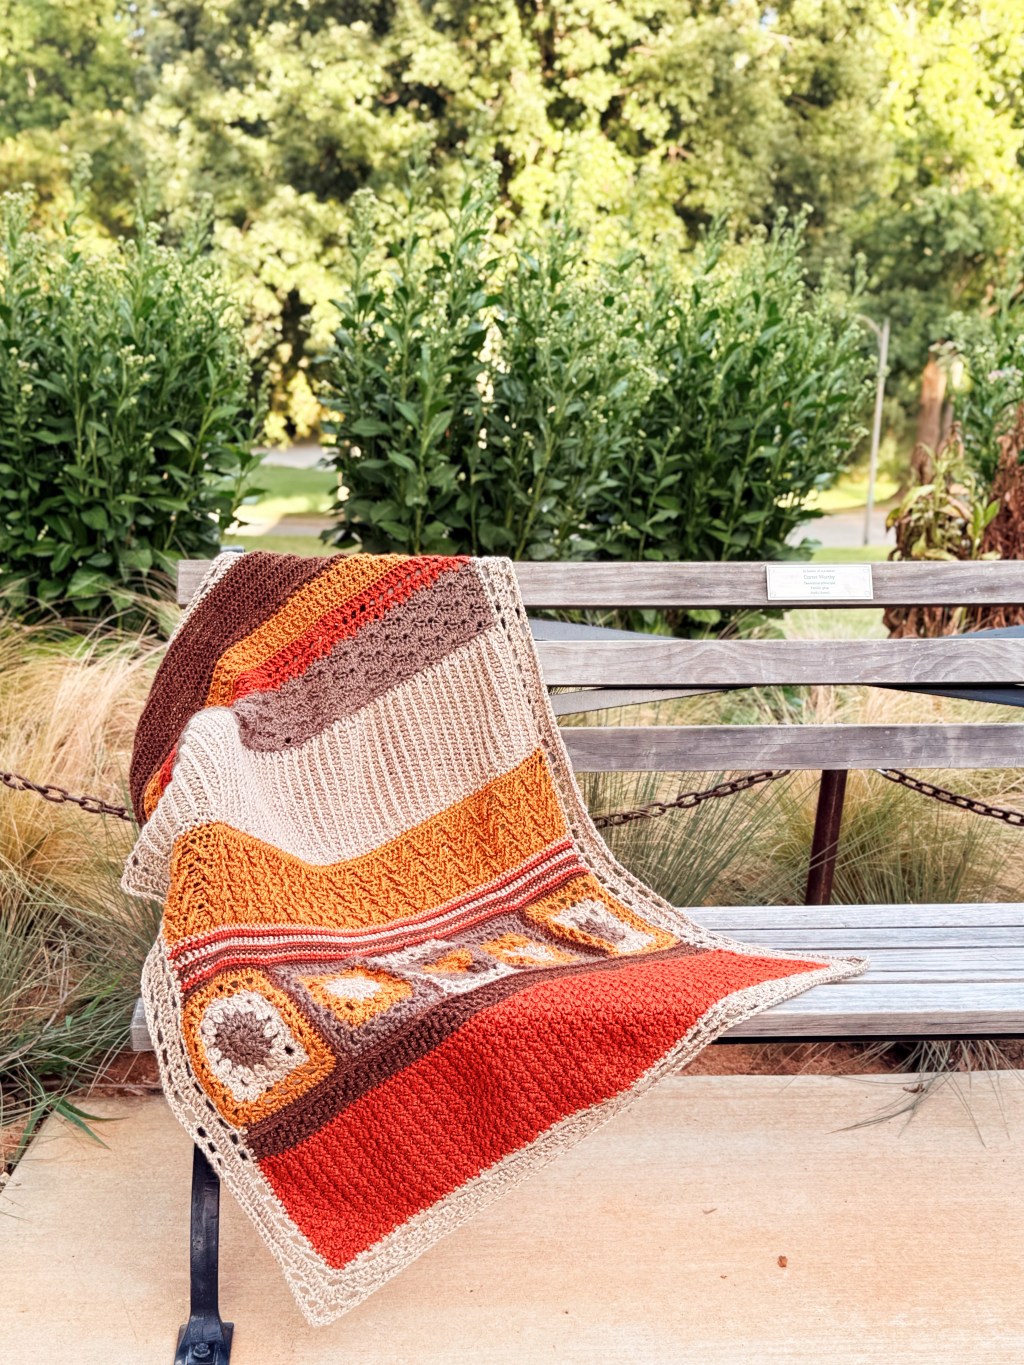
Fast & Easy Brioche Crochet Blanket

Welcome to my crochet tutorial for the Spiced Sunset Brioche Throw! In this video, I will show you how to make this lovely blanket using the brioche rib stitch and half double crochet post stitches.
This pattern is perfect for beginners and experienced crocheters alike, offering a relaxing and rewarding project. This blanket is perfect for adding a touch of cozy elegance to your home or as a thoughtful handmade gift.
Grab the Kit Here: https://www.lionbrand.com
Download the full pattern details: http://rohnstrong.substack.com
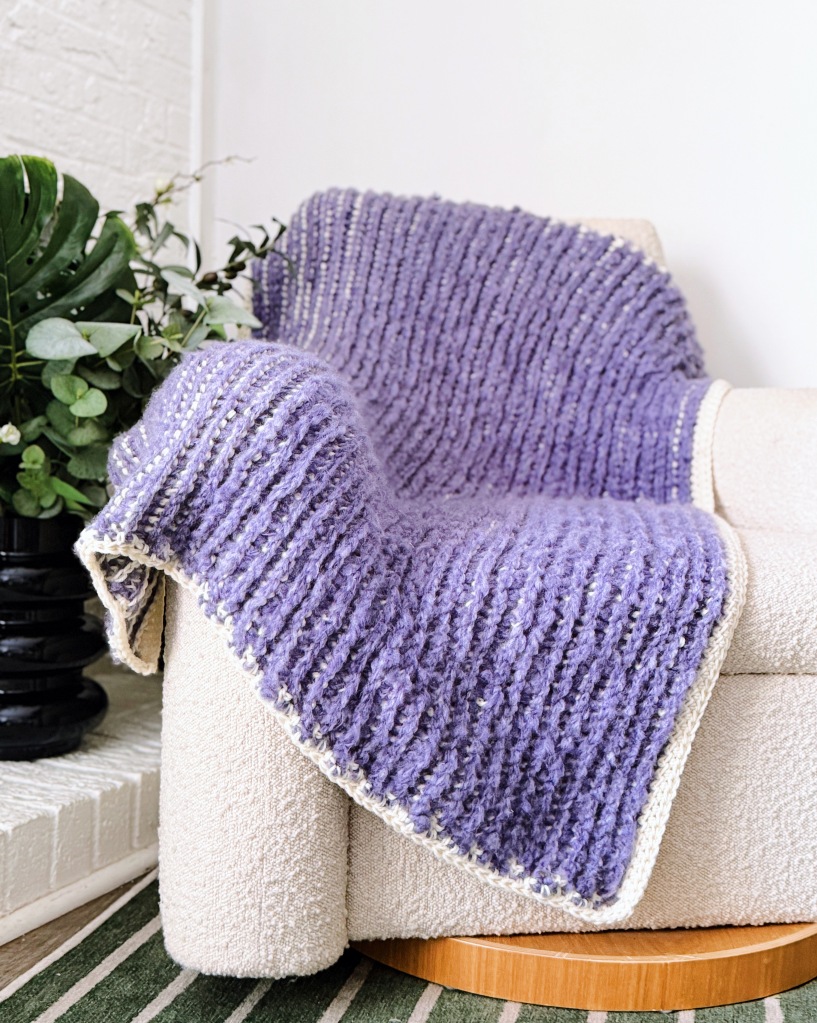
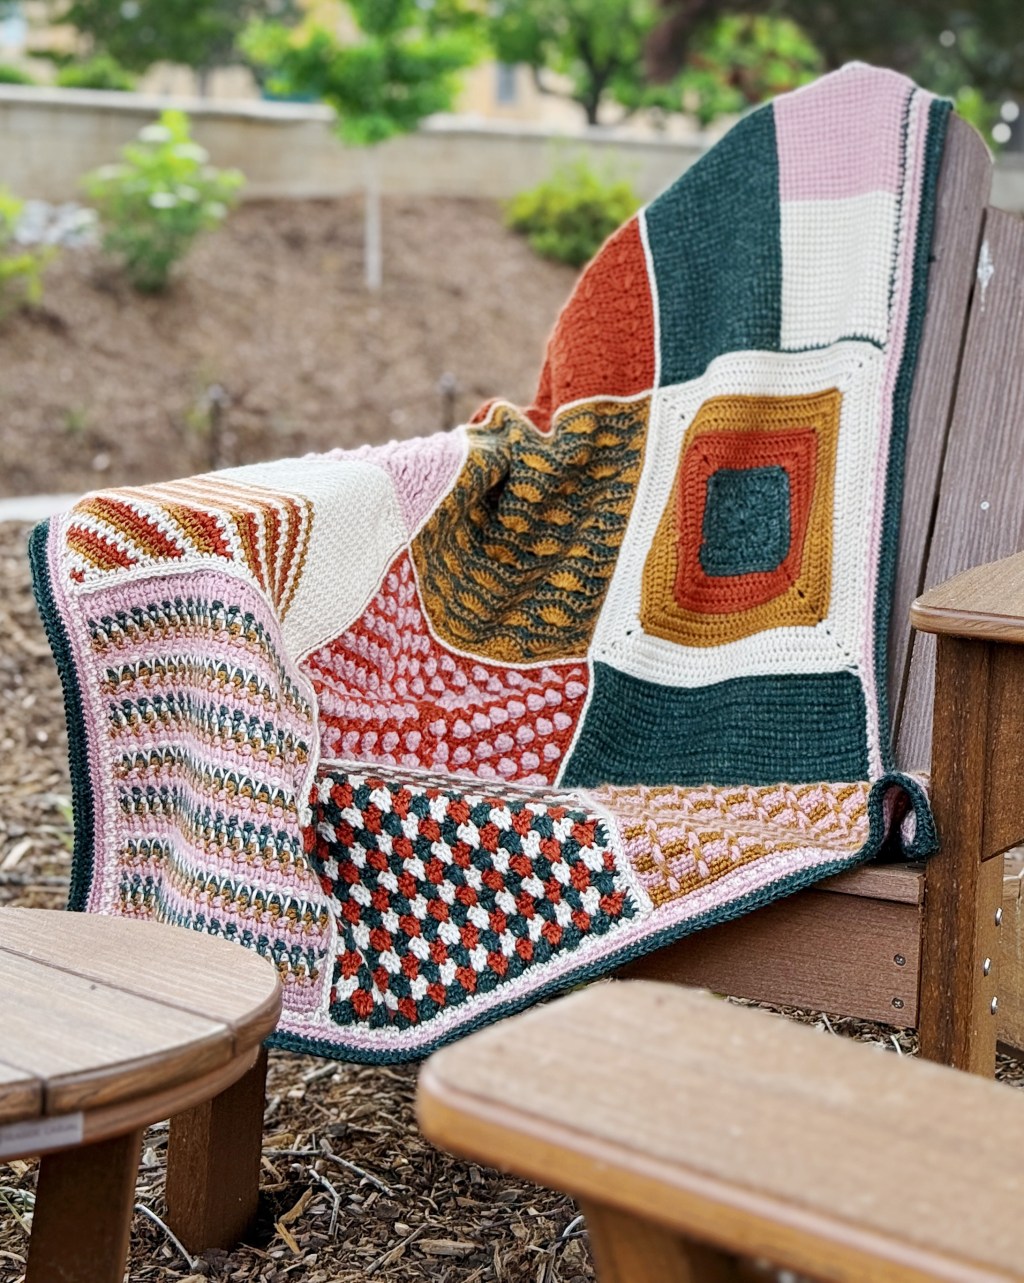
Get the Brioche Look with Crochet
Achieve the gorgeous texture of brioche knitting with this easy crochet blanket tutorial! We’ll be using half double crochet post stitches to create a reversible, squishy fabric that looks just like brioche.
This project is perfect for those who want the brioche look without the knitting needles.
Grab the Kit Here: https://www.lionbrand.com
Download the full pattern details: https://rohnstrong.substack.com/
