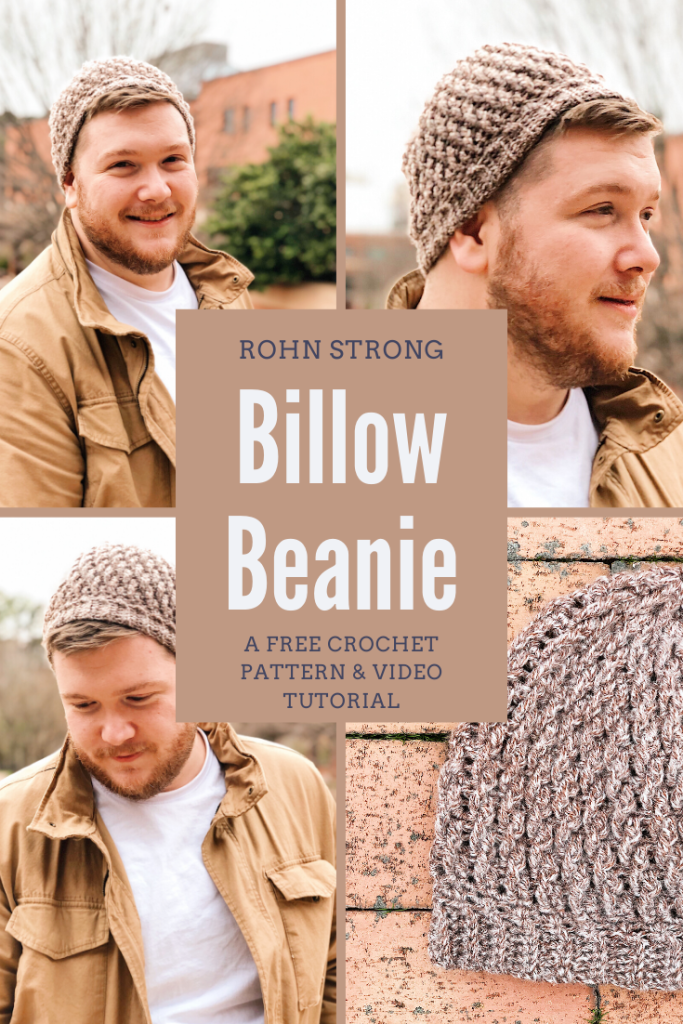
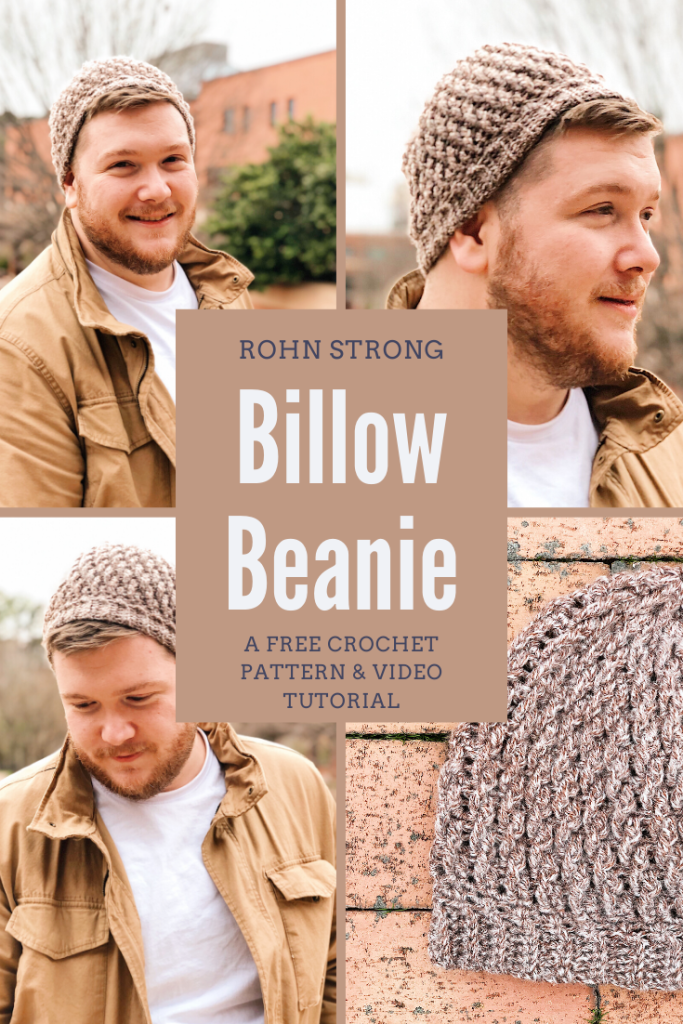
Take your love of texture to the next level! With the Billow Beanie, it’s easier than you think!
Crocheting a hat from the top down that looks complicated but it easy as can be kinda seems like the things fever dreams are made of. Amiright? Billow is the kind of hat that takes every beginner, holds their hand, and walks them step by step right into that Advanced Beginner Crocheter category! Keep scrolling for the FREE pattern!


BUT ROHN…THIS LOOKS A LITTLE TOO COMPLICATED!
Look, I get it, we judge books…or hats…by their stitches. If it looks complicated, it probably is, right? Wrong. This hat has just three stitches. Single crochet. Double crochet. Front Post Triple Crochet.
That’s it.
I kept this pattern simple because I knew all this texture would look a little intimidating but I promise, I’m right there to hold your hand along the way. I’ve went ahead and made a handy video tutorial for the Billow Beanie that is just as good as having me right there walking you through each row.

FRONT POST STITCHES ARE YOUR NEW BEST FREIND!
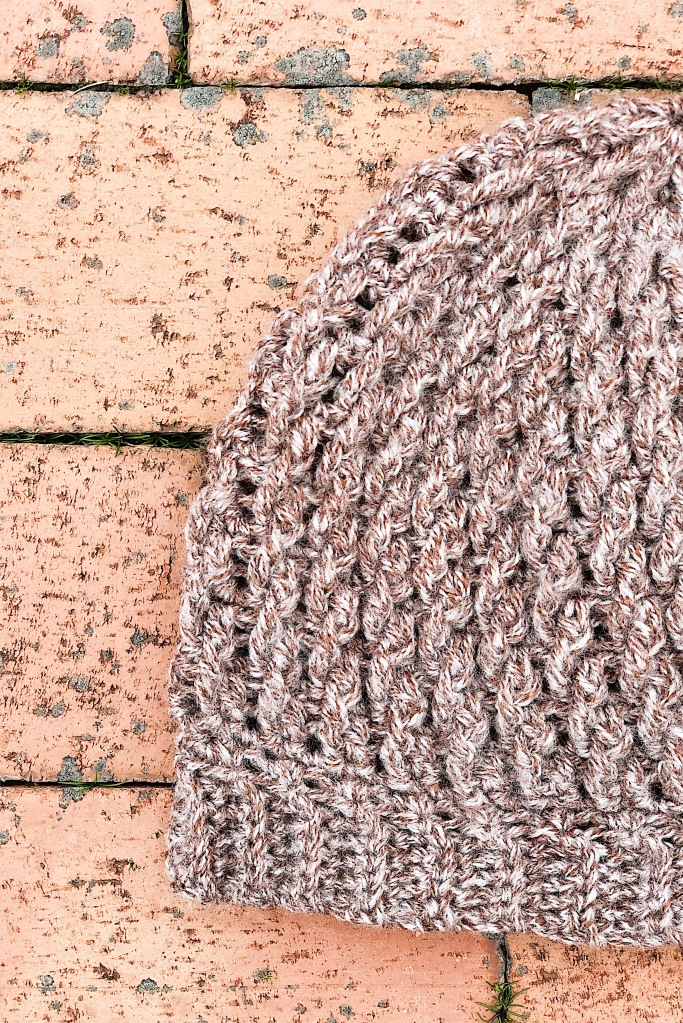
Why? Well, they add a heck of a lot of texture without a whole lot of weight. That means that you’ll be able to add them to a slew of projects, such as the Billow Beanie, without sacrificing comfort.
The Billow Beanie might look packed full of stitches but at the gauge presented, it is light and airy and the comfiest hat I’ve designed to date. Seriously!
LET’S TALK SIZING
This pattern comes in one size, the standard Adult Large. However, it is going to fit a wide range of sizes from Adult Small (which is usually about an 18 inch head circumference) all the way up to and Adult Extra Large (which measures about 24 inches).
Want to make it a bit smaller? Well, I do have a Baby Billow Hat coming SOON! Until that pattern is ready, just change the yarn and hook size! YUP! It’s that easy!
For a toddler/child size I would recommend choosing a lighter worsted weight yarn, something like Lion Brand Feels Like Buttah or even Mandala Baby. Pair that with a 4mm crochet hook and you have the perfect recipe for a smaller hat! Follow the pattern below row by row, or check out the video tutorial here, for all the info you need!


BILLOW BEANIE PATTERN
Pick up the Printable PDF Pattern HERE!
Materials:
US size H/8 5mm Crochet Hook
US size G/6 4mm Crochet Hook
1 skein Big Twist Heather (100% Acrylic; 380yd/6oz) Beige
Scissors
Tape Measure
Tapestry Needle
Finished Sizes:
One Size – 20″ Finished Circumference
Preemie (0-6 months, 6-12 months, Toddler, Teen, Adult Medium, Adult Large, Adult Extra Large)
Finished Measurements
Finished Circumference: 22 inches
Finished Height: 8.5 inches
Gauge:
Rnds 1-4 = 3.75″, unblocked
ABBREVIATIONS
Ch = Chain
Dc = Double Crochet
Sc = Single Crochet
Fptr = Front Post Treble Crochet
PATTERN NOTES:
- Hat is worked in joined rounds from the crown to the brim.
- Stitch counts accompany each round. Take time to count stitches to ensure accuracy.
- Ch-3 counts as a st throughout.
Billow Beanie Pattern
CROWN
Find a free video tutorial to accompany this pattern on my Youtube Channel Here!
Make a Magic Loop
Rnd 1: Ch 3 (counts as first dc here and throughout), 9dc in ring, join to 3rd ch of beg ch 3, do not turn. (10 dc)
Rnd 2: Ch 1, 2sc in each dc around, join to 1st sc, do not turn. (20 sc)
Rnd 3: Ch 3, dc in same st, *Fptr around post of next dc 1 row below, sk sc behind Fptr just made, 2dc in next sc; rep from * around, join to 3rd ch of beg ch 3, do not turn. (10 Fptr and 20 dc)
Rnd 4: Ch 1, *2sc in first st, sc in each of the next 2 sts; rep from * around, join to 1st sc, do not turn. (40 sc)
Rnd 5: Ch 3, *Fptr around post of next dc 1 row below, sk sc behind Fptr just made, dc in next sc; rep from * around, join to 3rd ch of beg ch 3, do not turn. (20 Fptr and 20 dc)
Rnd 6: Ch 1, *2sc in first st, sc in each of the next 3 sts; rep form * around, join to 1st sc, do not turn. (50 sc)
Rnd 7: Ch 3, *Fptr around post of next dc 1 row below, sk sc behind Fptr just made, dc in next sc, Fptr around post of next dc 1 row below, sk sc behind Fptr just made, dc in each of the next 2 sc; rep from * around 9 times, Fptr around post of next dc 1 row below, sk sc behind Fptr just made, dc in next sc, Fptr around post of next dc 1 row below, sk sc behind Fptr just made, dc in last sc, join to 3rd ch of beg ch 3, do not turn. (20 Fptr and 30 dc)
Rnd 8: Ch 1, *2sc in first st, sc in each of the next 4 sts; rep from * around, join to 1st sc, do not turn. (60 sc)
Rnd 9: Ch 3, *Fptr around beg ch-3 of row below, sk sc behind Fptr just made, *dc in next sc, Fptr around post of next dc 1 row below, sk sc behind Fptr just made; rep from * around, join to 3rd ch of beg ch 3, do not turn. (30 Fptr and 30 dc)
Rnd 10: Ch 1, sc in each sc around, join to 1st sc, do not turn.
Rep Rnds 9 and 10 until hat measures about 8.5″

OPTIONAL RIBBING
Ribbing on a top down hat can be a little tricky which is why I always leave it optional. You can add a sctbl rib by working perpendicular rows as follows:
Row 1: At the end of the last Rnd 10 worked, ch 7, turn, sc in 2nd ch from hook and in each of the next 5 ch, sc2tog picking up loops in the final ch and in the first st to the right of the last sc worked on the last rnd of the hat, sl st into the next sc on the last rnd of the hat.
Row 2: Ch 1, turn, sk first sl st, sc in each of the next 6 sts.
Row 3: Ch 1, turn, sc in each of the next 6 sc, sc2tog picking up loops in the final ch and in the first st to the right of the last sc work on the last rnd of the hat, sl st into the next sc on the last rnd of the hat.
Rep Rows 2 and 3 until all sc sts have been working. Fasten off. Seam Row 1 to final row using a whipstitch.
Weave in all ends. Wash and lay flat to block.
And that’s it friends! The Billow Beanie is here and he is READY for his close up! I would love to see your finished Billow Beanie’s so, head to Instagram and make sure you tag #billowbeanie and #rohnstrong so I’ll see it! Then head to the Rohn Strong Makers Group and share your work!
