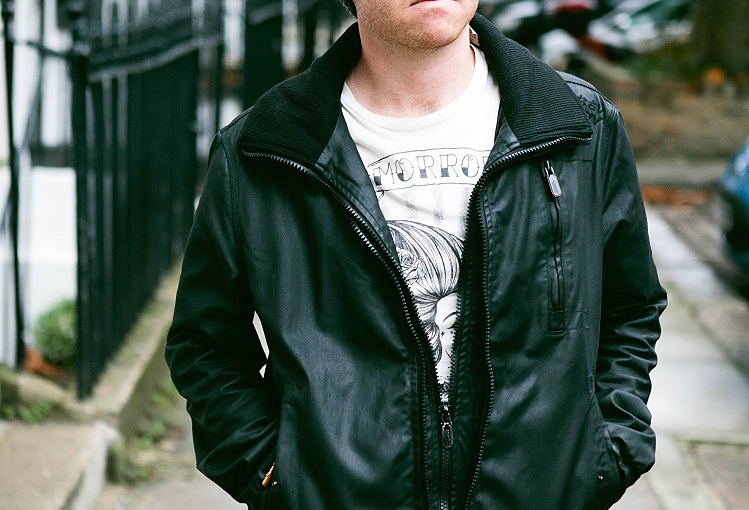
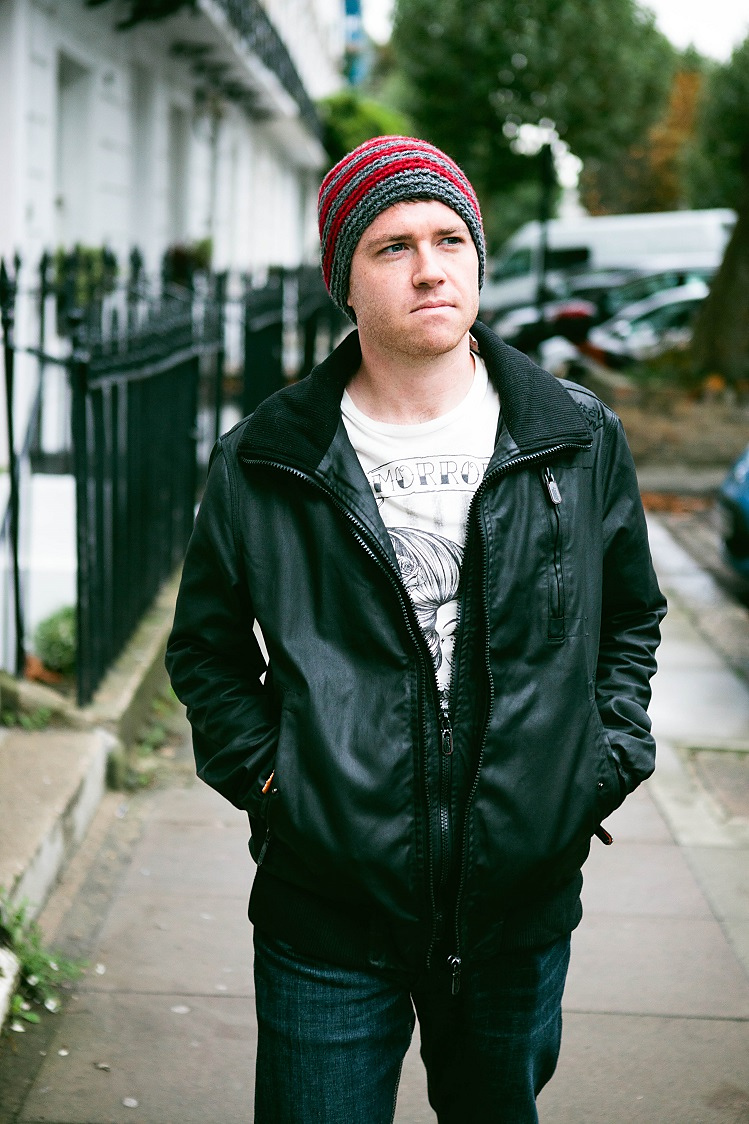
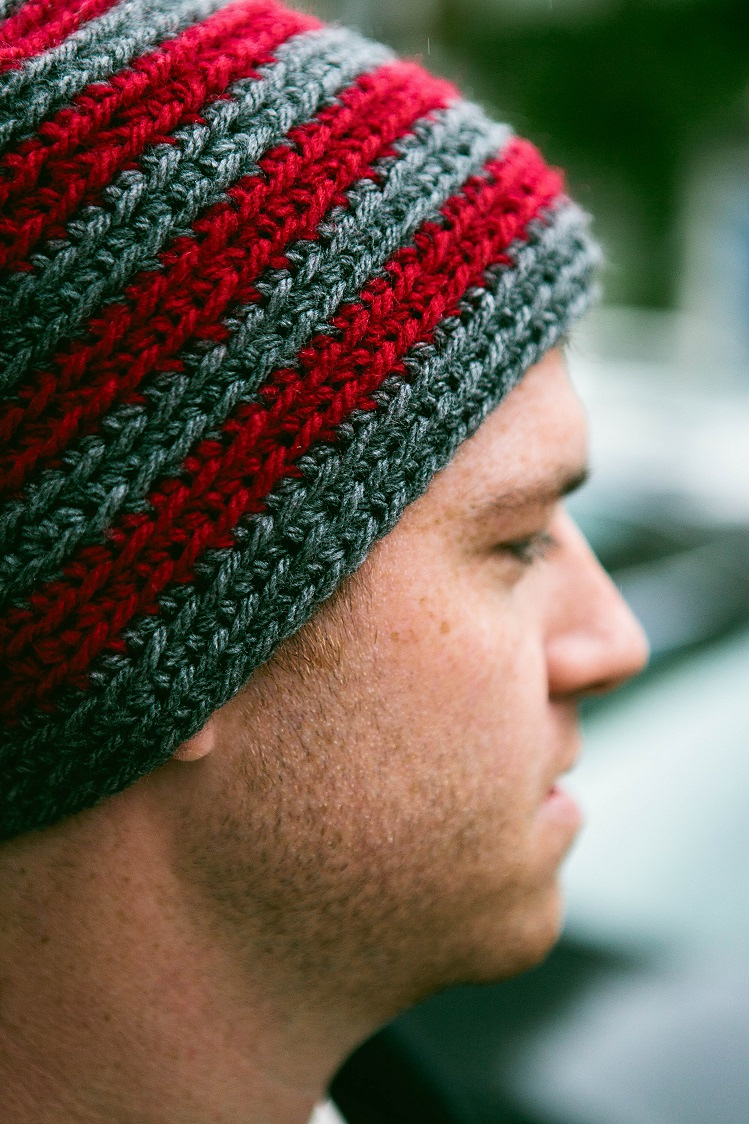
Billow Beanie Free Crochet Hat Pattern for Men

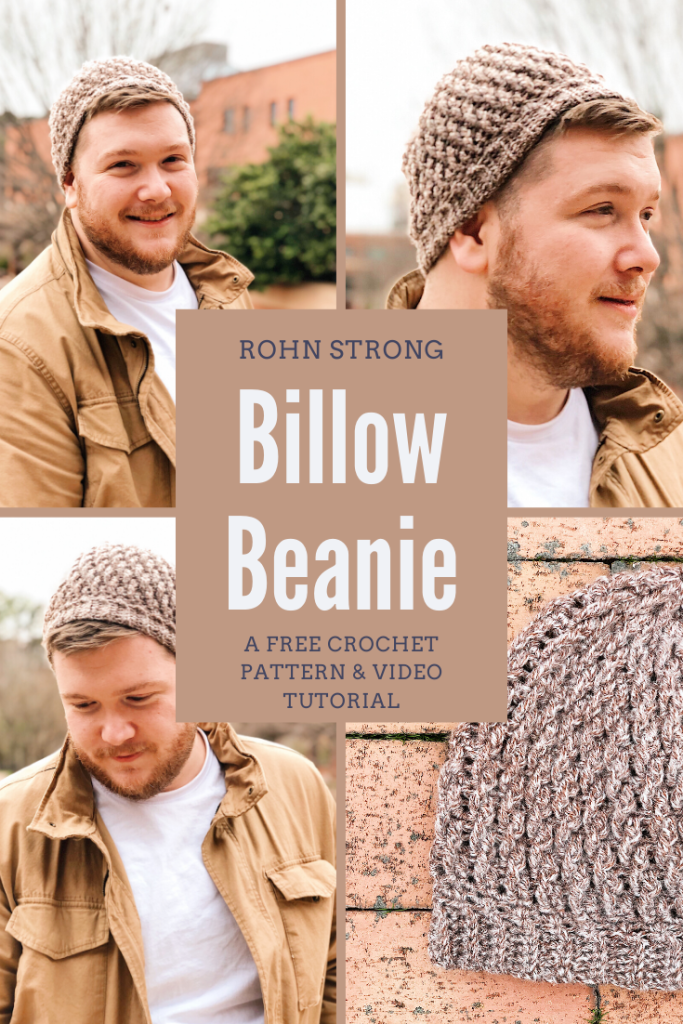
Take your love of texture to the next level! With the Billow Beanie, it’s easier than you think!

Crocheting a hat from the top down that looks complicated but it easy as can be kinda seems like the things fever dreams are made of. Amiright? Billow is the kind of hat that takes every beginner, holds their hand, and walks them step by step right into that Advanced Beginner Crocheter category! Keep scrolling for the FREE pattern!

BUT ROHN…THIS LOOKS A LITTLE TOO COMPLICATED!

Look, I get it, we judge books…or hats…by their stitches. If it looks complicated, it probably is, right? Wrong. This hat has just three stitches. Single crochet. Double crochet. Front Post Triple Crochet.

That’s it.

I kept this pattern simple because I knew all this texture would look a little intimidating but I promise, I’m right there to hold your hand along the way. I’ve went ahead and made a handy video tutorial for the Billow Beanie that is just as good as having me right there walking you through each row.

FRONT POST STITCHES ARE YOUR NEW BEST FREIND!

Why? Well, they add a heck of a lot of texture without a whole lot of weight. That means that you’ll be able to add them to a slew of projects, such as the Billow Beanie, without sacrificing comfort.

The Billow Beanie might look packed full of stitches but at the gauge presented, it is light and airy and the comfiest hat I’ve designed to date. Seriously!

LET’S TALK SIZING

This pattern comes in one size, the standard Adult Large. However, it is going to fit a wide range of sizes from Adult Small (which is usually about an 18 inch head circumference) all the way up to and Adult Extra Large (which measures about 24 inches).

Want to make it a bit smaller? Well, I do have a Baby Billow Hat coming SOON! Until that pattern is ready, just change the yarn and hook size! YUP! It’s that easy!

For a toddler/child size I would recommend choosing a lighter worsted weight yarn, something like Lion Brand Feels Like Buttah or even Mandala Baby. Pair that with a 4mm crochet hook and you have the perfect recipe for a smaller hat! Follow the pattern below row by row, or check out the video tutorial here, for all the info you need!

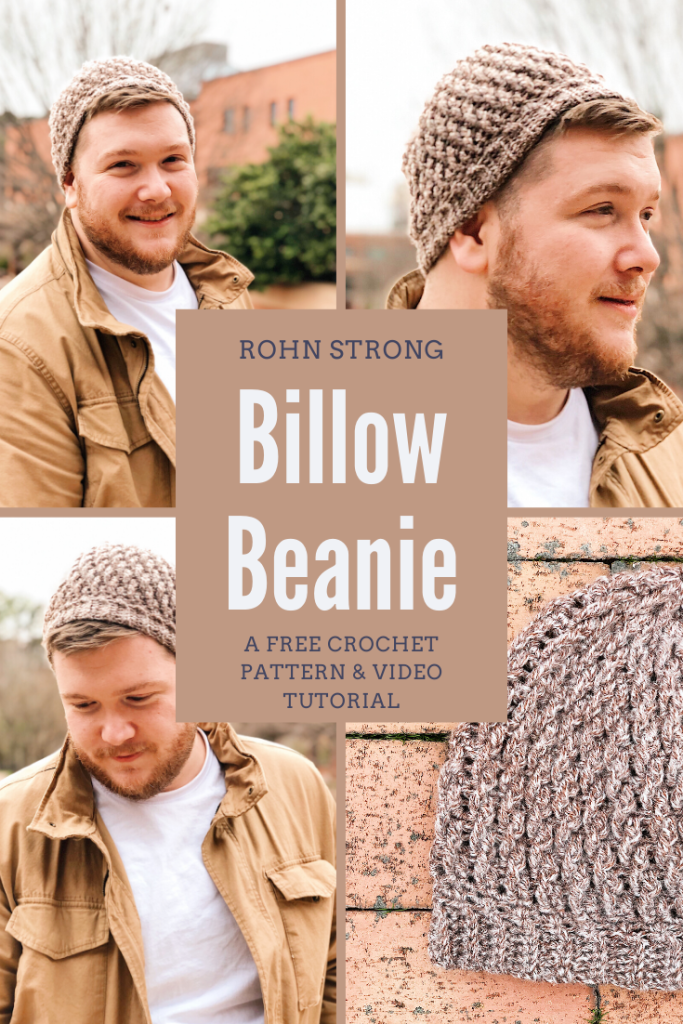
BILLOW BEANIE PATTERN

Pick up the Printable PDF Pattern HERE!

Materials:

US size H/8 5mm Crochet Hook
US size G/6 4mm Crochet Hook
1 skein Big Twist Heather (100% Acrylic; 380yd/6oz) Beige
Scissors
Tape Measure
Tapestry Needle

Finished Sizes:

One Size – 20″ Finished Circumference

Preemie (0-6 months, 6-12 months, Toddler, Teen, Adult Medium, Adult Large, Adult Extra Large)

Finished Measurements

Finished Circumference: 22 inches

Finished Height: 8.5 inches

Gauge:

Rnds 1-4 = 3.75″, unblocked

ABBREVIATIONS

Ch = Chain
Dc = Double Crochet
Sc = Single Crochet
Fptr = Front Post Treble Crochet

PATTERN NOTES:

  • Hat is worked in joined rounds from the crown to the brim.
  • Stitch counts accompany each round. Take time to count stitches to ensure accuracy.
  • Ch-3 counts as a st throughout.

Billow Beanie Pattern

CROWN

Find a free video tutorial to accompany this pattern on my Youtube Channel Here!

Make a Magic Loop

Rnd 1: Ch 3 (counts as first dc here and throughout), 9dc in ring, join to 3rd ch of beg ch 3, do not turn. (10 dc)

Rnd 2: Ch 1, 2sc in each dc around, join to 1st sc, do not turn. (20 sc)

Rnd 3: Ch 3, dc in same st, *Fptr around post of next dc 1 row below, sk sc behind Fptr just made, 2dc in next sc; rep from * around, join to 3rd ch of beg ch 3, do not turn. (10 Fptr and 20 dc)

Rnd 4: Ch 1, *2sc in first st, sc in each of the next 2 sts; rep from * around, join to 1st sc, do not turn. (40 sc)

Rnd 5: Ch 3, *Fptr around post of next dc 1 row below, sk sc behind Fptr just made, dc in next sc; rep from * around, join to 3rd ch of beg ch 3, do not turn. (20 Fptr and 20 dc)

Rnd 6: Ch 1, *2sc in first st, sc in each of the next 3 sts; rep form * around, join to 1st sc, do not turn. (50 sc)

Rnd 7: Ch 3, *Fptr around post of next dc 1 row below, sk sc behind Fptr just made, dc in next sc, Fptr around post of next dc 1 row below, sk sc behind Fptr just made, dc in each of the next 2 sc; rep from * around 9 times, Fptr around post of next dc 1 row below, sk sc behind Fptr just made, dc in next sc, Fptr around post of next dc 1 row below, sk sc behind Fptr just made, dc in last sc, join to 3rd ch of beg ch 3, do not turn. (20 Fptr and 30 dc)

Rnd 8: Ch 1, *2sc in first st, sc in each of the next 4 sts; rep from * around, join to 1st sc, do not turn. (60 sc)

Rnd 9: Ch 3, *Fptr around beg ch-3 of row below, sk sc behind Fptr just made, *dc in next sc, Fptr around post of next dc 1 row below, sk sc behind Fptr just made; rep from * around, join to 3rd ch of beg ch 3, do not turn. (30 Fptr and 30 dc)

Rnd 10: Ch 1, sc in each sc around, join to 1st sc, do not turn.

Rep Rnds 9 and 10 until hat measures about 8.5″
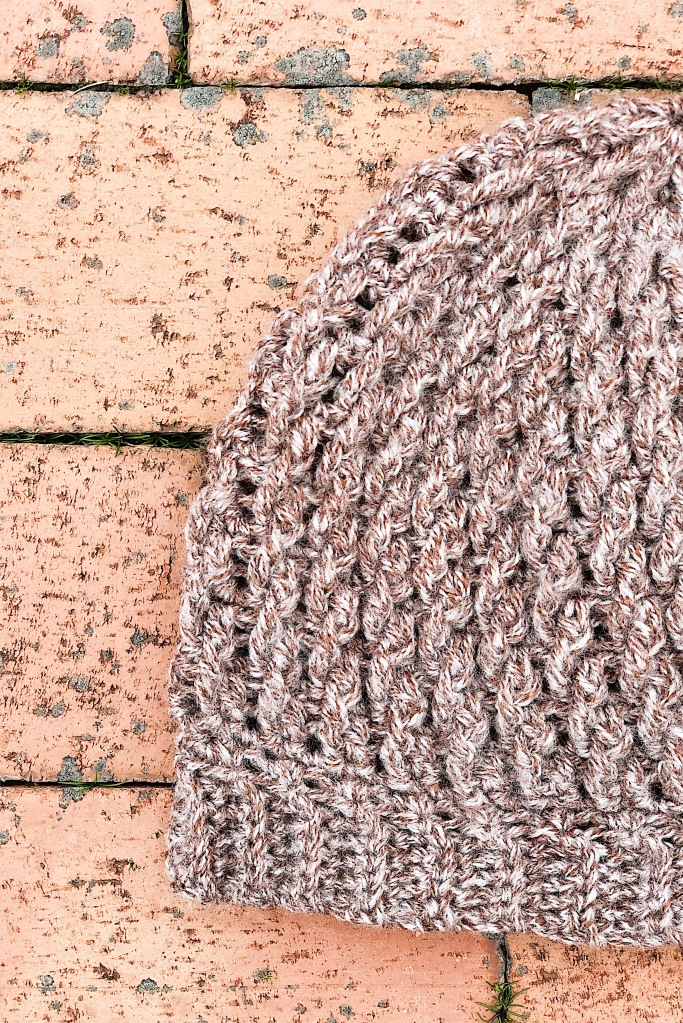
OPTIONAL RIBBING

Ribbing on a top down hat can be a little tricky which is why I always leave it optional. You can add a sctbl rib by working perpendicular rows as follows:

Row 1: At the end of the last Rnd 10 worked, ch 7, turn, sc in 2nd ch from hook and in each of the next 5 ch, sc2tog picking up loops in the final ch and in the first st to the right of the last sc worked on the last rnd of the hat, sl st into the next sc on the last rnd of the hat.

Row 2: Ch 1, turn, sk first sl st, sc in each of the next 6 sts.

Row 3: Ch 1, turn, sc in each of the next 6 sc, sc2tog picking up loops in the final ch and in the first st to the right of the last sc work on the last rnd of the hat, sl st into the next sc on the last rnd of the hat.

Rep Rows 2 and 3 until all sc sts have been working. Fasten off. Seam Row 1 to final row using a whipstitch.

Weave in all ends. Wash and lay flat to block.

And that’s it friends! The Billow Beanie is here and he is READY for his close up! I would love to see your finished Billow Beanie’s so, head to Instagram and make sure you tag #billowbeanie and #rohnstrong so I’ll see it! Then head to the Rohn Strong Makers Group and share your work!

Black Balsam Beanie | Free Easy Beginner Crochet Hat Pattern

The perfect beanie for those fussy men in your life, my Black Balsam Beanie is quick to stitch up crochet hat and features a heat-retaining yarn from Red Heart Yarns!

Get this FREE crochet pattern from Rohn Strong and JOANN below!The Inspiration

Occasionally, I’ll get a spark of inspiration that takes me from start to finish. Designing is definitely a marathon and once in a while, you need sprints to keep you going. This hat was actually born out of one of those sprints!

I had just finished stitching up my Waterrock Scarf, which you can find the FREE pattern for here, and I thought, I need a matching (but not matching) hat! Having a few skeins of Red Heart Yarns Heat Wave lying around, I knew it was a perfect match.

It just so happened that I was planning a small retreat to the mountains in Asheville, NC that weekend. Tucked in the Pisgah National Forest just southwest of Asheville sits Black Balsam Knob, the highest mountain in the Great Balsam Mountains. As soon as I heard the name, I knew how perfect it was for this beanie! The Black Balsam Beanie was born!

The Yarn

Red Heart Yarns Heat Wave is this amazing new yarn with a patented technology that absorbs direct UV waves and converts them to heat which actually warms the yarn.

I was skeptical too say the least.

During the photo shoot, however, I left the hat on the roof of the car while taking a few photos of another piece. When it was time to put on the hat I was SO surprised. The hat wasn’t just warm from the sun, the yarn itself felt as if it was being heated from within. I was really surprised!

Now, for those of you wondering, it doesn’t get hot to the touch, just warm and that warmth does not stick around if you’re not in the sun.

All in all, I think Heat Wave is a really cool yarn and I’m excited to see more projects featuring this groundbreaking yarn!

The Design Process

I’ve been playing around with this idea of using the wrong side of texture stitches in contrasting colors to really give a new look to tried and true crochet stitch patterns. I chose to work a pattern typical called the ‘sl st crunch stitch’ or simple ‘crunch stitch’ but it’s known by many names. Essentially you work a pattern of half double crochet stitches and slip stitches across the row. Then, on the return row, you’ll work slip stitches into the half double crochet stitches and half doubles into the slip stitches. This gives a fabric with a ton of texture without sacrificing stretch.

A simple rib look cuff, a touch of colorful slip stitches, and all over half double crochet really finish the hat off perfectly! And, let me tell you, I’ve been living in this hat!

BLACK BALSAM BEANIE

MATERIALS:

  • 2 Balls of Red Heart Yarns Heat Wave (1 each in colorways Maroon and Grey)
  • US I/9 5.5mm crochet hook
  • Scissors
  • Tapestry Needle

FINISHED SIZE:

20 inches in circumference and 8.5 inches high

GAUGE:

ABBREVIATIONS:

Ch – Chain

Sc – Single Crochet

Sl st – Slip Stitch

St – Stitch

Hdc – Half Double Crochet

Sl st – Slip Stitches

Hdc2tog – Half Double Crochet 2 Together

RS – Right Side

WS – Wrong Side

NOTES:

Hat is worked from brim to crown.

To make the hat longer/shorter simply work more/fewer rows before beginning the decreases at the crown.

Ch-2 does not count as a stitch throughout.

Hat begins in joined rounds, working into both the RS and WS, then continues in joined rounds with RS facing.

HAT

Brim

With Maroon, Ch 9

Row 1: Sc in 2nd ch from hook and in each ch across. (8 sts)

Row 2: Ch 1, turn, sc across working into the back loops of each stitch.

Rep Row 2 a further 78 times for a total of 80 rows. Do not end off.

To join the brim, taking care not to twist the ribbed section, match the short ends together and sl st through both thicknesses of fabric. Take care to keep this neat and even.

Body

Rnd 1: Ch 2, working into the end of each row, hdc around, join to first stitch with a sl st. (80 hdc)

Rnd 2: Join Grey, Ch 2, turn, hdc in first st, *sl st in next st, hdc in next st; rep from * around to last st, sl st in last st, join to first st with a sl st.

Rnd 3: With Maroon, work as for row 2.

Rnd 4: With Grey, work as for row 2.

Rnd 5: With Maroon, work as for row 2.

Rnd 6: With Grey, work as for row 2.

Rnd 7: With Maroon, work as for row 2.

Begin to work in the round without joining.

Rnd 8: With Grey, ch 2, turn, hdc in each st around.

Rnd 9: With Grey, ch 2, hdc in each st around.

Rep Rnd 9 until hat measures approximately 5.5″ from edge of brim or desired length.

Crown

Rnd 1: Ch 2, *hdc2tog, hdc in each of the next 8 sts; rep from * around.

Rnd 2: Hdc in each st around.

Rnd 3: Ch 2, *hdc2tog, hdc in each of the next 7 sts; rep from * around.

Rnd 4: Hdc in each st around.

Rnd 5: Ch 2, *hdc2tog, hdc in each of the next 6 sts; rep from * around.

Rnd 6: Hdc in each st around.

Rnd 7: Ch 2, *hdc2tog, hdc in each of the next 5 sts; rep from * around.

Rnd 8: Hdc in each st around.

Rnd 9: Ch 2, *hdc2tog, hdc in each of the next 4 sts; rep from * around.

Rnd 10: Hdc in each st around.

Rnd 11: Ch 2, *hdc2tog, hdc in each of the next 3 sts; rep from * around.

Rnd 12: Hdc in each st around.

Rnd 13: Ch 2, *hdc2tog, hdc in each of the next 2 sts; rep from * around.

Rnd 14: Hdc in each st around.

Rnd 15: Ch 2, *hdc2tog, hdc in each of the next 1 sts; rep from * around.

Rnd 16: Hdc in each st around.

Rnd 17: Ch 2, hdc2tog around.

Weave yarn through each stitch and pull tight to close. Wash and lay flat to block. Weave in all ends.

I really hope you enjoyed this pattern! I just love sharing all these free patterns with you all! If you stitch this up, make sure you take a photo and tag me in them on Instagram and show off your project in the Rohn Strong Maker Community on Facebook too!

Briar Hat – Free Crochet Pattern

Add this pattern to your Ravelry queue HERE.
PIN this pattern to your Pinterest boards for later HERE.


I’m so excited to show you my latest project…Briar!

This project is very beginner friendly with a comfortable and easy fit. Read below about the inspiration and yarn details, or scroll on down for the free pattern.

(C) Britt Spring

Simple. Handsome. Hard Wearing.

When I started designing, back in 2012, I really wanted to focus on hats. There was something about the simplicity of the canvas that really spoke to me. Since then, I’ve designed a lot of hats. A lot. Briar, however, is my most worn make of them all.

(C) Britt Spring

It’s all about the stitch here. A squishy stretchy soft single crochet (say that 10 times fast) is worked throughout with bold stripes to give this project the perfect bit of that special something. Not to mention, it keeps the hat from getting a little too boring. I love simple as much as the next crocheter…but here’s the thing…I’m not going to make a full hat of just single crochet. I’ll get bored. The stripes are the perfect remedy!

Men are picky. Really picky. We know this.

So, with that in mind, I decided to design a simple hat that was generously sized and could be customized with just a switch of color.

Want to match a sports team? Cool! Want a solid color? Cool! Want to make it exactly like I did? Cool!

I went ahead and kept this adult sized, but you can easily make it smaller/larger by changing your hook size and/or yarn. Worsted weight and an I/9 hook would make a perfect little boy hat!

Let’s chat about yarn!

I chose to use Lion Brand Heartland yarn for this hat for a couple of reasons. I need just the right marled color but didn’t want to spend a fortune. It’s a hat. For a man. He’s not hand washing this.

Trust me…if you’re giving this to a man…it’s going to need a wash. Or two. Or three.

Heck, just throw it in with the weekly laundry. Have you ever picked up a sweaty crochet hat? No one needs to live through that horror.

(C) Britt Spring

Heartland features a wide range of colors that are both tweedy and heathered shades inspired by the natural beauty of the American landscape. Bottom line – you’ll find something for someone in this gorgeous range of yarns.

Pattern

Add this pattern to your Ravelry queue HERE.
PIN this pattern to your Pinterest boards for later
HERE.

Materials:

  • Lion Brand Yarn Heartland (Category 4/worsted; 5oz/251yds; 100% Acrylic) 1 Skein each Red Wood (A) and Katmai (B)
  • US J/10 (6mm) Crochet Hook
  • Tapestry Needle and Scissors for Finishing
  • Measuring Tape

Gauge:

11 sts x 11 rows in single crochet = 4″ using a 6mm crochet hook or size required to obtain correct tension.

Sizes (finished head circumference):

Adult Men’s (20.5″) and will stretch to fit a 23.5in head circumference

Abbreviations (US terms):

Ch – chain

Sc – single crochet

Tblo – through back loop only

St(s) – stitches

Rep – Repeat

Rnd – Round

RS – Right Side

Inc’d – Increased

Skill Level:

Level 2 – Easy

Pattern Notes

  • All rounds are worked with RS facing.
  • All rounds are worked in a spiral, place a marker at the beg of the round and move up each round.
  • All sts are worked through the back loop throughout unless otherwise noted.

Pattern

With B, Ch 2

Note: Work in back loops throughout.

Rnd 1: 6 sc in 2nd ch from hook; join to first sc with sl st, pm in first st for beg of rnd, move marker up as each rnd is completed.

Rnd 2: Ch 1, 2scblo in each st around. (6sts inc’d – 12 sc)

Rnd 3: (1sctblo, 2sctblo in next st) around. (18 sc)

Change to Yarn A.

Rnd 4: (2scblo, 2scblo in next st) around. (24 sc)

Rnd 5: (3scblo, 2scblo in next st) around. (30 sc)

Rnd 6: (4scblo, 2scblo in next st) around. (36 sc)

Change to Yarn B and continue working stripes alternating 2 rounds of each color.

Rnd 7: (5scblo, 2scblo in next st) around. (42 sc)

Rnd 8: (6scblo, 2scblo in next st) around. (48 sc)

Rnd 9: (7scblo, 2scblo in next st) around. (54 sc)

Rnd 10: (8scblo, 2scblo in next st) around. (60 sc)

Work even in stripe sequence until 22 rows are complete.

Brim

Row 1: With Yarn B, scblo in each st around.

Rows 2 and 3: Sc (through both loops) around.

Fasten off yarn.

Finishing

Weave in ends and block to shape.