
Tag: free pattern
-
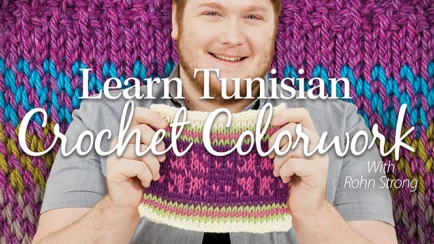
Tunisian Twists
Unlocking the Magic of Tunisian Crochet Tunisian crochet isn’t your average granny square. Picture a blend of knitting and crocheting, where each stitch hangs out on your hook like a tiny yarn party, waiting to be joined. This unique technique creates a dense, knit fabric-like texture that’s perfect for sturdy projects like bags, blankets, and,…
-
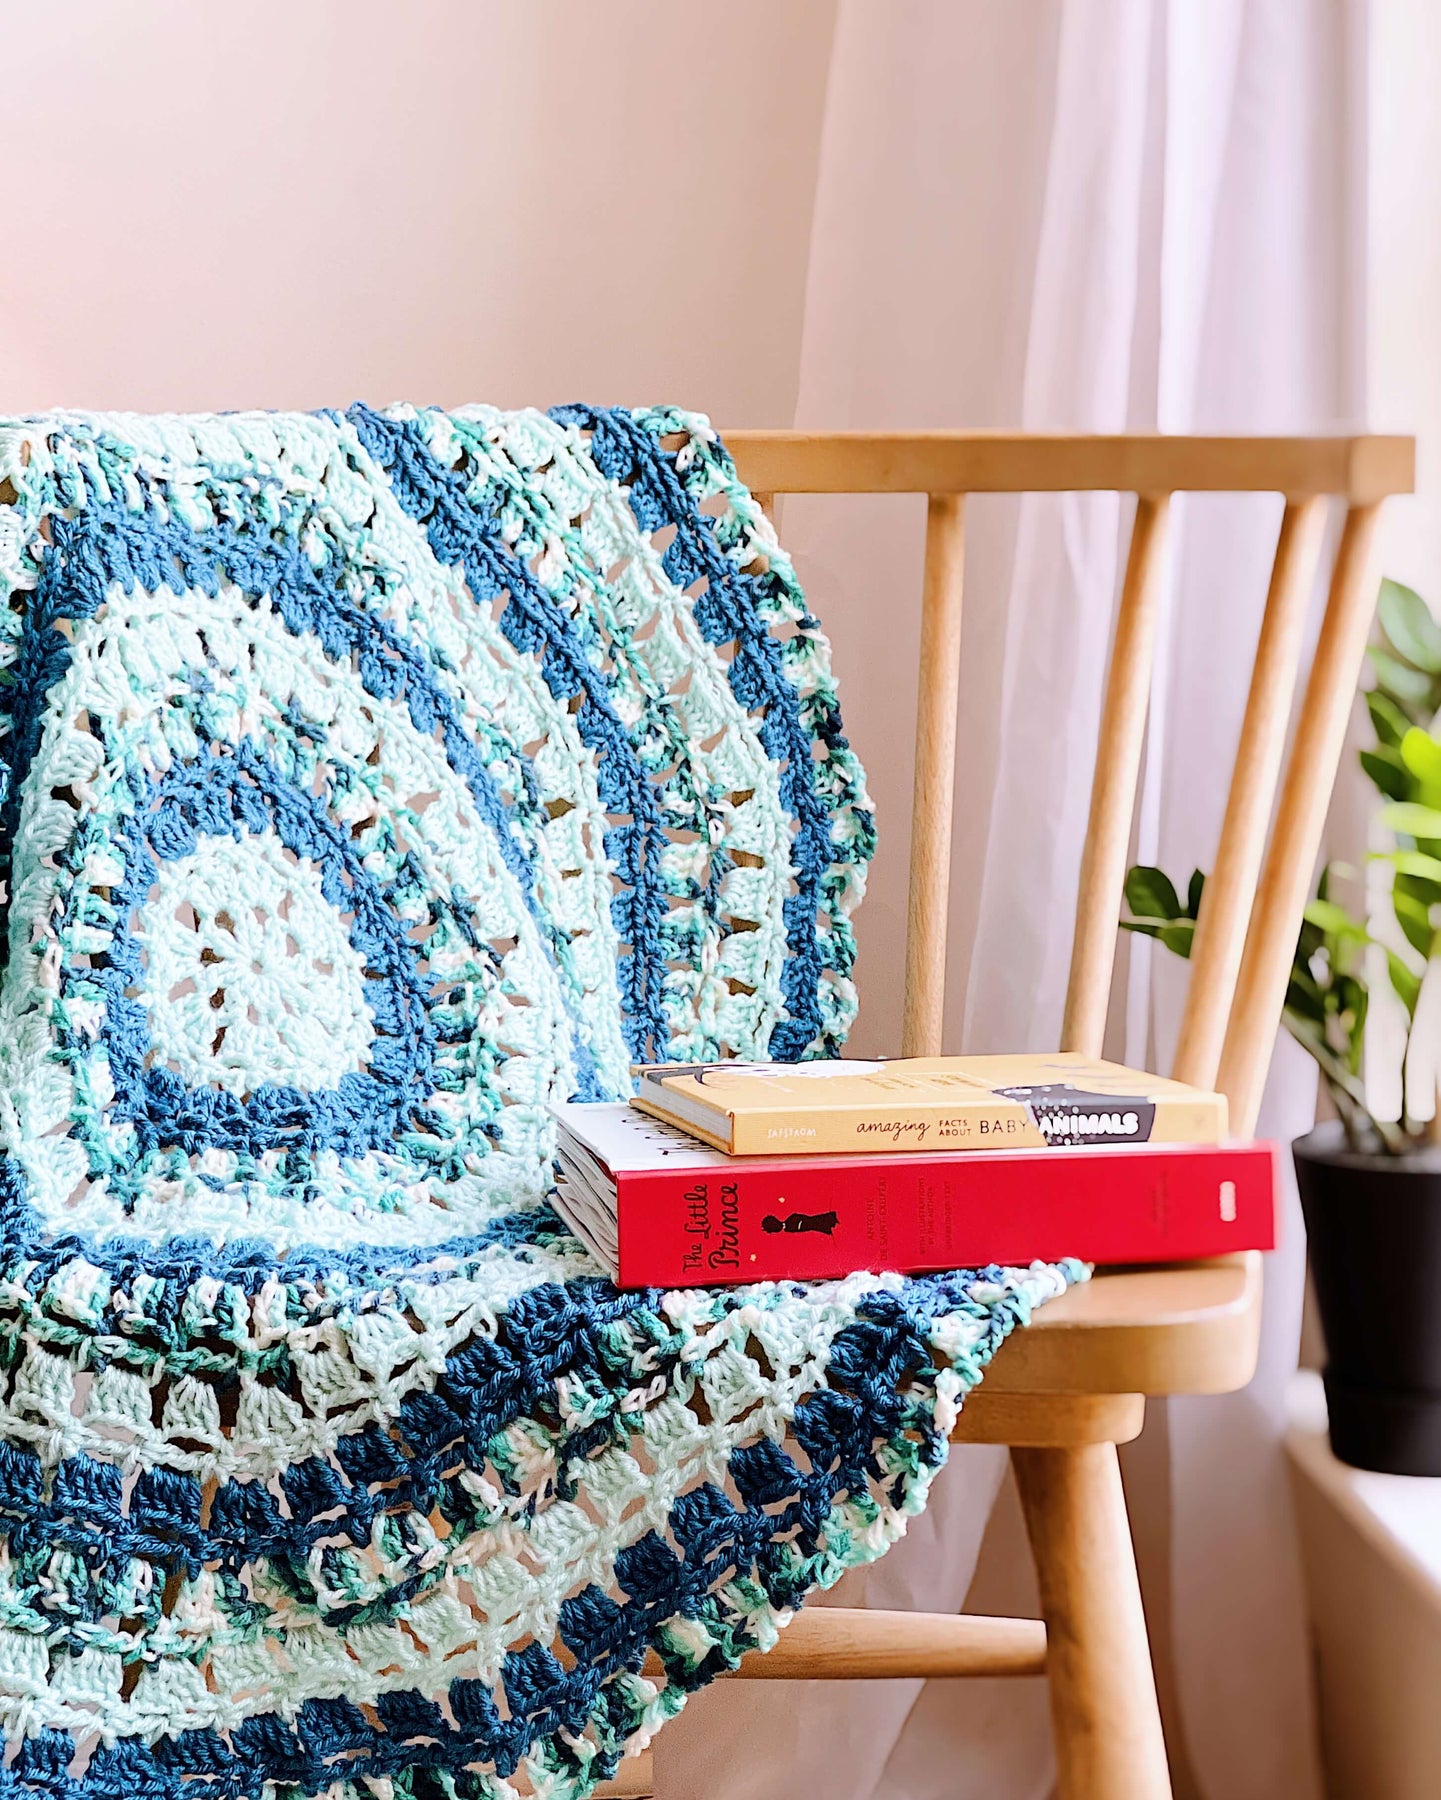
Blizzard Blanket – Free Crochet Pattern by Rohn Strong
Hey Friends! It’s a new year *waves wildly* and I’m so excited to start the year off with a new FREE CROCHET PATTERN! It’s a simply lil’ blankie with a couple cool twists that keep it from being too boring. Here’s the good stuff: Buy the PDF of this pattern Here (It really helps me…
-
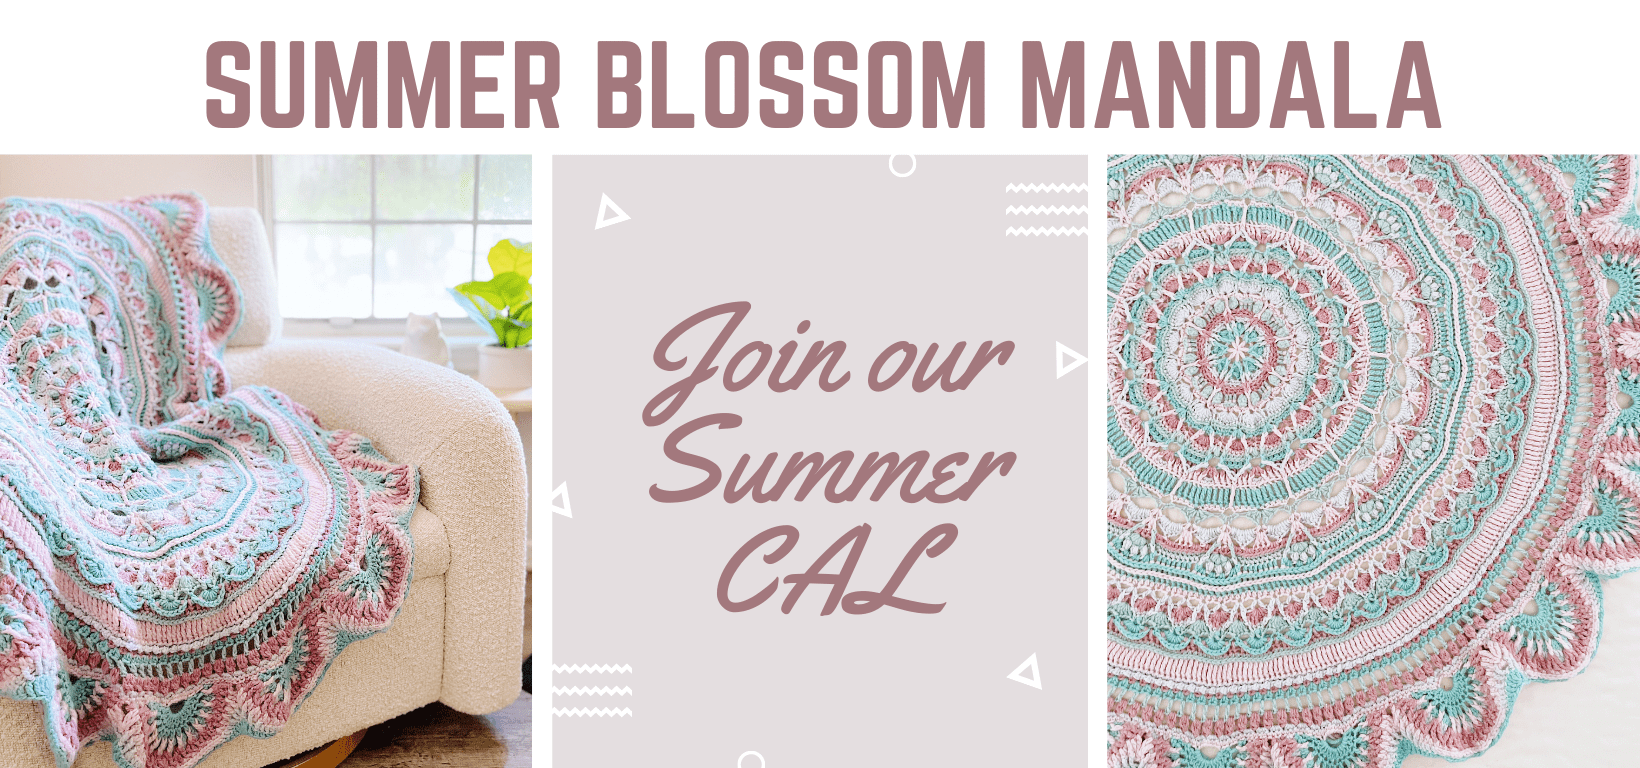
Summer Blossom Mandala – Week 8
It is here friends! Our last rounds on this giant mandala! We only have three rounds to focus on and, while there are a number of stitches to worry about, it’s pretty smooth sailing at this point! Last Rounds: Rnd 1: Join Color A in marked st, ch 3 (counts as first dc), tr in…
-
Summer Blossom Throw – Week 7
Hey all! I’m so excited to jump right on in and get stitching this gorgeous mandala! A quick reminder, this is the free version of the pattern and DOES NOT INCLUDE the PDF pattern. You can purchase the PDF pattern HERE or the Yarn Kit from Lion Brand Yarn HERE, both of which include the pdf pattern. Scallop Edging Repeat…
-
Summer Blossom Mandala – Week 6
Hey all! I’m so excited to jump right on in and get stitching this gorgeous mandala! A quick reminder, this is the free version of the pattern and DOES NOT INCLUDE the PDF pattern. You can purchase the PDF pattern HERE or the Yarn Kit from Lion Brand Yarn HERE, both of which include the pdf pattern. Rnd 36: Join…