
Try your hand at machine quilting with these easy and quick to stitch pillow covers with this month’s free quilting pattern with JOANN! Read through my inspiration, design process, and more below!
The Inspiration
We love a good ole fashioned cookout here in the south. There’s just something about a pitcher of lemonade, some good BBQ, and a slice of coconut cake to make that summer heat bearable.
These pillows were really born out of necessity. I knew we’d be having one or two cookouts this year and needed something for my new aderondeck chairs. I went to buy some new throw pillows but quickly thought, “Why don’t I save myself some money and just make it myself?”

This time of year is perfect because JOANN is stocked full of patriotic fabric. I knew I would use just plain old cotton quilting fabric because it would be easy to wash. Let’s face it, BBQ is as good as it is messy, so they need to be washable. I also didn’t want to spend a lot. JOANN has great deals on fabric this time of year too. So, I grabbed a yard cut of some patriotic fabric, a contrasting thread, another yard of a solid fabric, and got to work.
The Design
This design is quite simple. You’ll need just three cuts of fabric, some batting, and a contrasting thread. We’ll have these whipped up in an hour or so.

Here’s my biggest tip. You’re going to want to get familiar with your machine. You don’t need to be an expert but you do need to know how to change stitch length, how to use a walking foot, and how to sew a good 1/4″ seam.
If you can do that, you can whip these easy pillows up in no time a’tall.
The Pattern
Finished Pillow Size:
Will fit an 18″ Pillow
Here are all the supplies you need, each available from your local JOANN.
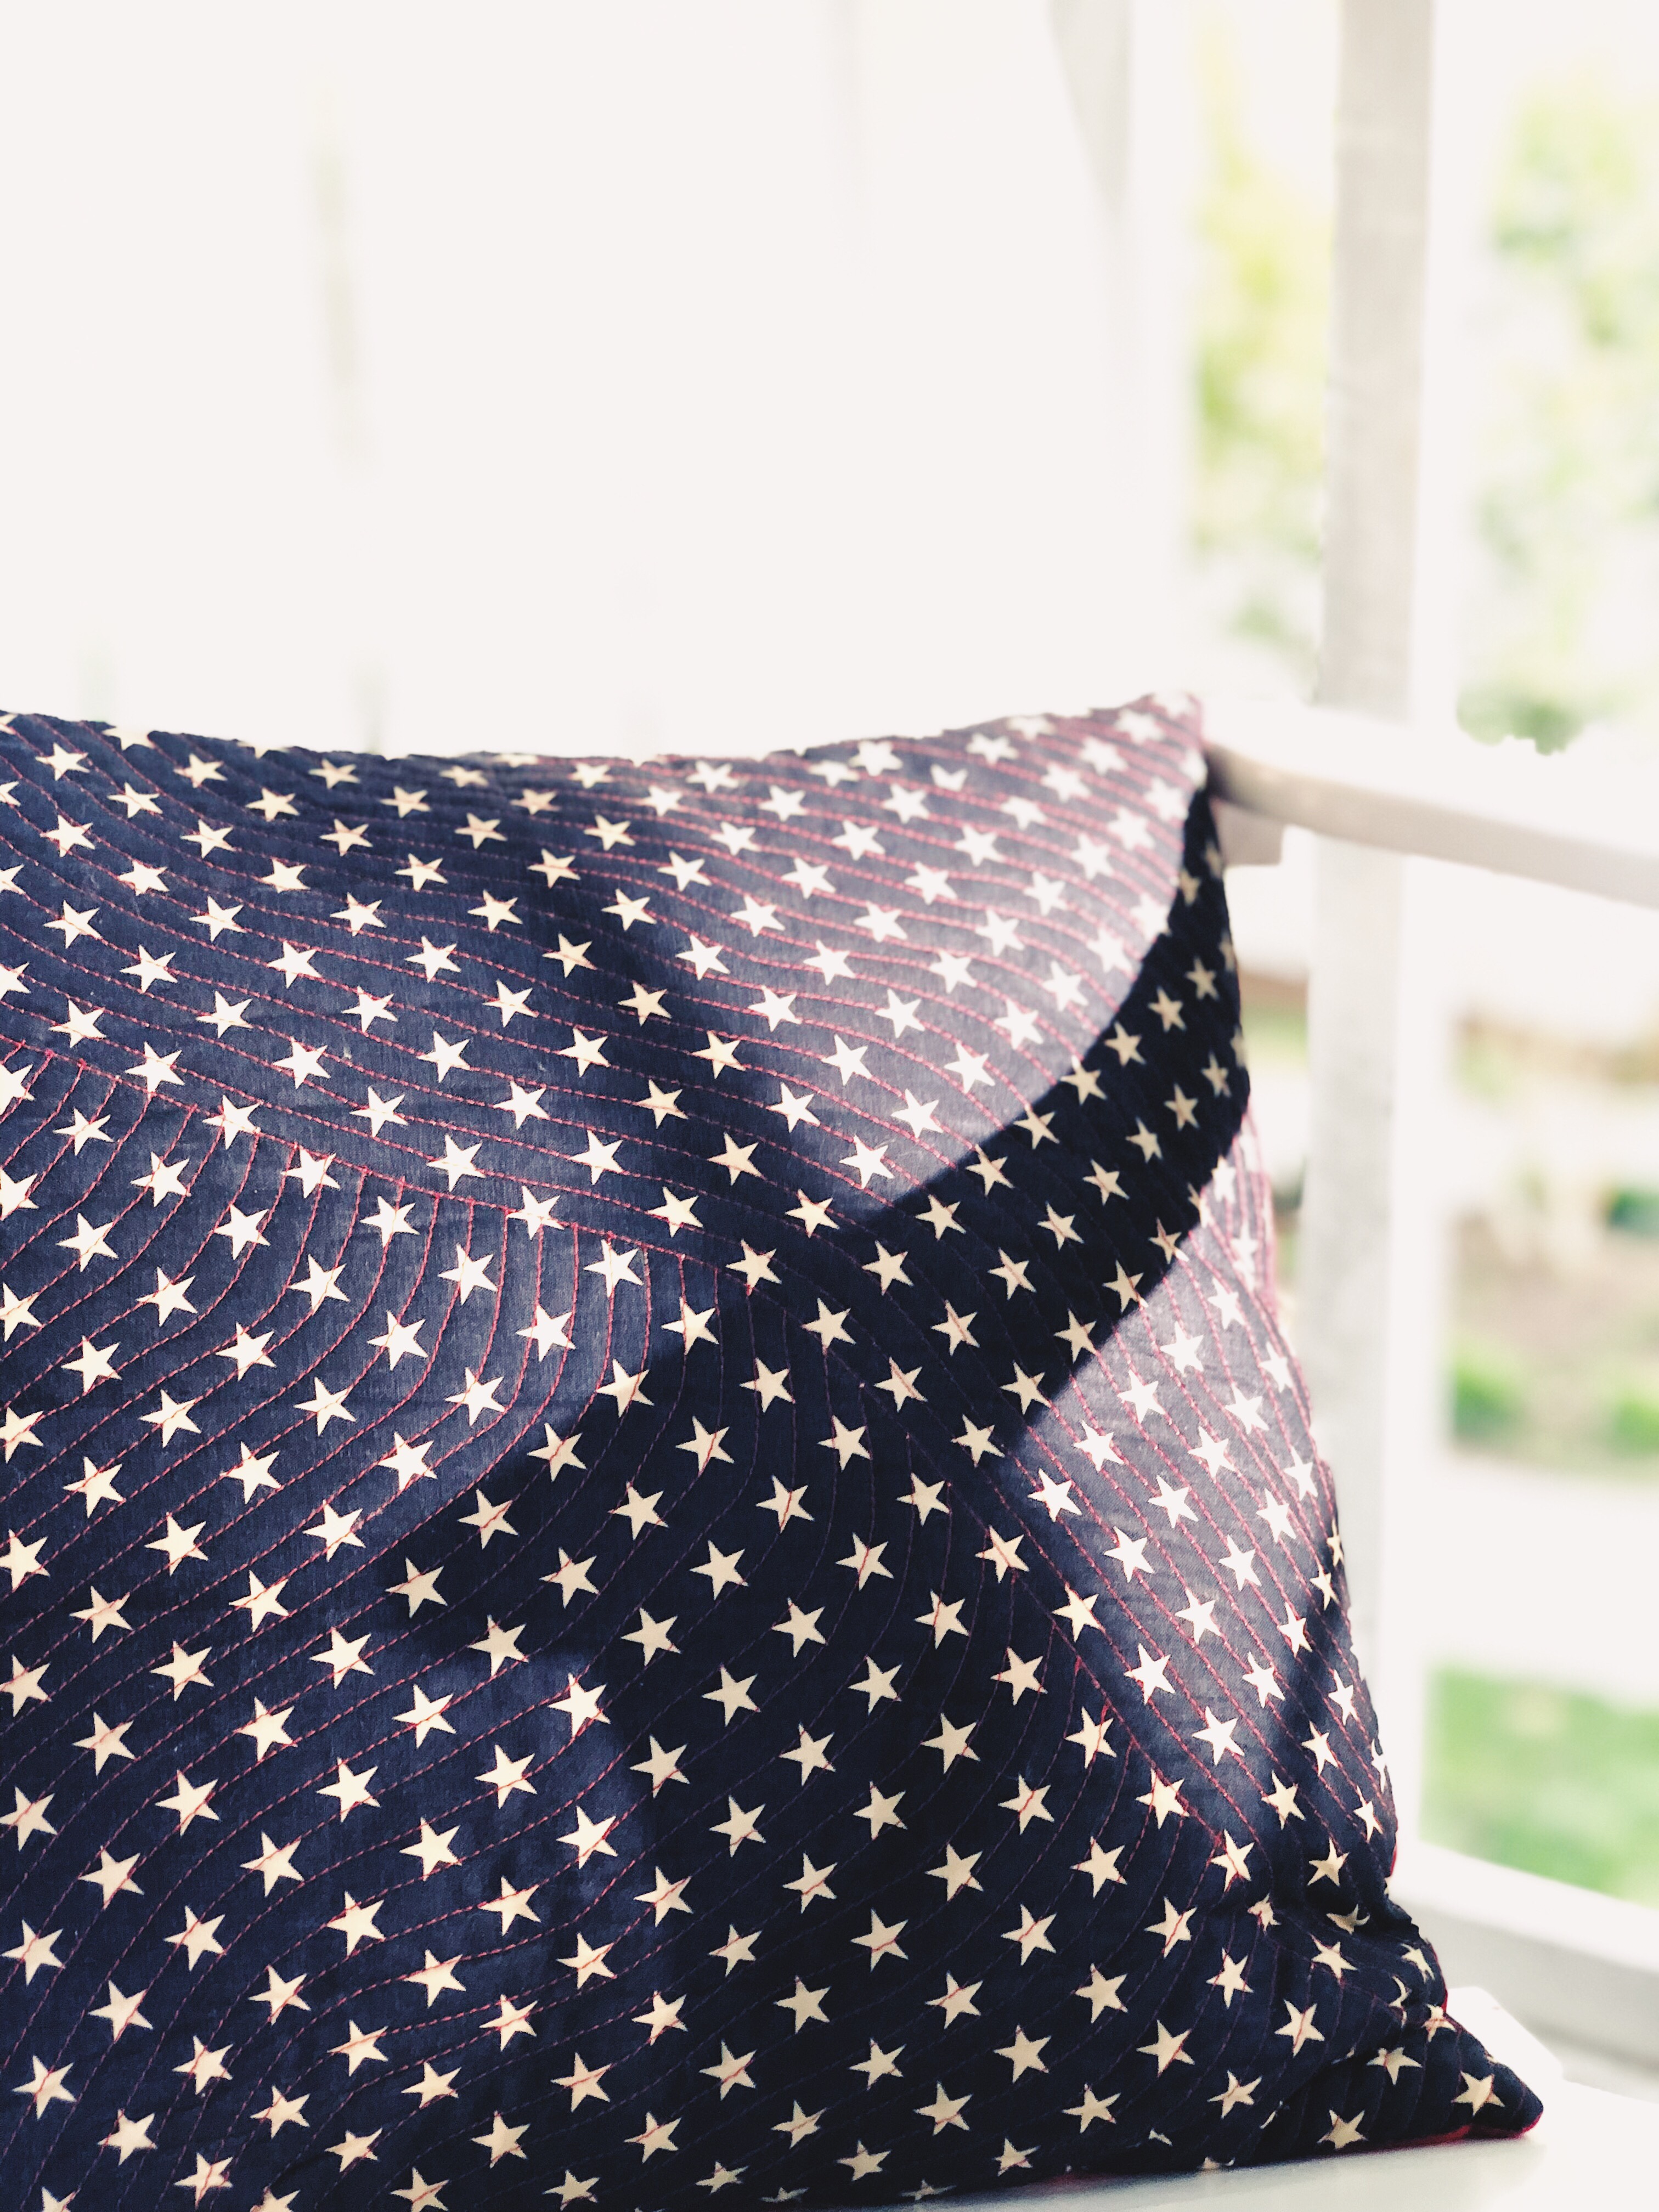
- 1/2 yard Blue Print Fabric (I used these stars)
- 1/2 yard Solid Red Fabric
- 1 19″ square piece of batting
- Contrasting red thread
- Hera Marker (or something to mark your fabric with)*
*optional
Step 1 – Cutting Fabric
Cut Fabric as follows:
Blue Print
Cut 1 – 18.5″ x 19″ rectangle
Red Solid
Cut 2 – 20″ rectangles
Step 2 – Quilting
We’re going to start by doing a little bit of quilting. This step can absolutely be skipped if you wish, but it’s such a great way to add a personal touch.
The pattern we’re going to add is called “Sectioned Curves. These are really quick and simple to do but add SO much interest. I thought it looked like Old Glory waving in the wind! I just love it.
We don’t need to baste this quilt as it’s quite small, however if desired, baste before moving onto the next step.
Center the batting under the Blue Print rectangle, mark a curve beginning at the top left corner and continued in a S-shape down to 1″ above the bottom right corner. See photo for example.

Once the curve is marked, quilt on this line to set the first curve. Slide the quilt back through the harp, beginning at the same side, we’re going to echo the quilted line. To do this, place the left edge of your foot on the previous line.

TIP: Remember to always look at where you’re quilting not what you’re quilting.
Continue to echo the curves across the quilt until you reach the edge of the section. See photo for example. Don’t fret too much if your lines wander! That’s the joy of this kind of quilting…it’s all part of the design!
Rotate the pillow 90 degrees and marge a second curved line beginning at the bottom right corner and tracing to the first curved line from the previous quilted section. See photo for example.

Center the pillow under your harp and drop the needle at the intersection of the curve and previous quilted line. Quilt on this line to set the second curve section. Echo the lines to full the right side of section two.
Trim the pillow to 18.5″ by 19″.

Step 3 – Hem Envelope Flaps
With the wrong side of your solid fabric up, press one one of the long ends by 1/4″. Fold and press them once more by 3/4″. Stitch across hems.
Repeat for second piece of solid fabric.

Step 4 – Sew Flaps to Center
With the right sides facing, sew long ends of Blue Print and non-hemmed Red Solid together using a 1/4” seam.
Step 5 – Finish
Fold in the left and right hemmed edges so they overlap by 4 inches, centering the overlap.

Stitch across the upper and lower raw edges with 1/2″ seam allowance. Clip the corners to reduce bulk.
Turn cushion cover the right way out and press to set.

That’s it! So easy to make I bet you could whip up a few in NO time!
See ya next time y’all!
Rohn

