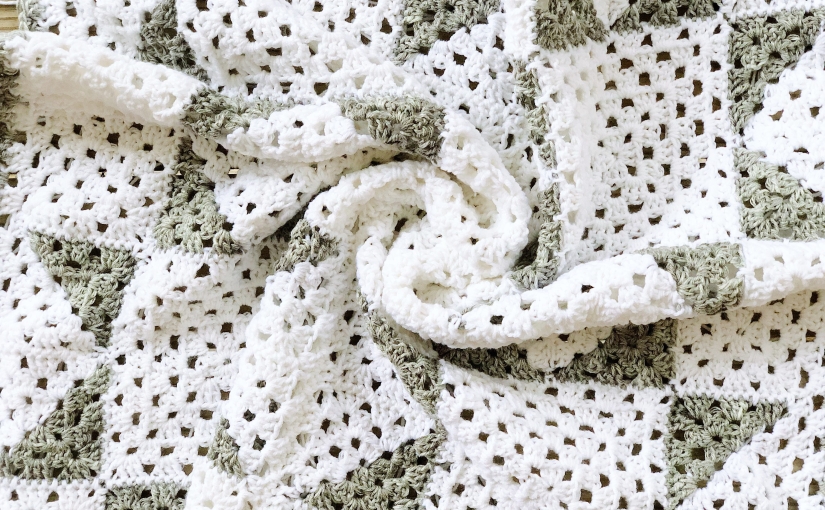
Look. Sometimes, I just make pretty things and I cannot wait to share them with y’all. This is one of those times.
It just also happens to be my first project as a Joann’s Brand Ambassador. That means for the next year I’ll be making crochet, knitting, and quilting projects each month and sharing them with you as free patterns. I’ll be using our favorite products form Joann, highlighting different products each month! Some new and some tried and true.
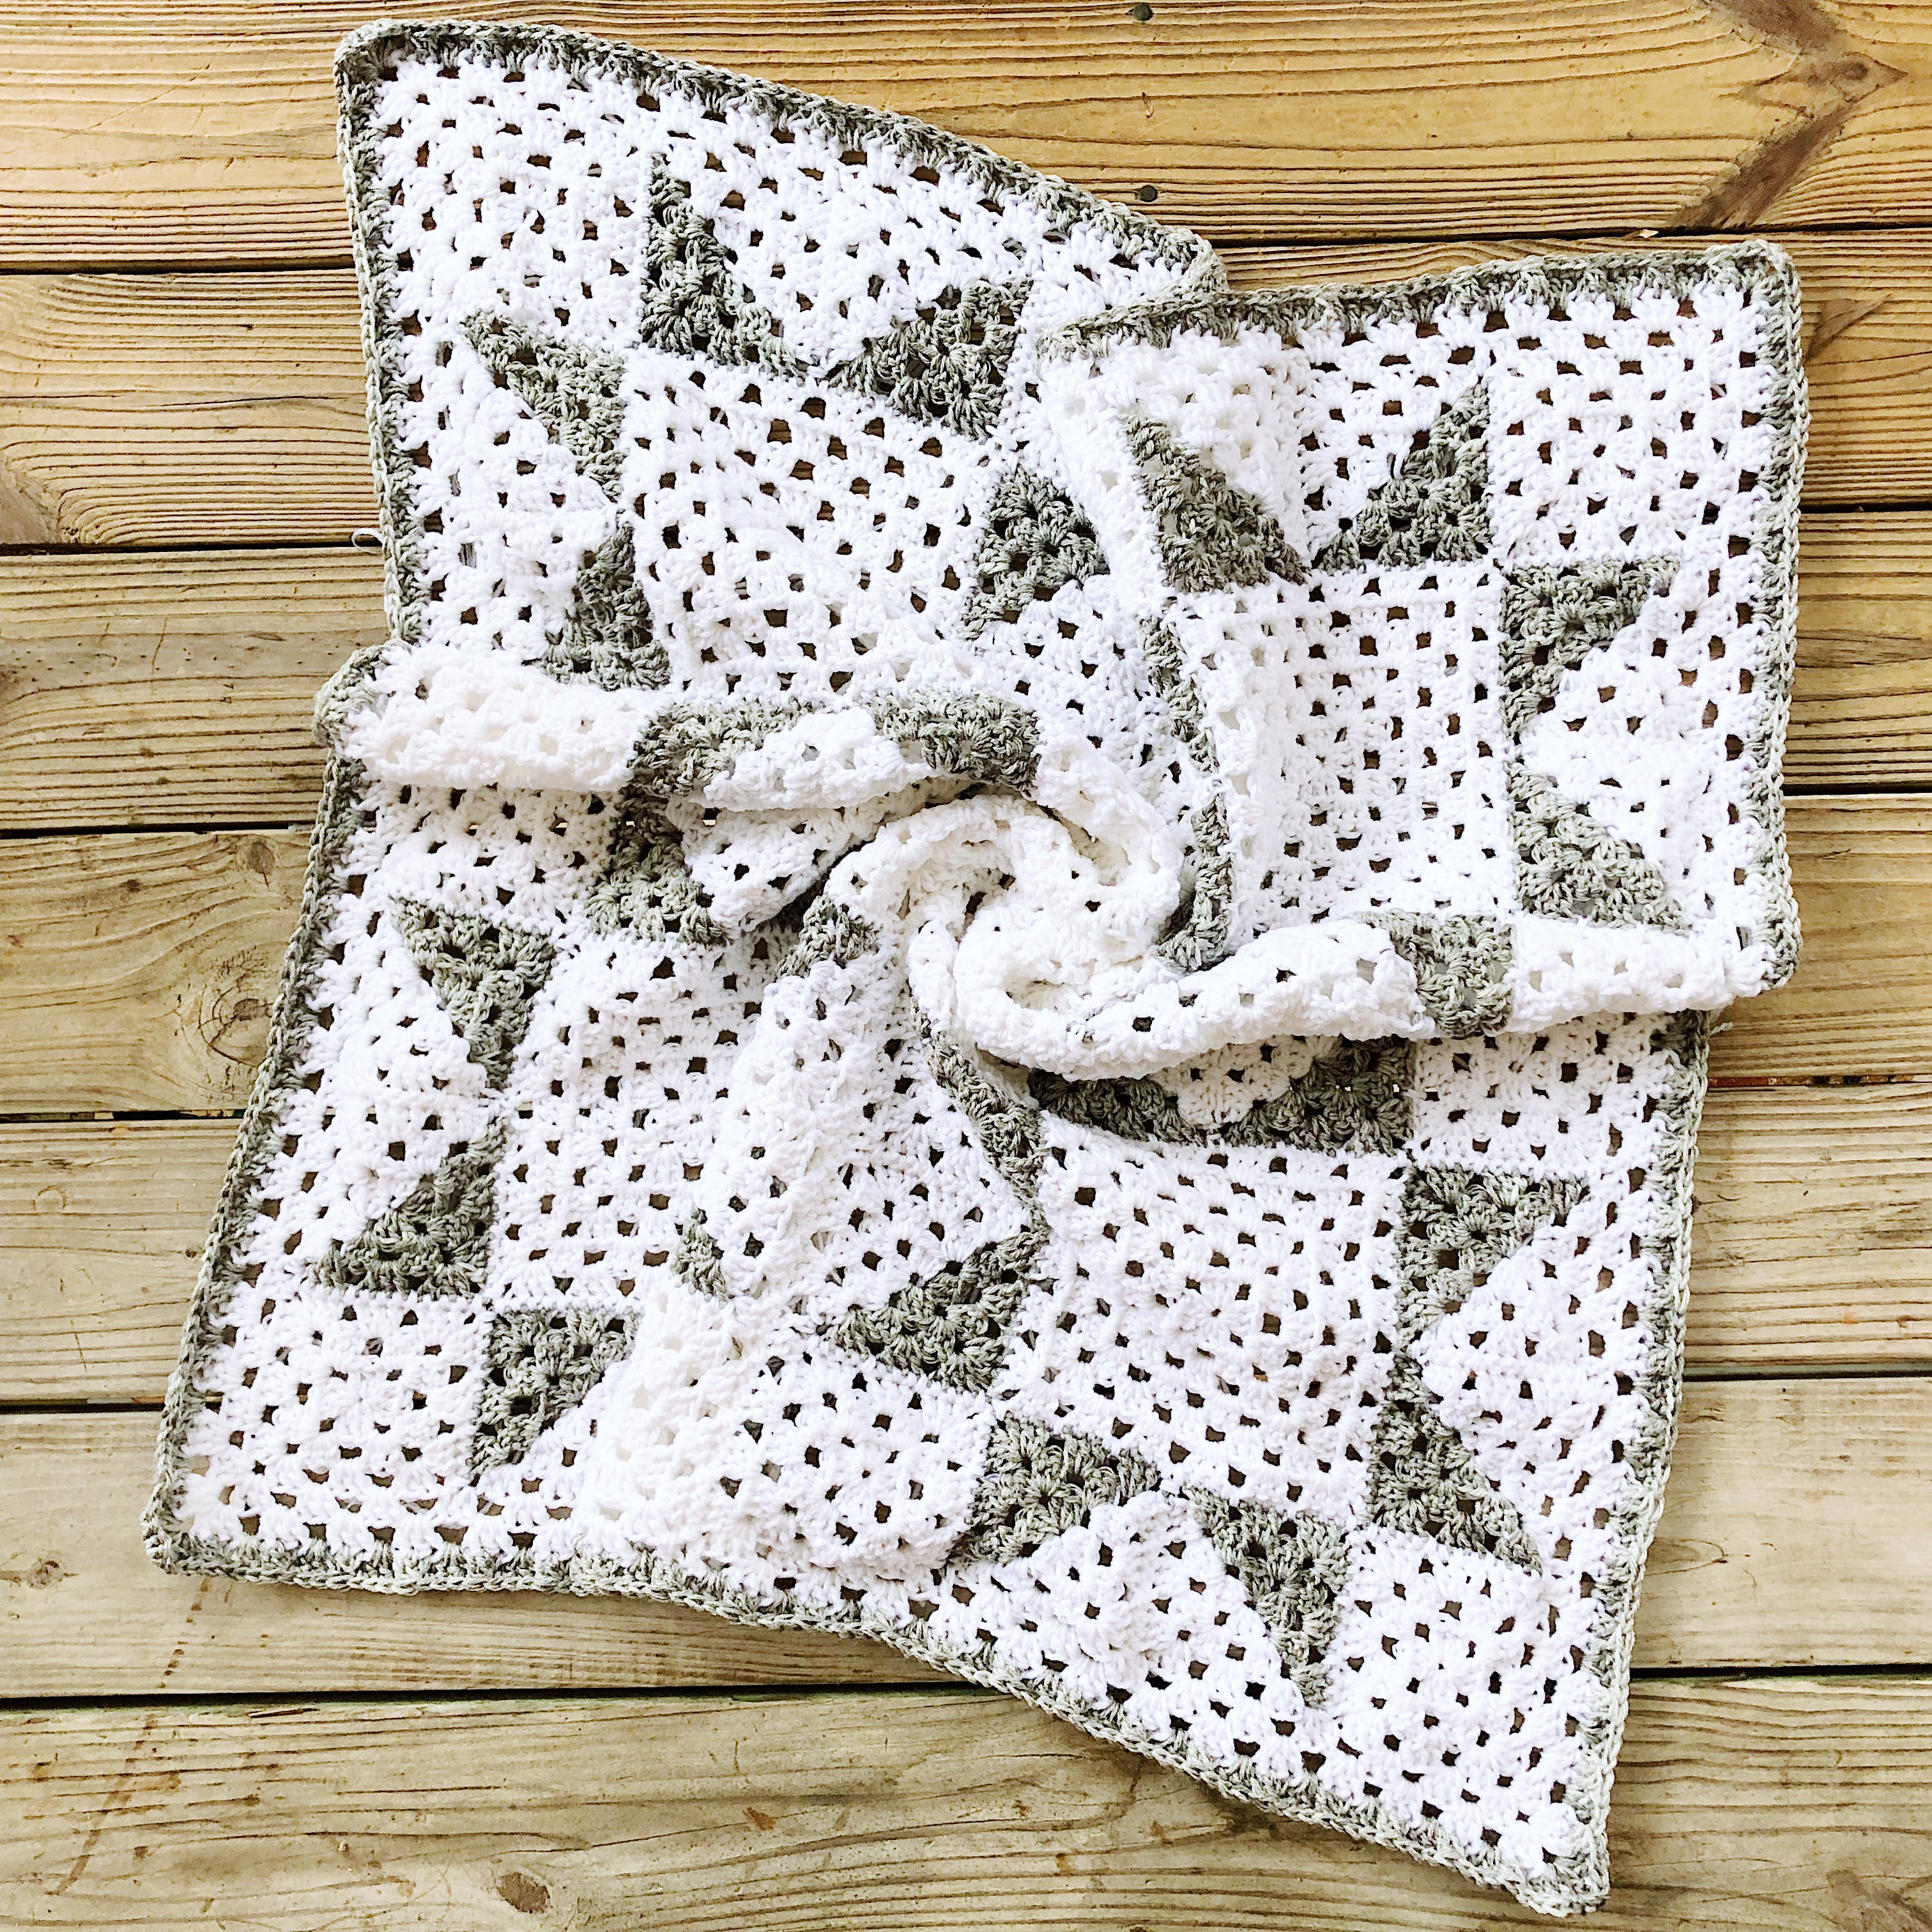
The Modern Farmhouse Granny Afghan is a simple and quick to stitch modern granny square afghan perfect for any room in your home. It’s easy as pie to make and I have a full pattern and tutorial available for you below. As well as all the supply links so you can stock up on your fav Joann products.
CHECK OUT MY NEW VLOG and Subscribe to my Youtube Channel!
The Inspiration
I come from the school of Joanna Gaines design. She said, ” At the core of the Magnolia brand is the desire to make homes beautiful but with a focus on family and practicality. We want to create spaces that families want to gather in.”

This afghan was born of that sentiment. I wanted to create something that was classic and clean but modern and practical. Honestly, it seemed like a task too great. Ha!
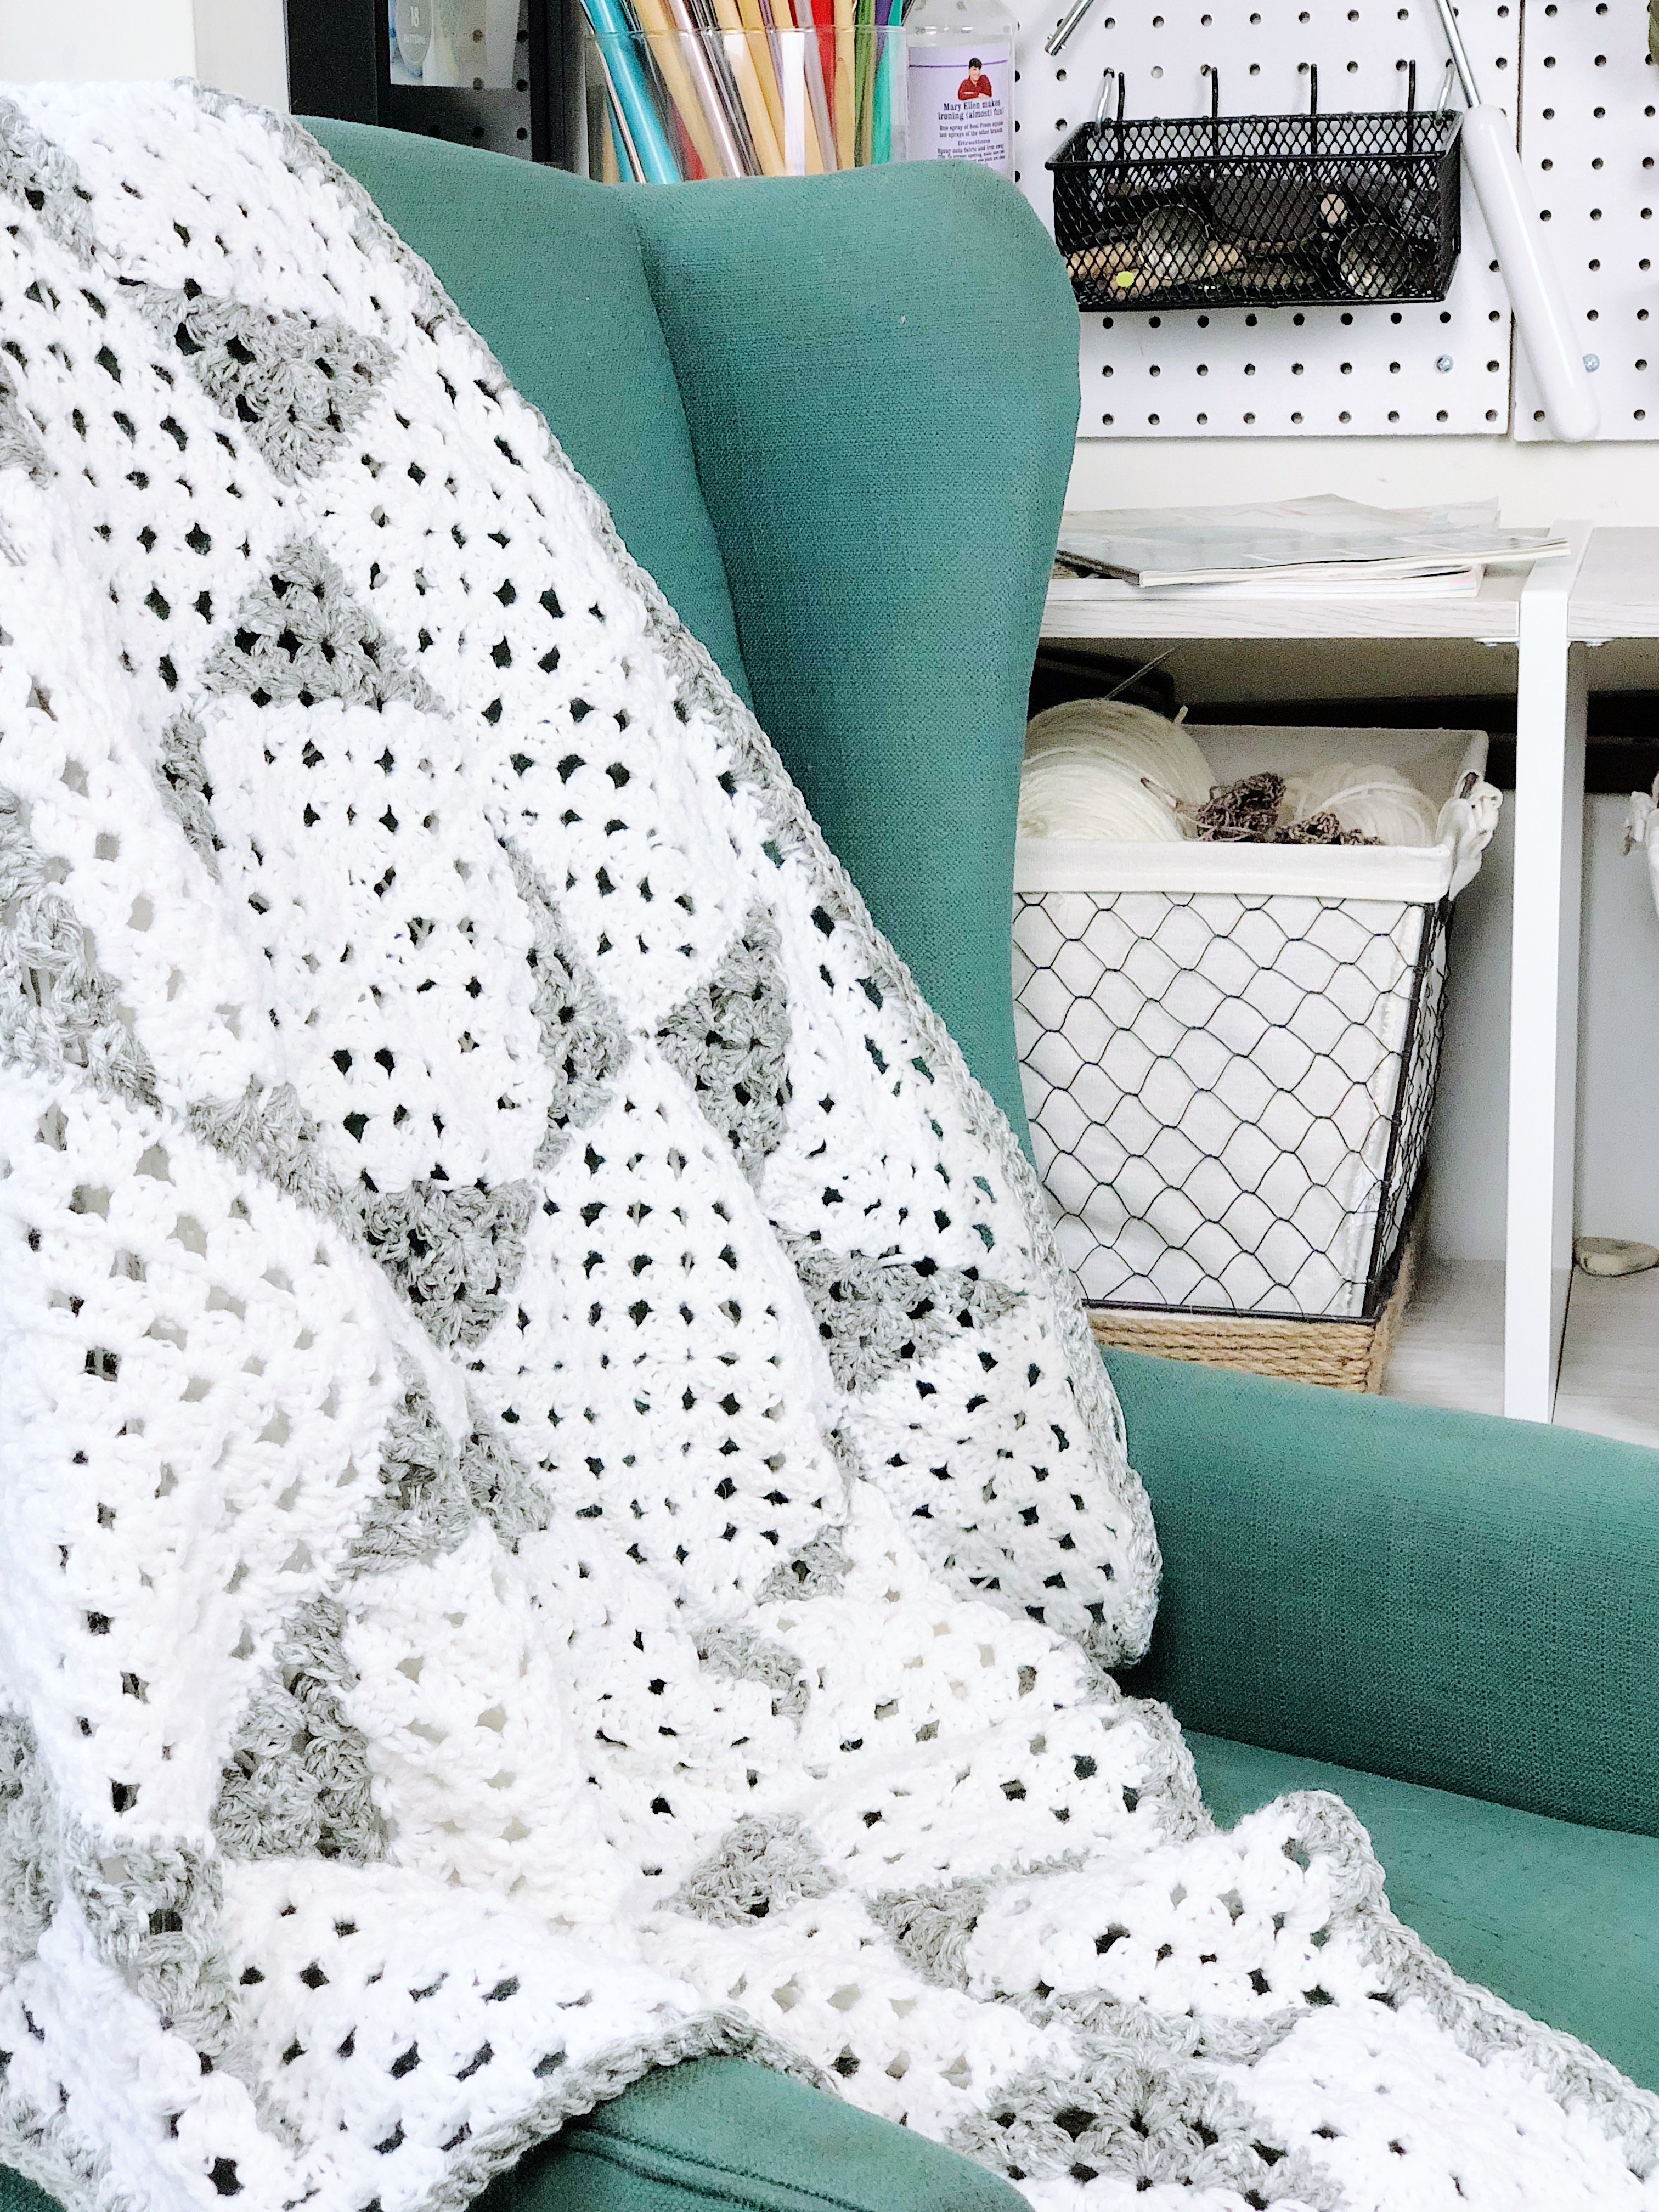
I decided to fall back on my love of quilting. While I adore crochet and it’s my first love, a few years back I discovered quilting and I’ve been unstoppable since. Of all the quilting blocks out there (and there are too many to count) I love stars the best. Why? I don’t know. I just don’t think that anything is as quintessentially quilt-ish as a star.
A few swatches later and I knew just what I needed to do.
The Design
This design had to have three things:
- Easy to stitch.
- Work with worsted weight yarn.
- Must be a travel project.
February was all about travelling for me. Between California and Texas and Illinois…I was all over the country teaching crochet. With such a rigorous schedule, I knew that I needed a project that I could take with me and not have to think about too much. I also really wanted my first project to use Red Heart Super Saver, one of my favorite yarns ever.
Granny squares were the best option. They are quick to stitch and if you can double crochet – you can make a granny square. Really. It’s that flippin easy!
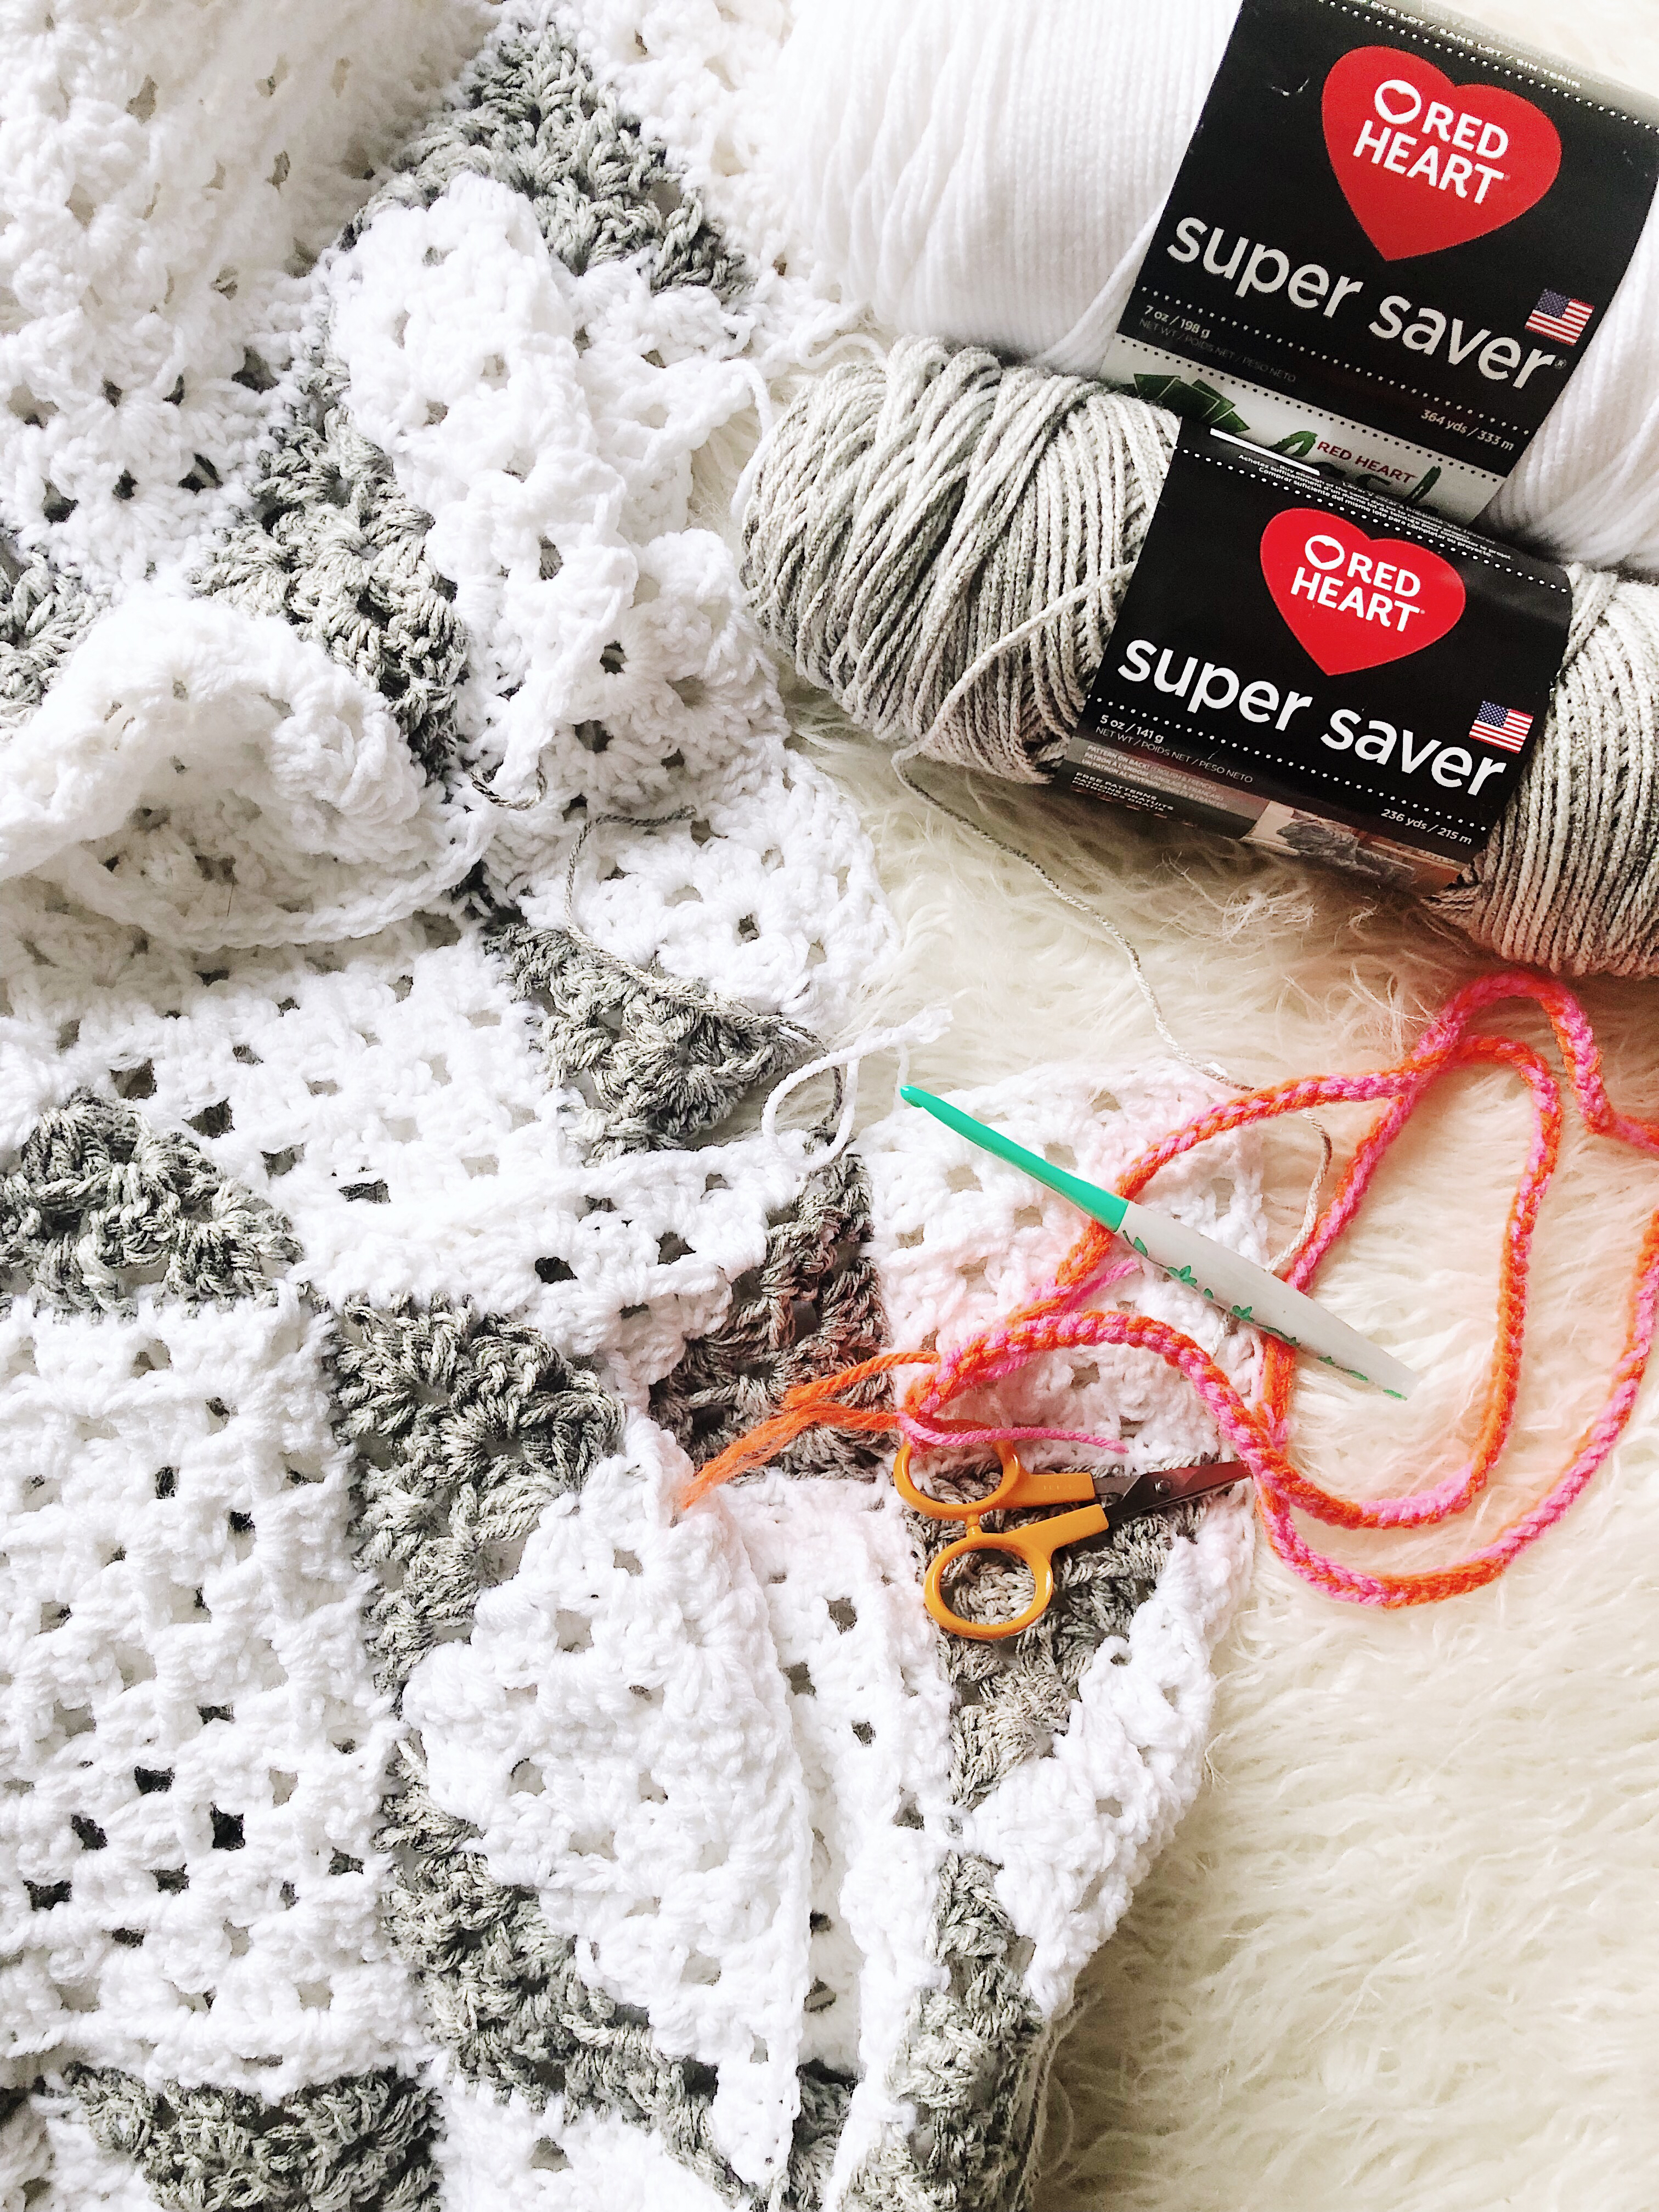
The challenge came in how to make the 2-color granny square. I’d seen a few solid version that looked like a half square triangle in quilting, but I wanted a classic granny look. After a test swatch or two – I managed it! Whew!
A few plane rides later and a couple of layovers – the afghan was done and packed in my carry on! Once I was home, I was able to whip this beauty up in just a day. Adding the border and weaving in all the ends.
All of them.
And there are quite a few. But those of you that have made granny afghans now how that is!
The Pattern
Here are all the supplies you need, each available from your local Joann!
- Red Heart Super Saver Yarn (Weight: 4/Worsted – 7oz/364yds)
- Color A – Red Heart Super Saver Jumbo Yarn – White
(3 skeins)
- Color B – Red Heart Super Saver Chunky Yarn – Light Grey
(2 Skeins)
- Color A – Red Heart Super Saver Jumbo Yarn – White
- Size I/9 (5.5mm) Crochet Hook
- Tapestry Needle
- Scissors
Sizes:
Baby/Child
Gauge:
1 Granny Square = About 4 inches
Measurements:
36″ x 36″
Abbreviations:
Ch – Chain
Sc – Single Crochet
Dc – Double Crochet
Sl st – Slip Stitch
Dc3tog – Double Crochet three together
Rep – Repeat
Rnd(s) – Round(s)
Skill Level:
Level 2 – Easy
Pattern Notes:
- Pattern listed is for one finished square. Squares can be combined and laid out in any order that you desire. I chose to work four squares for a baby size afghan. If a larger afghan is desired, combine squares as needed to reach the desired width and length.
- Ch 3 counts as a Dc throughout.
- All rounds should be joined with a sl st.
- To change colors work until the last two loops on hook, then draw new color through.
- All granny squares are worked in joined rounds.

Crochet Modern Farmhouse Afghan
Solid Granny Square
Ch 4
Rnd 1: (2dc, ch 2, 3dc, ch 2, 3dc, ch 2, 3dc, ch 2) in 4th ch from hook, join to 4th ch of beg ch-4, turn.
Rnd 2: Ch 3, (2dc, ch 2, 3dc) in next ch-2 sp, *ch 1, (3dc, ch 2, 3dc) in next ch-2 sp; rep from * around three times more, ch 1, join to beg ch-3, turn.
Rnd 3: Ch 3, 2dc in next ch-1 sp, *ch 1, (3dc, ch 2, 3dc) in next ch-2 sp, ch 1, 3dc in next ch-1 sp; rep from * around three times more, ch 1, (3dc, ch 2, 3dc) in next ch-2 sp, ch 1, join to beg ch-3, turn.
End off. Weave in all ends. Trust me. Do it now. Don’t be like me.
Two Color Granny Square
Ch 4
With A, Ch 3.
Rnd 1: (2dc, ch 2, 3dc) in 4th ch from hook, join B, (ch 2, 3dc, ch 2, 3dc) in same ch, ch 2, join to 4th ch of beg ch-4, turn.
Rnd 2: Ch 1, sl st into next ch-2 sp, ch 3, 2sc in next ch-2 sp, *ch 1, (3dc, ch 2, 3dc) in next ch-2 sp, ch 2, 3dc in next ch-2 sp, join B, ch 2, 3dc in same ch-2 sp, ch2, (3dc, ch 2, 3dc) in next ch-2 sp, ch 2, 3dc in next ch-2 sp, ch 2, join to beg ch-3, turn.
Rnd 3: Ch 1, sl st into next ch-2 sp, ch 3, 2sc in ch-2 sp, *ch 1, 3dc in next ch-1 sp, ch 1, (3dc, ch 2, 3dc) in next ch-2 sp, ch 1. 3dc in next ch-1 sp, ch 1, 3dc in next ch-2 sp, change to B, ch 2, 3dc in same ch-2 sp, 3dc in next ch-1 sp, ch 1, (3dc, ch 2, 3 dc) in next ch-2 sp, ch 1, 3dc in next ch-1 sp, ch 1, 3dc in next ch-2 sp, ch 2, join to beg ch-3, turn.
End off. Weave in all ends.
Large Granny Square
Work as for Solid Granny Square for a total of 6 rounds.
Joining
For each block you’ll need 4 Solid Granny Squares, 8 Two Color Granny Squares, and 1 Large Granny Square.
First, I recommend joining the Two Color Granny Squares as shown below. Ensure the white portions are facing and the triangles are mirror images.

You’ll need to do this for all four sets of two Two Color Granny Squares. Then lay the rest of the square out following the picture below.

Next, you’ll want to attach two of the white squares to each side of one of the Two Color units. Like this:

Alright, now, if I were you, I’d weave in ends at this point. Next we’ll lay out the block as follows:

Next we’ll attach the two remaining Two Color units to the center Large Granny Square.

Then, attach the three units together. Weave in all ends.

Almost done!
Next, you’ll want to crochet a border around each of these finished squares by working another round of granny stitches as in both the Large Granny Square and the Solid Granny Square.
Finish off, weave in all ends. Your block should measure about 17 inches at this point. Because I chose to make a baby blanket, I only needed four, which gave me a blanket about 34 inches by 34 inches BEFORE the border. Remember, you could make this as large or as small as you’d like just by working a larger border.
Alternately, you could work more squares to make this a twin, queen, or king size. Just combine the squares needed, then head to the border instructions.
Border
With A, work 1 round as in the Solid Granny Square around the entire perimeter of the afghan. Join B, work another round.
Final Round: Ch 1, 3sc in first ch-2 sp, *sc in each of the next 3dc, dc3tog in each of the next 3dc in group 1 row below; rep from * across to next corner, (3sc in next corner); rep from * around. Join to first sc.
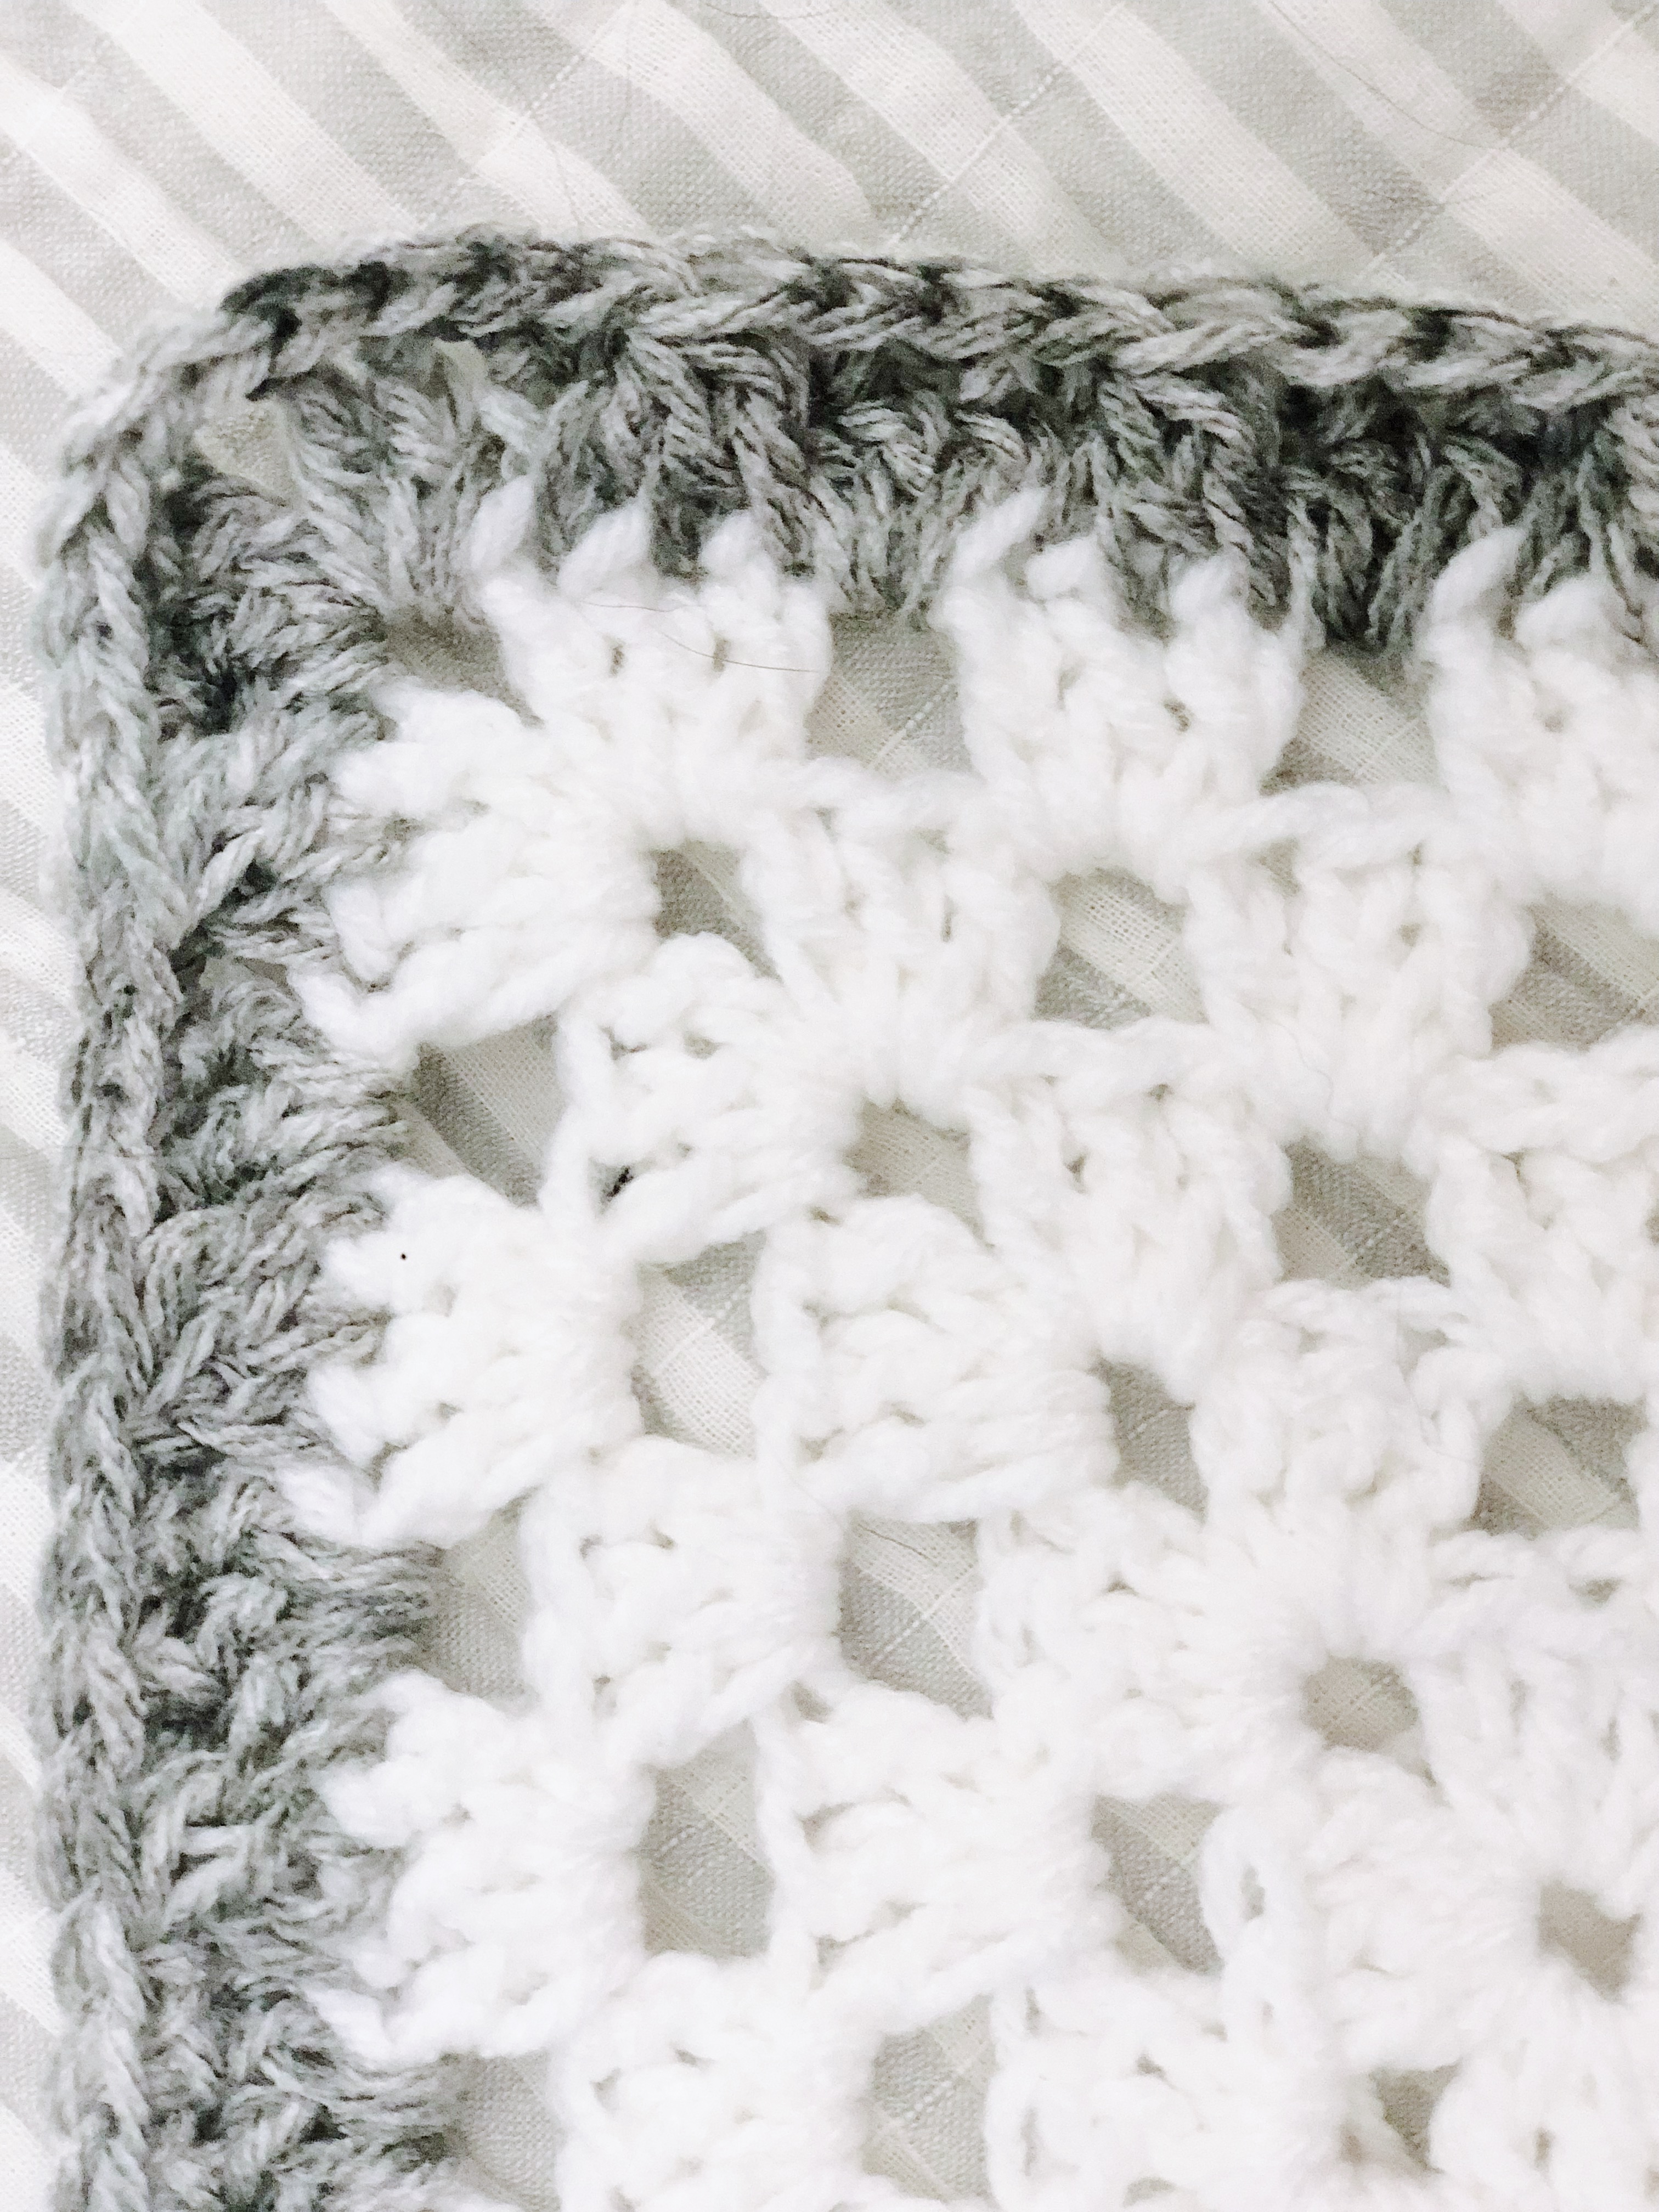
End off. Weave in all ends.
Wash and lay flat to block!


