Hello, beautiful makers! Rohn Strong here, and if you’re reading this, chances are you’ve just conquered the heart of your Mountain Meditations Throw! You’ve navigated the intricate motifs. You even have participated in our recent Crochet Along. Now, you’re standing at the precipice of transforming those individual pieces into a magnificent, cohesive work of art.

Finishing a large crochet project can feel like a mountain in itself. However, I promise you that these final steps are incredibly rewarding. The seaming and the border are where the magic truly happens, bringing all your hard work together into a polished, cherished blanket. Let’s dive into the process step by step. This will ensure your Mountain Meditations Throw is not just beautiful. It will ensure it’s perfectly put together.
Looking for the crochet pattern?
Buy the individual pattern here: https://www.ravelry.com/patterns/library/mountain-meditations-throw
OR
Become a paid subscriber to my substack here: https://rohnstrong.substack.com/
The Art of Joining Your Mountain Meditations Blocks
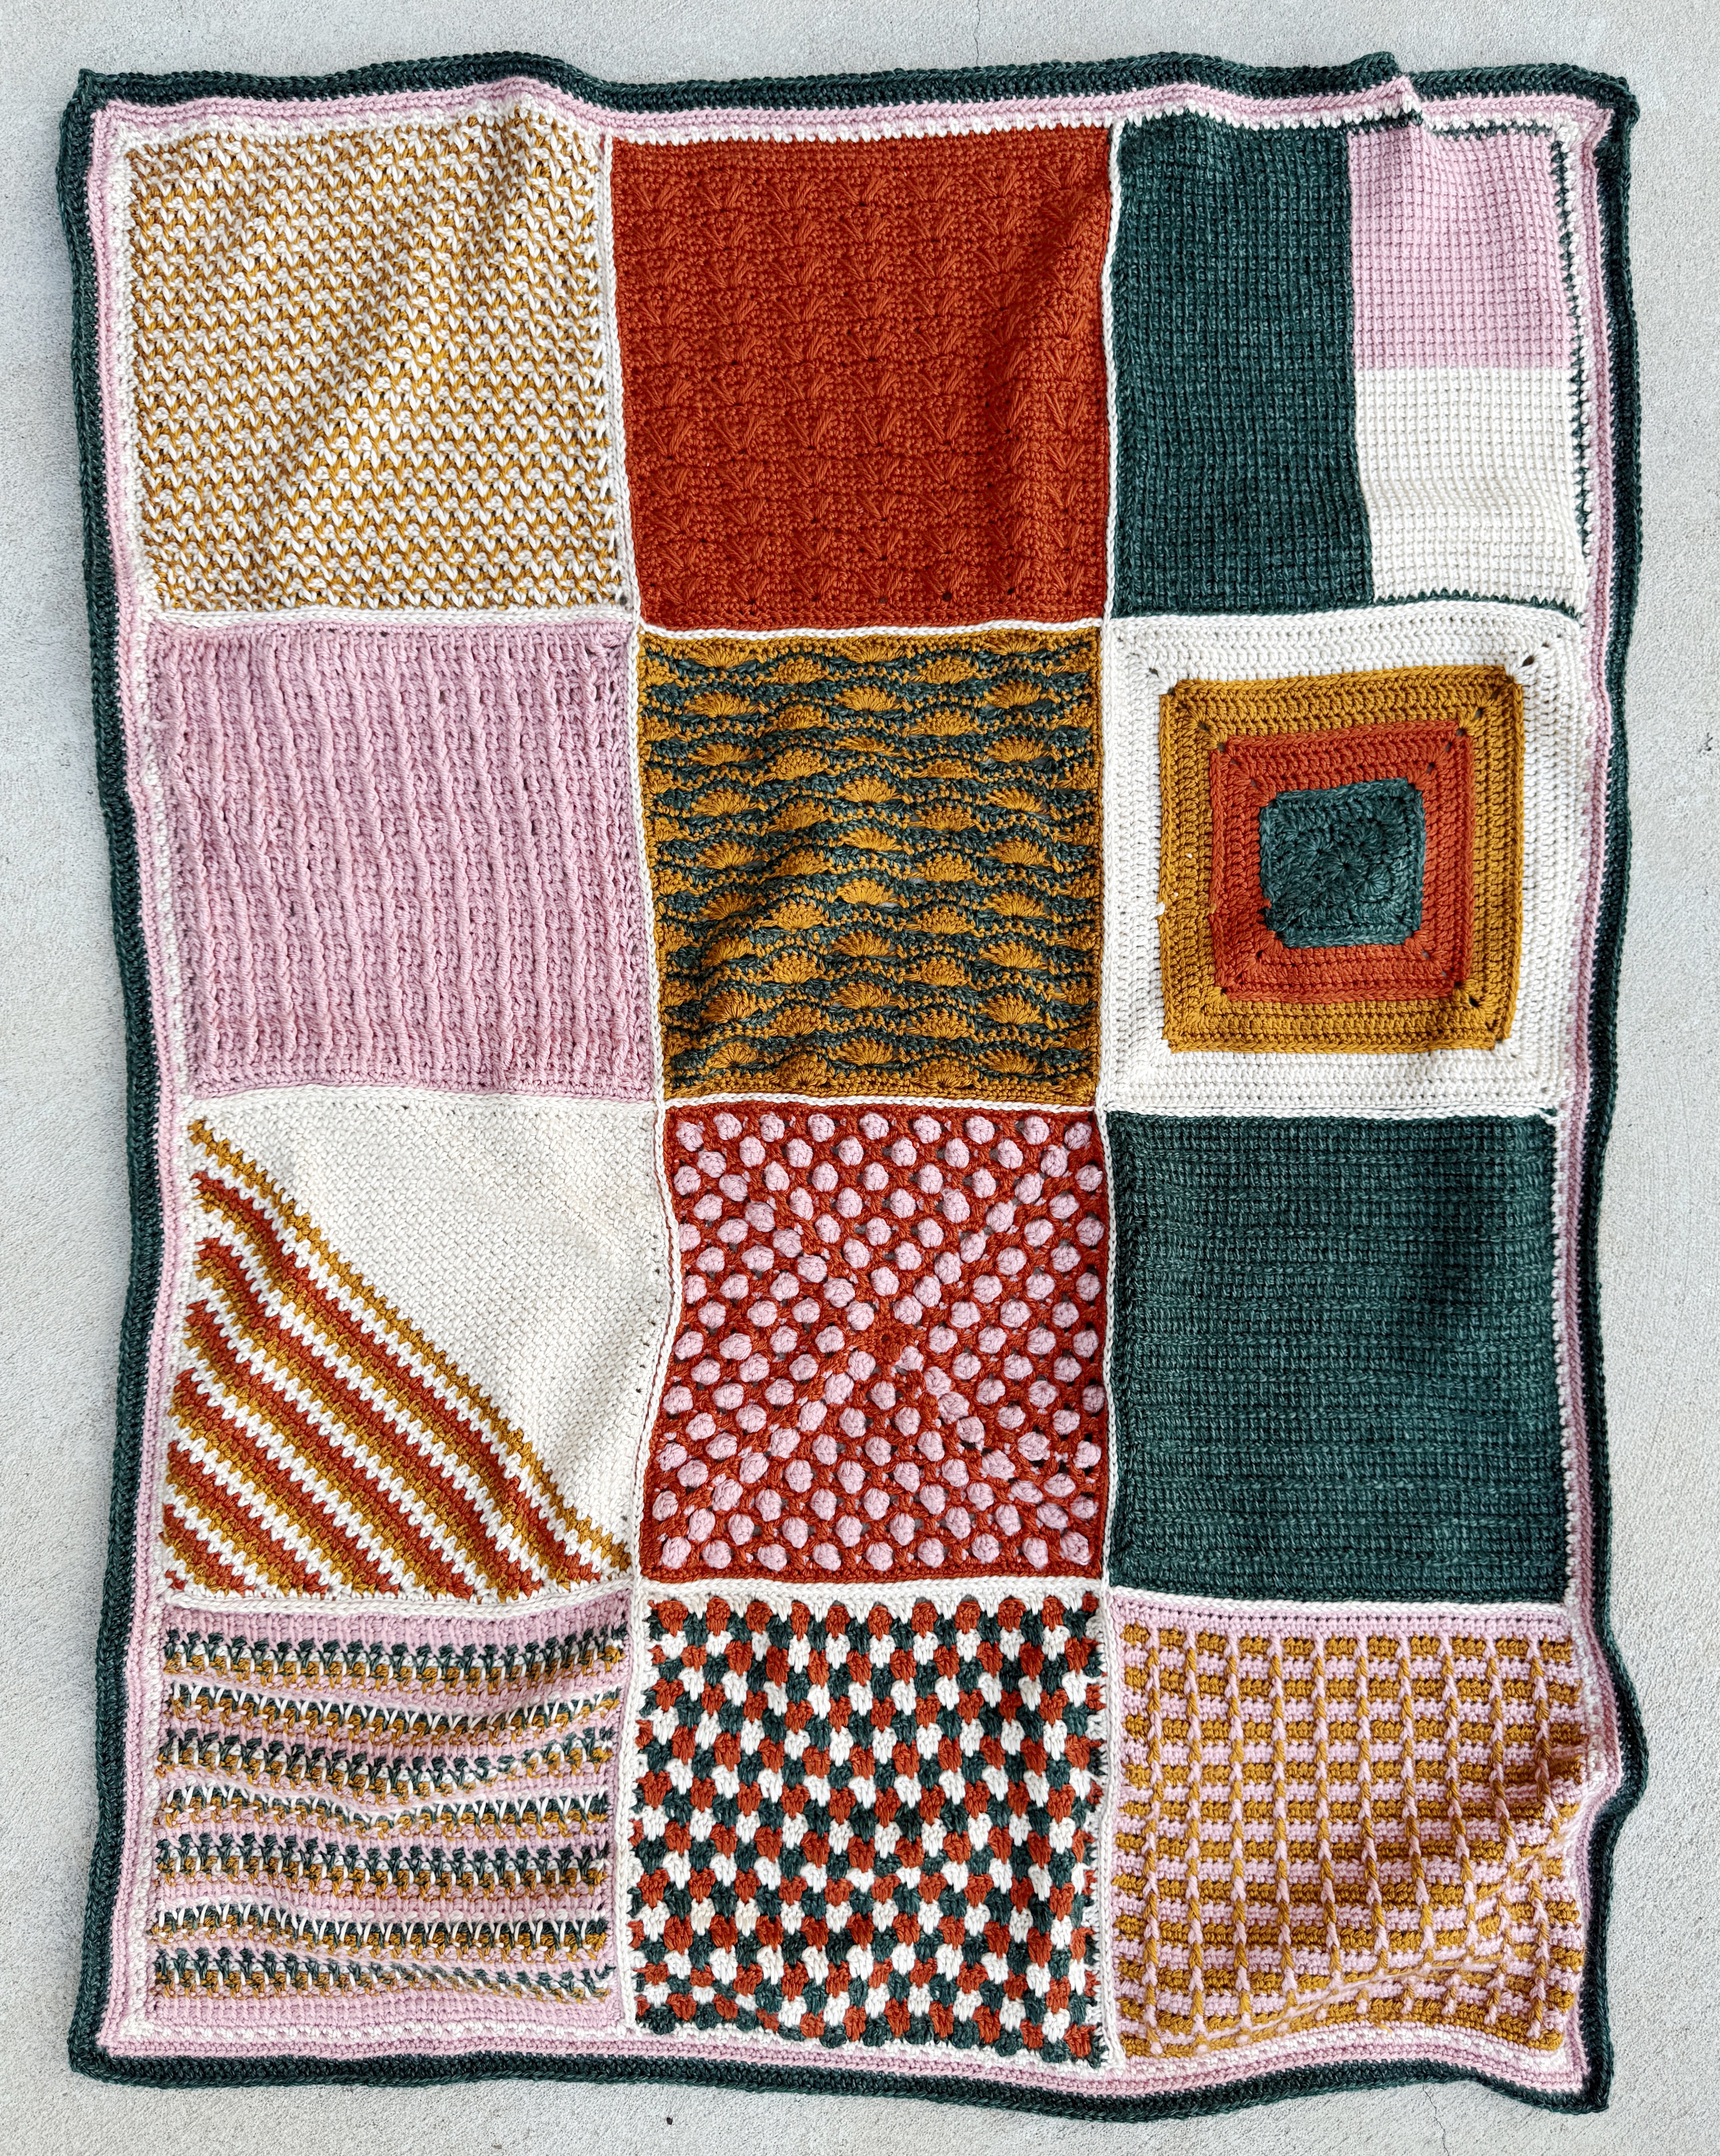
You’ve painstakingly created twelve unique “Mountain Meditations” blocks, each measuring 12 inches square. Now, it’s time for them to become one unified landscape. The pattern guides you on “Joining” your squares, noting that there are “as many different ways to join as there are crocheters”.
Before you even think about seaming, a crucial tip:
Block your individual blocks first! Blocking helps relax your stitches, evens out any discrepancies in size, and ensures your blocks are perfectly square. This single step will make your seaming process immeasurably easier and result in a much tidier final product. For acrylic yarns like Lion Brand Heartland, steam blocking is a gentle and effective method. Lay your squares on blocking mats, pin them to 12×12 inches, and use steam from an iron or steamer without touching the yarn directly.
Choosing Your Seaming Method: For the Mountain Meditations Throw, I personally “chose a simple slip stitch seam, working through the back loop”. This method resulted in a blanket that “laid flat, felt a little less bulky, and had great drape”.
- Slip Stitch Seam (through back loop):
- How-To: Lay two blocks with wrong sides together. Insert your hook through the back loop of a stitch on one block and the back loop of the corresponding stitch on the other block. Yarn over and pull through all loops on your hook to create a slip stitch. Repeat across the seam.
- Pros: Creates a very flat, almost invisible seam from the right side, ideal for projects where you want the motifs to blend seamlessly. It’s less bulky and contributes to excellent drape.d
- Here is a WONDERFUL video from my friend Toni and TL Yarn Crafts: https://www.youtube.com/watch?v=M8SkpizU_0E
I also noted that if I were to rework the blanket, I “might go with a single crochet seam, so really make sure it stays together for a long time”. This highlights the durability aspect of the single crochet seam.
- Single Crochet Seam:
- How-To: Similar to the slip stitch seam, but instead of slip stitching, you’d work a single crochet through both layers of corresponding stitches. This creates a slightly raised, decorative ridge on the right side.
- Pros: Extremely sturdy and durable, creating a strong connection between blocks. The raised ridge can also add an appealing textural detail.
Arranging Your Blocks: The Mountain Meditations Throw is designed as a sampler, featuring different stitch patterns in each block. As you begin to arrange your squares, “trust your inner artist and let your intuition guide you”. There’s “no right or wrong way to lay them out” – play with different configurations until a design emerges that feels harmonious and visually pleasing to your eye. The finished blanket measures approximately 39 inches wide and 51 inches long, suggesting a 3×4 block arrangement.
A Quick Note on Weaving Ends: While it might be tempting to save all your ends for the very end, tackling them as you go (or at least after seaming) will save you hours of work and make the final blocking a breeze.
Looking for the crochet pattern?
Buy the individual pattern here: https://www.ravelry.com/patterns/library/mountain-meditations-throw
OR
Become a paid subscriber to my substack here: https://rohnstrong.substack.com/
The Grand Finish: Crafting the Border
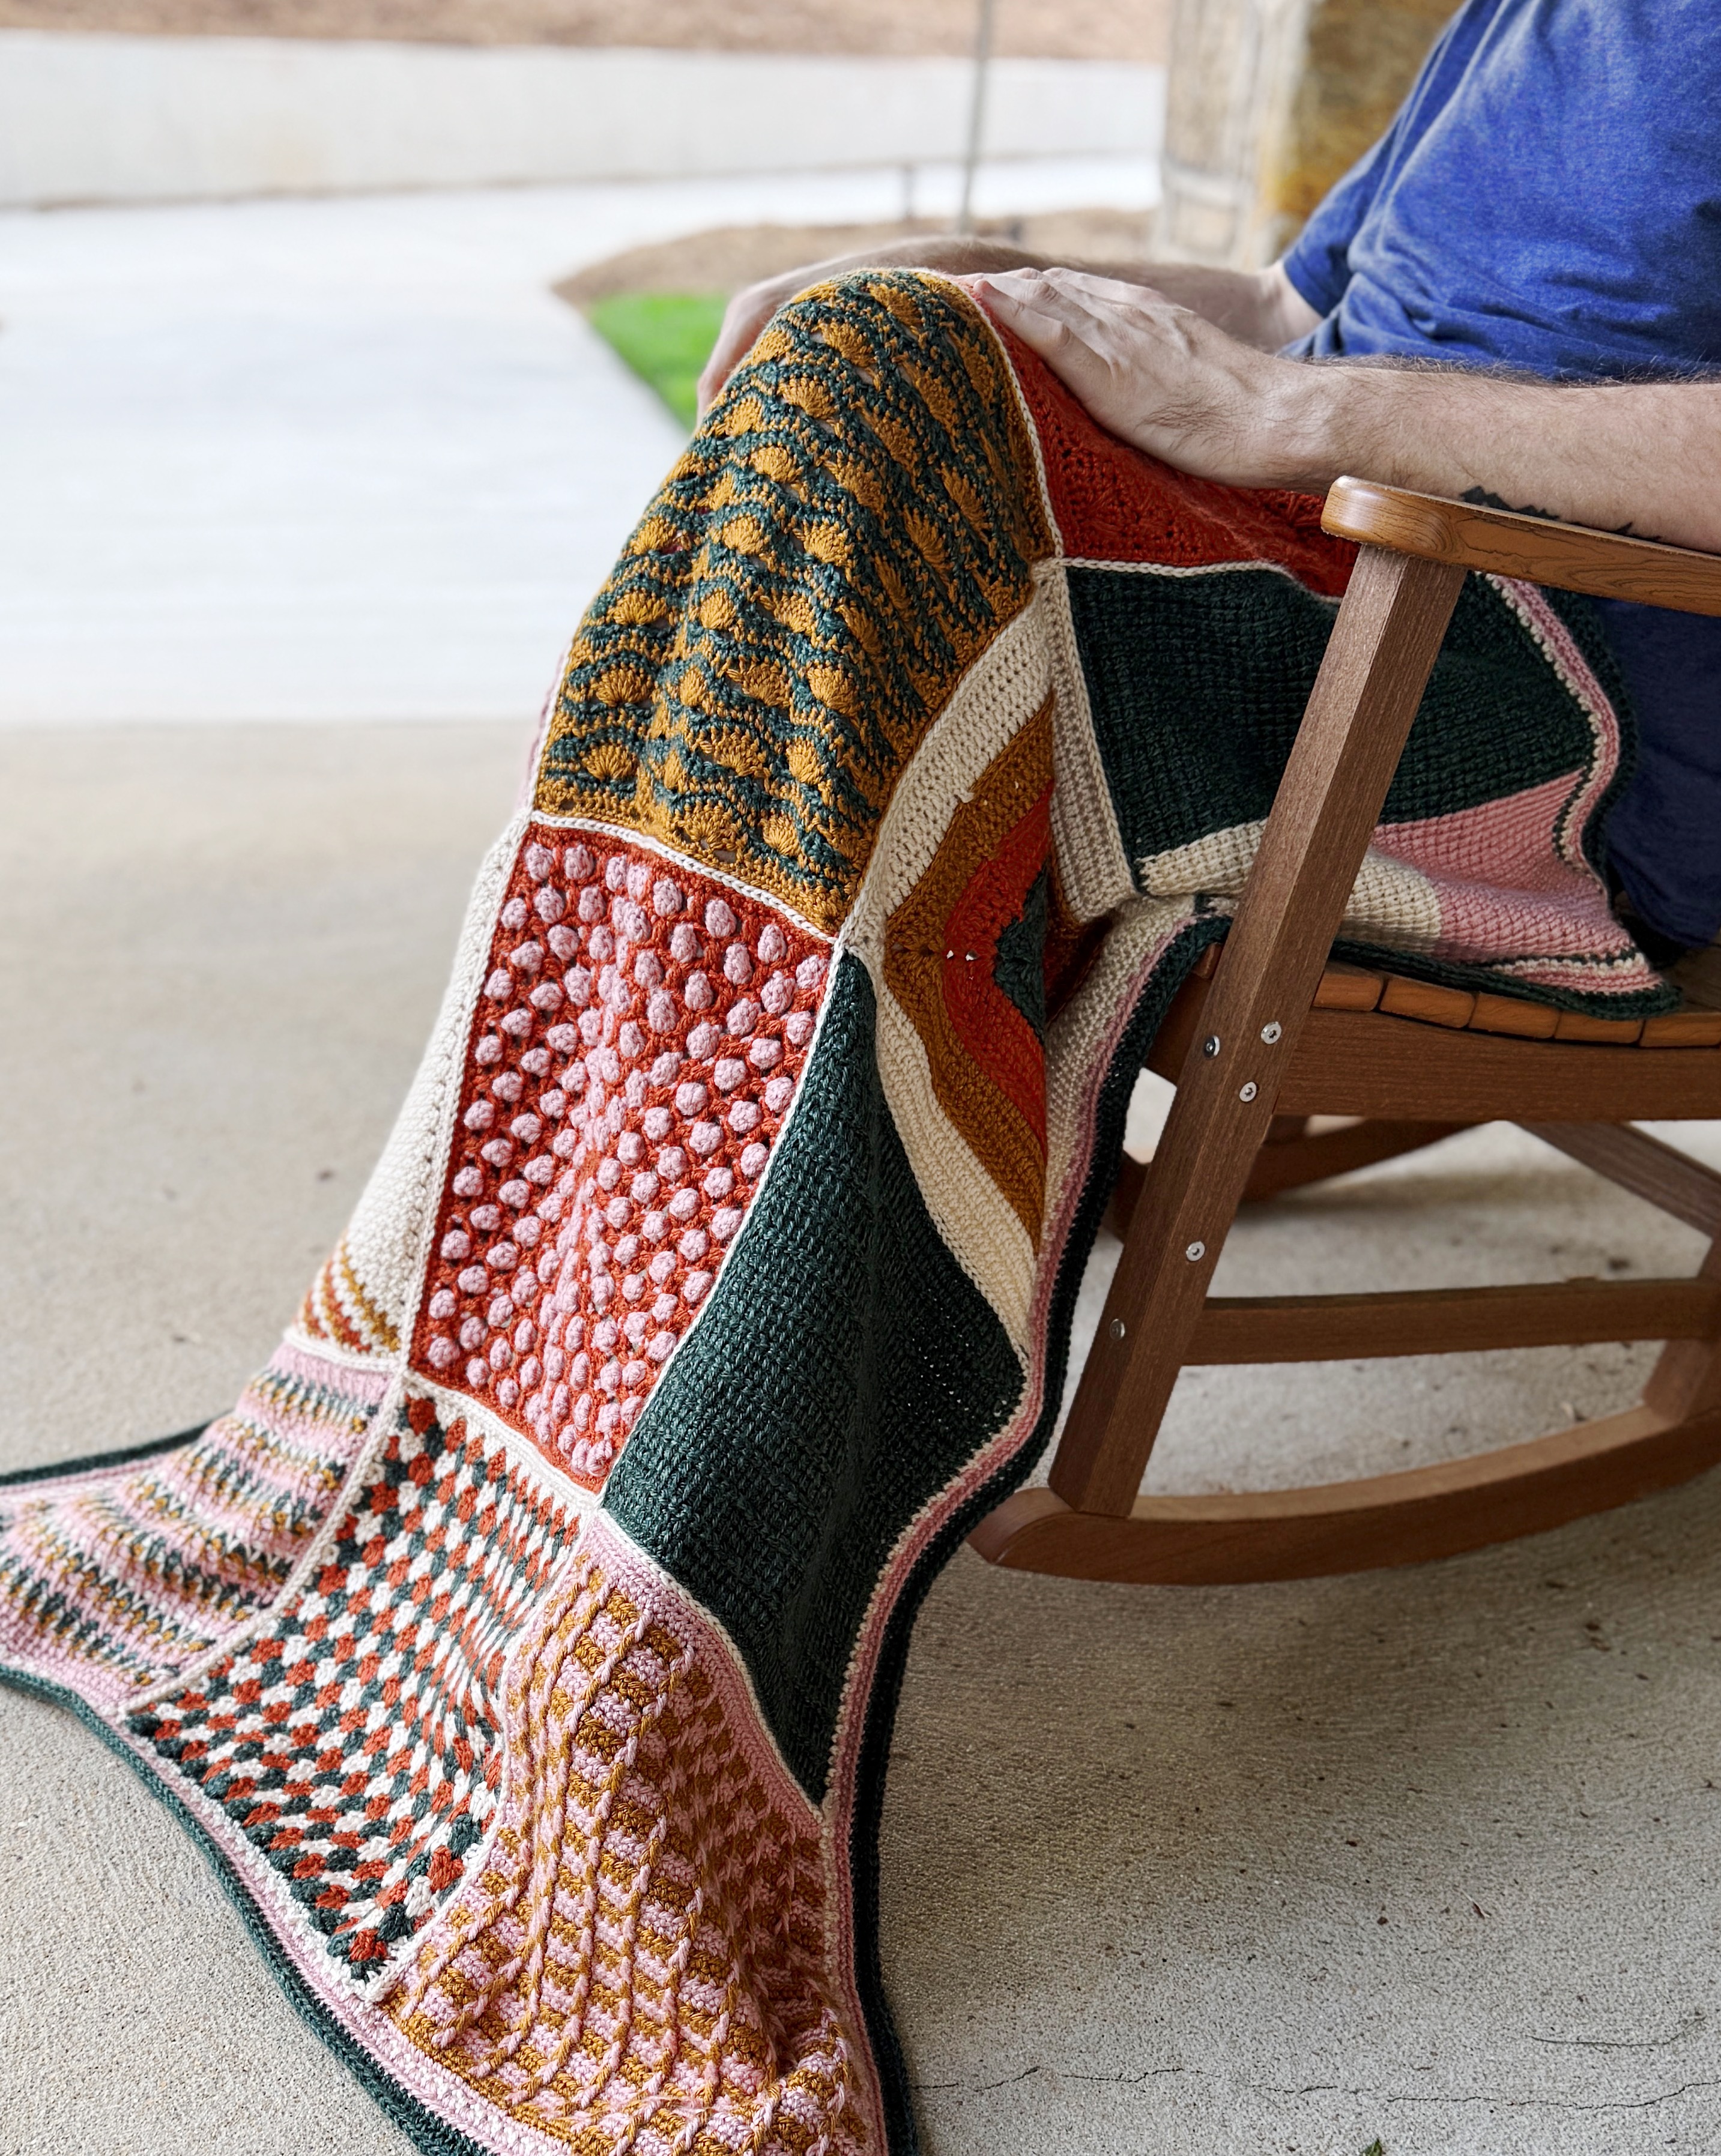
The border is truly the crowning glory of your Mountain Meditations Throw. It frames your entire piece, adds weight and drape, and brings all the elements together with a professional, polished edge. For this throw, the border is a delightful multi-round sequence that provides a clean and unified frame.

Here’s a breakdown of the specific border rounds as outlined in the pattern:
- Row 1:
- This round establishes a foundational single crochet edge with chain-1 spaces, setting up the framework for the subsequent rounds. The
(sc, ch 1, sc)in each corner ensures the blanket maintains its square shape.
- This round establishes a foundational single crochet edge with chain-1 spaces, setting up the framework for the subsequent rounds. The
- Row 2:
- By repeating the first round, you build upon the initial foundation, reinforcing the edge and ensuring a consistent look before introducing a new color and stitch pattern.
- Row 3:
- This round switches to Capitol Reef and fills in the chain-1 spaces from the previous rounds with single crochets, creating a more solid edge. The note is crucial, guiding you to work 1 sc into each sc and 1 sc into each ch-1 space to ensure an even increase and a flat border.
- Row 4:
- This is another simple single crochet round, reinforcing the solid edge established in Row 3 and maintaining the structure with the corner increases.
- Row 5:
- This round introduces a new color, Kings Canyon, and a wonderful textural element by calling for half double crochets (hdc) worked in the back loop only. This technique creates a subtle horizontal ridge on the right side of your work, adding a lovely detail to your border. Remember the single crochet corner increase for shape.
- Row 6:
- The final round of this specific border sequence repeats the half double crochet, but this time working through both loops as normal. This provides a clean finish to this section of the border, and then you fasten off your yarn.
This multi-layered approach to the border not only frames your collection of stitches beautifully but also adds a significant tactile and visual appeal to your finished Mountain Meditations Throw. Pay close attention to your stitch counts and tension throughout each round to ensure your border lies flat and your corners remain neat and sharp.
Looking for the crochet pattern?
Buy the individual pattern here: https://www.ravelry.com/patterns/library/mountain-meditations-throw
OR
Become a paid subscriber to my substack here: https://rohnstrong.substack.com/
The Essential Finishing Touches
Once your border is complete, the final steps are simple but vital for a truly professional result:
- Weave in all remaining ends: This is crucial for a clean look and preventing unraveling. Take your time and weave them securely into the fabric.
- Final Blocking of the Complete Throw: Even if you blocked individual squares, a final block of the entire blanket is recommended. This will help all the seams lie flat, even out any minor discrepancies introduced during joining and bordering, and give your finished throw a beautiful drape and polished appearance. Lay it flat, gently shape it, and allow it to dry completely.
Congratulations, maker! You’ve just completed a truly stunning piece of art. The Mountain Meditations Throw is a testament to patience, skill, and the joy of creating. Take a moment to admire your work, feel the texture, and revel in the beautiful journey you’ve taken with your hook and yarn.
Don’t forget to share your finished throws with me and the community! I absolutely love seeing your completed projects. You can find more patterns, tips, and inspiration on my substack here, and catch all my latest tutorials and behind-the-scenes content on my YouTube channel, .
Happy Crocheting!
Warmly,
Rohn Strong

